Beginner Music Producer’s Guide: Crafting a Professional Sound from Your Bedroom Studio
Introduction: The Bedroom Studio Revolution
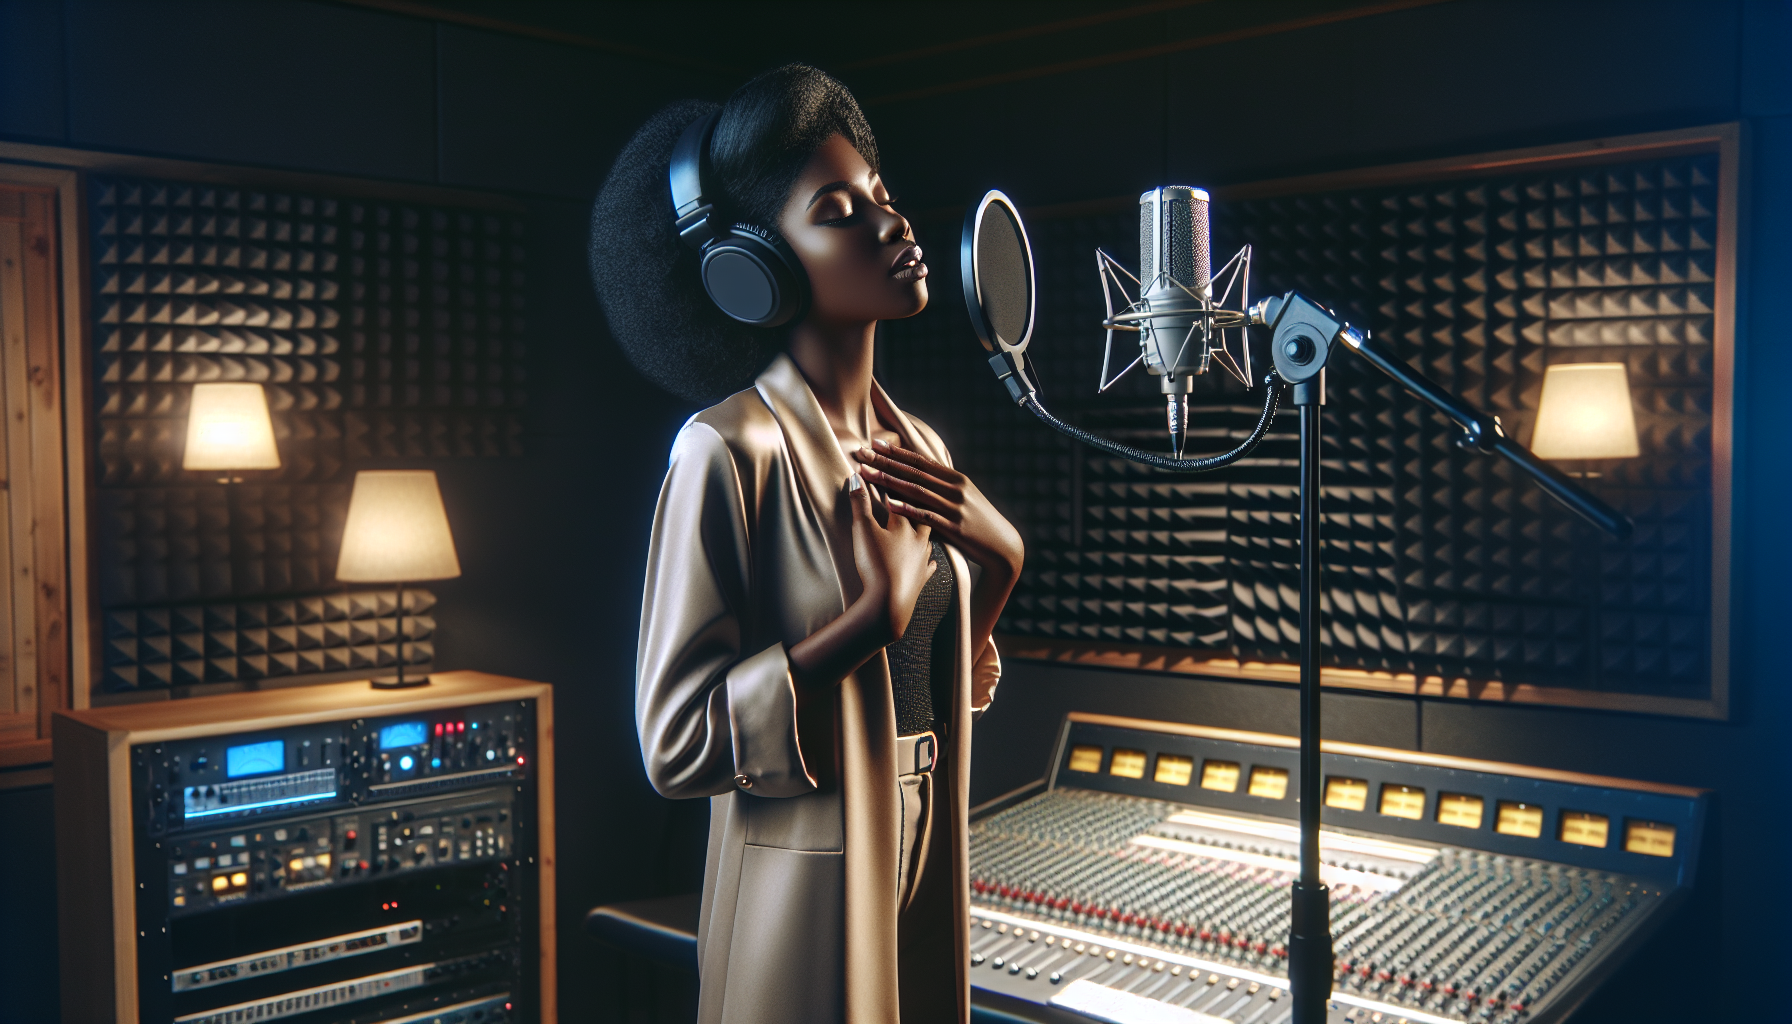
The rise of bedroom studios has transformed music production, making professional-quality sound accessible to anyone with passion and the right tools. Gone are the days when creating radio-ready tracks required a multi-million-dollar studio. Artists like Billie Eilish and Finneas, alongside countless electronic and hip-hop innovators, have produced some of the most successful music of the past decade from the confines of home recording studios. Yet, starting out can be daunting—tight budgets, cramped spaces, confusing gear choices, and limited guidance can make it feel overwhelming.
The good news: achieving a professional sound from your bedroom is within your grasp. In today’s music landscape, a “professional sound” means clean, balanced mixes that sound great on any speaker, without a hefty investment. This guide covers essential home studio setup, gear selection, cost-effective acoustic treatment, DAW workflow, and practical mixing strategies designed to help beginners like you maximize your space and create tracks that stand out.
Step 1: Setting Up Your Bedroom Studio for Success
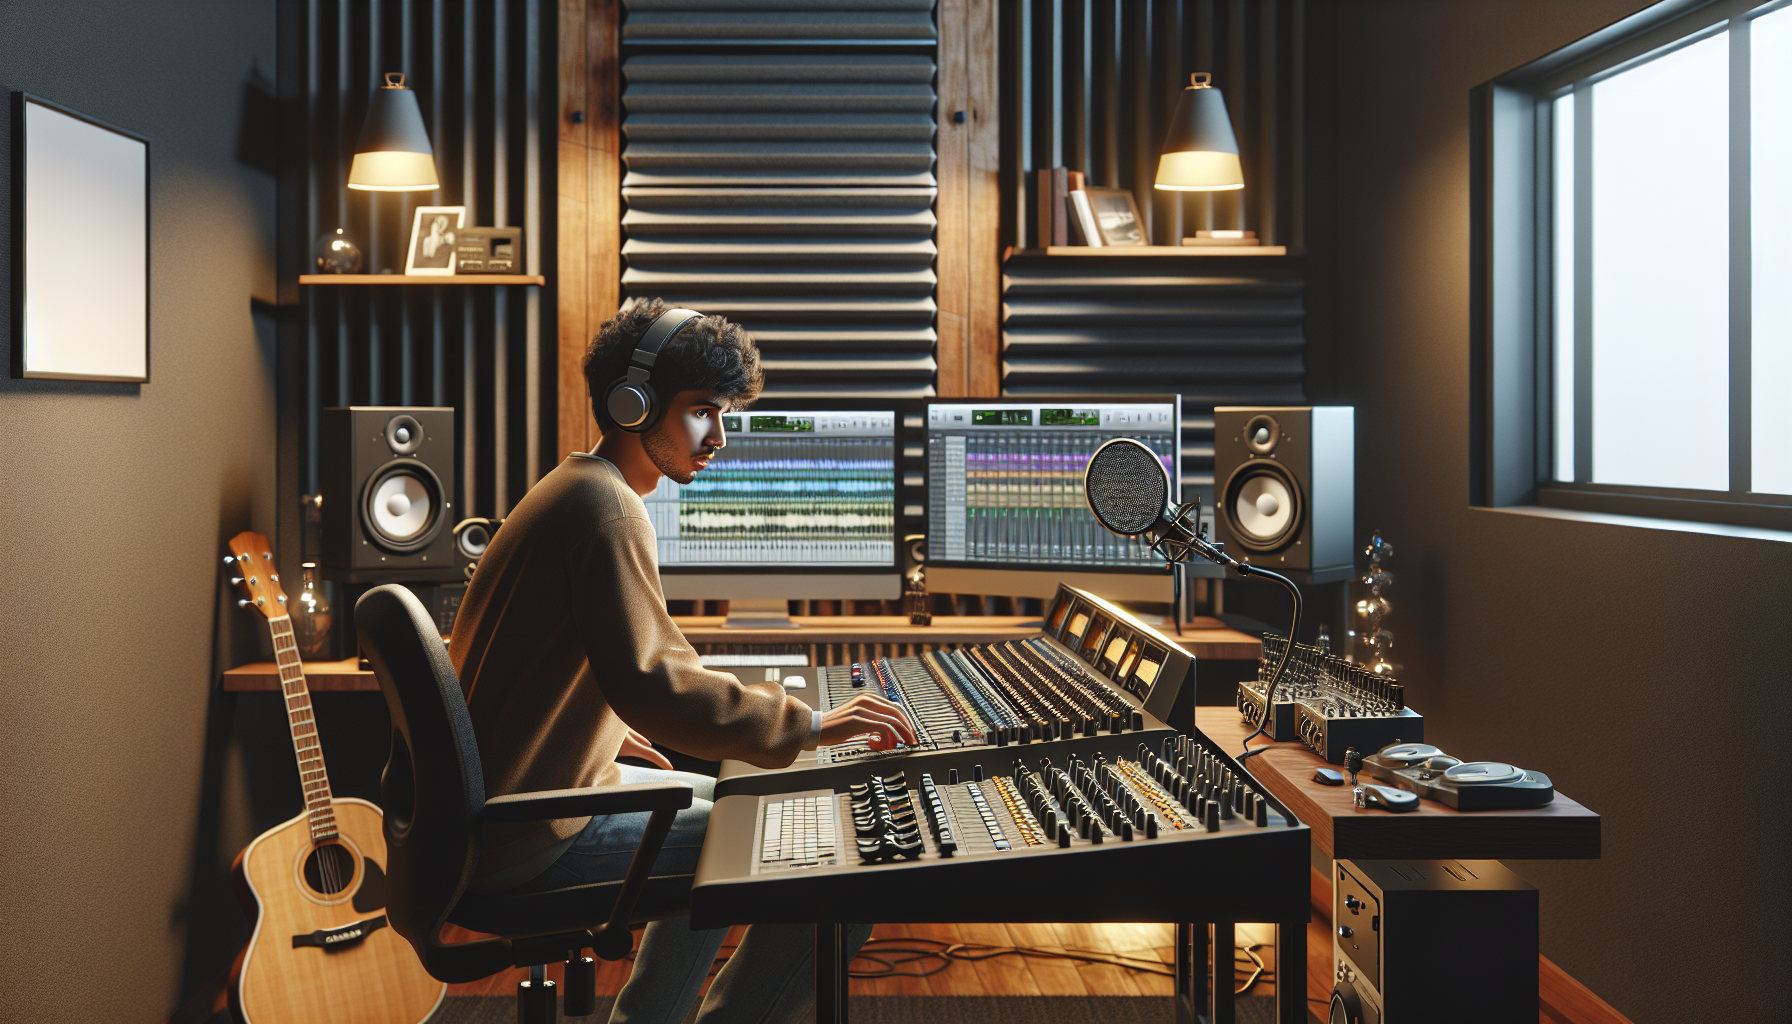
Begin your home studio setup with essential gear: a laptop or desktop, a beginner-friendly DAW, a reliable audio interface, and either quality headphones or budget-friendly studio monitor speakers. Focus on items that will have the most significant impact on your workflow. Consider popular audio interfaces like the Focusrite Scarlett Solo or the Audient EVO series, which offer excellent performance at a reasonable price. For clarity in audio production, headphones like the Audio-Technica ATH-M40x are highly recommended.
It’s crucial to choose the right spot for your home studio. Find a quiet area, away from noisy roads, windows, and high-traffic areas. Position your desk and monitors away from room corners and reflective surfaces to minimize acoustic issues.
Don’t be deterred by myths about expensive gear. Great music has often been created on simple setups. Prioritize a streamlined, logical, and distraction-free workflow over fancy hardware.
Pro Tip:
Start with the “minimum viable setup”: computer, DAW, headphones, and audio interface. You can achieve remarkable progress before adding more equipment.
Step 2: Affordable Acoustic Treatment & Sound Isolation Tips
Room acoustics have a significant impact on your mixes. Untreated walls can distort sound, complicating level and balance assessments. While professional studios use costly foam and bass traps, budget-friendly acoustic treatment can be effective. Consider using bookcases filled with books for natural diffusion, hanging heavy curtains to absorb echoes, and placing your desk so that speakers face the long wall.
For DIY panels, cover mineral wool or dense foam with fabric and place them behind your listening position or at key reflection points around your desk. Begin with basic absorption around your speakers and add more as necessary.
Soundproofing basics—like door sweeps and rolled towels under doors—can help reduce noise disturbances.
Pro Tip:
Clap in your room and listen for echo or “ringing.” To improve clarity, hang a heavy blanket or reposition furniture as needed.
Step 3: Choosing the Right Software & Workflow Tools
Selecting a DAW is crucial. Leading beginner DAWs like FL Studio, Ableton Live Lite, and GarageBand come with powerful features and trial versions. Choose a DAW that’s compatible with your computer, fits your budget, and matches your workflow. FL Studio is popular among beatmakers, while Ableton suits electronic producers who use loops and live performances. Start with free or entry-level versions before upgrading.
Enhance your sound with free or affordable VST plugins like Spitfire Audio LABS, Valhalla Supermassive, or Vital synth. These provide professional-grade effects and sounds without high costs.
Set up DAW templates for regular session types, organize projects with a folder system, and use reference tracks for guidance by A/B comparing your mix with professional tracks.
Accelerate learning via online communities, YouTube tutorials, and support forums for beginner producers.
Pro Tip:
Create a default project template in your DAW with your favorite sounds and setup to save time and start creating instantly.
Step 4: Critical Listening, Mixing, and Audio Quality Hacks
Critical listening is key to professional-sounding tracks. Sharpen your ears by referencing commercial tracks and switching between headphones, monitors, and smartphone speakers.
If your room has acoustic problems, mix at lower volumes with headphones and periodically check mixes in mono using your DAW’s built-in tools. Practice effective gain staging to maintain headroom for mastering and avoid clipping.
Ensure mixes translate well by testing them on various devices, like car speakers or earbuds. Use free plugins like iZotope Ozone Imager (stereo width) or Youlean Loudness Meter (level monitoring) to detect issues pre-export.
Always export your final track in 24-bit WAV format with a sample rate of at least 44.1kHz to meet industry standards.
Pro Tip:
Take 15-minute breaks during mixing to return with fresh ears, improving your ability to detect issues.
Step 5: Inspiration, Productivity, and Staying Consistent
Talent blossoms through consistency and inspiration. Set small, achievable production goals—finish a demo or learn a new effect each week. Focus on progress over perfection, and incorporate “music-only” sessions to inspire creativity.
Employ a session schedule: allocate time for writing, mixing, and research while preventing ear fatigue with breaks. Allow your studio setup to evolve with your growing skills, upgrading gear as necessary.
Engage with online communities for feedback and collaboration. Realize that every professional track began as a rough demo, and confidently share your work; others are eager to support you.
Pro Tip:
Maintain a production journal to track ideas and progress, motivating creativity and consistency.
Conclusion & Call to Action: Your Path to Professional Sound Starts Now
In summary: focus on an efficient home studio setup, utilize cost-effective acoustic treatment, select the right DAW and tools for your workflow, and develop your critical listening skills. Stay inspired and consistent. Creating radio-ready tracks is about approach, not extravagance.
Share your progress and experiences with fellow beginners, post online, and seek feedback. You don’t need a luxury studio; every successful track started with one song, and yours could be next.
Are you ready to move forward? Download our complimentary “Bedroom Producer’s Essentials Checklist”, subscribe to our beginner production tips email series, or leave a comment. Seeking guidance? Contact our team for affordable coaching or studio sessions to elevate your music production journey.
Others have succeeded from their bedrooms, and you can too—your professional sound begins today!


