Category: Recording

  • Essential Home Recording Studio Setup for Beginners

    Essential Home Recording Studio Setup for Beginners

    Essential Home Recording Studio Setup for Beginners

    Introduction to Home Recording Studios

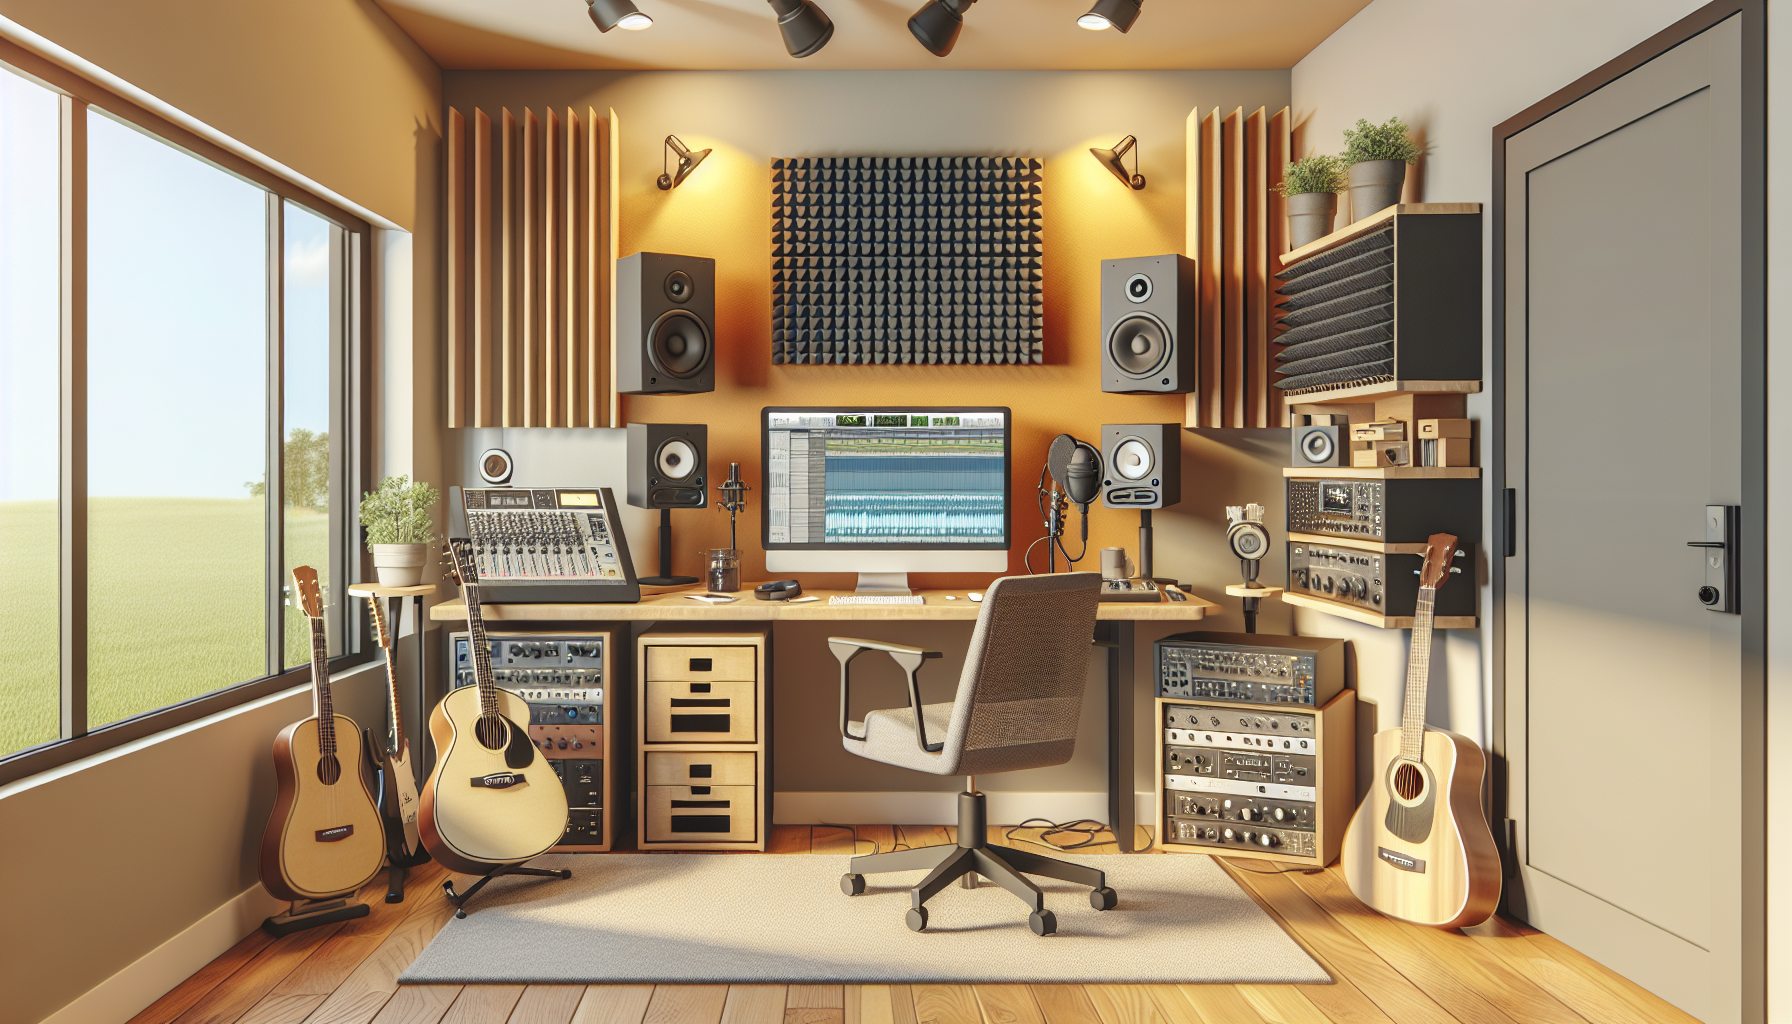
    A home recording studio transforms your personal space into a creative hub, allowing you to produce professional-level music recordings from the comfort of your home. It’s an indispensable asset for musicians at all levels, offering the liberty to explore and create music without the constraints of time and high studio costs. This guide covers the fundamentals of a basic studio setup, including the selection of the right room, essential equipment, and key software, empowering beginners to achieve high-quality music production.

    Selecting the Ideal Room for Acoustics

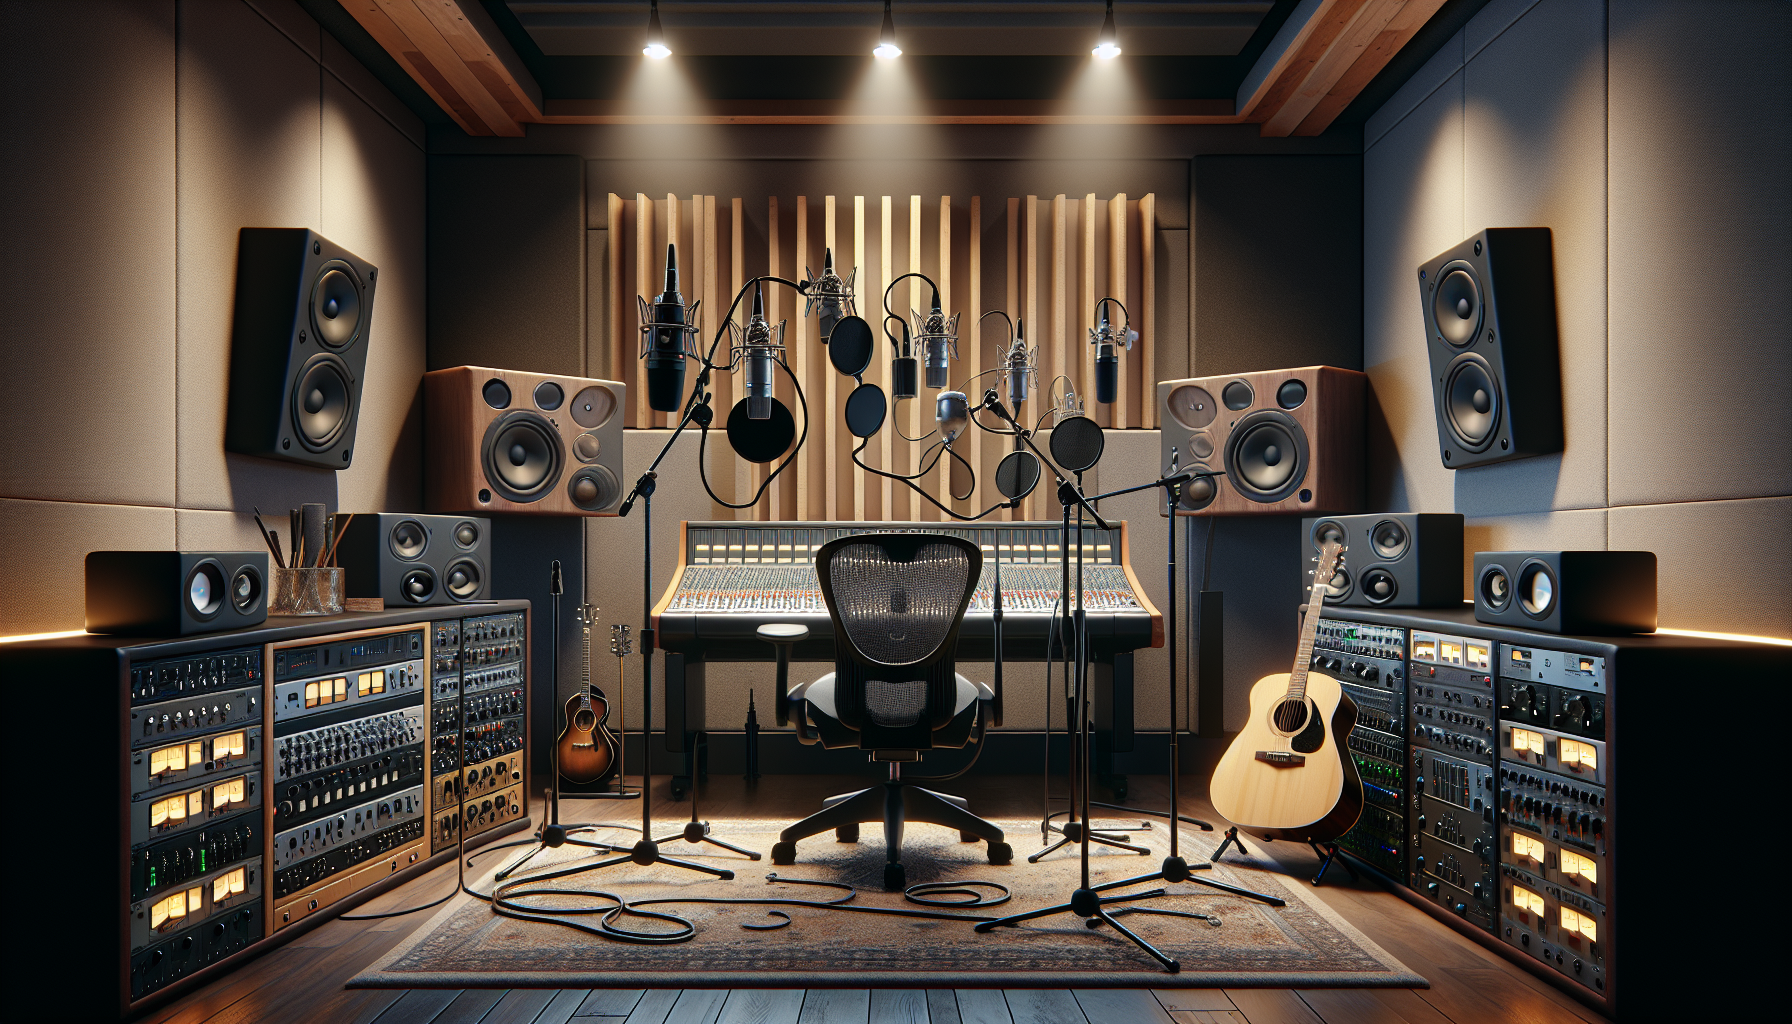
    The choice of room significantly affects the acoustics of your home studio. High ceilings and non-square shapes are preferable as they help manage echoes and reverberations more effectively. Choose a space that is quiet and free from external noises such as traffic, appliances, or other household disturbances. Employing acoustic treatments such as bass traps and acoustic panels will further enhance the sound quality of your recordings.

    Pro Tip: If options are limited, arranging your setup away from walls and corners will minimize audio distortions and improve recording quality.

    Essential Equipment for High-Quality Recordings

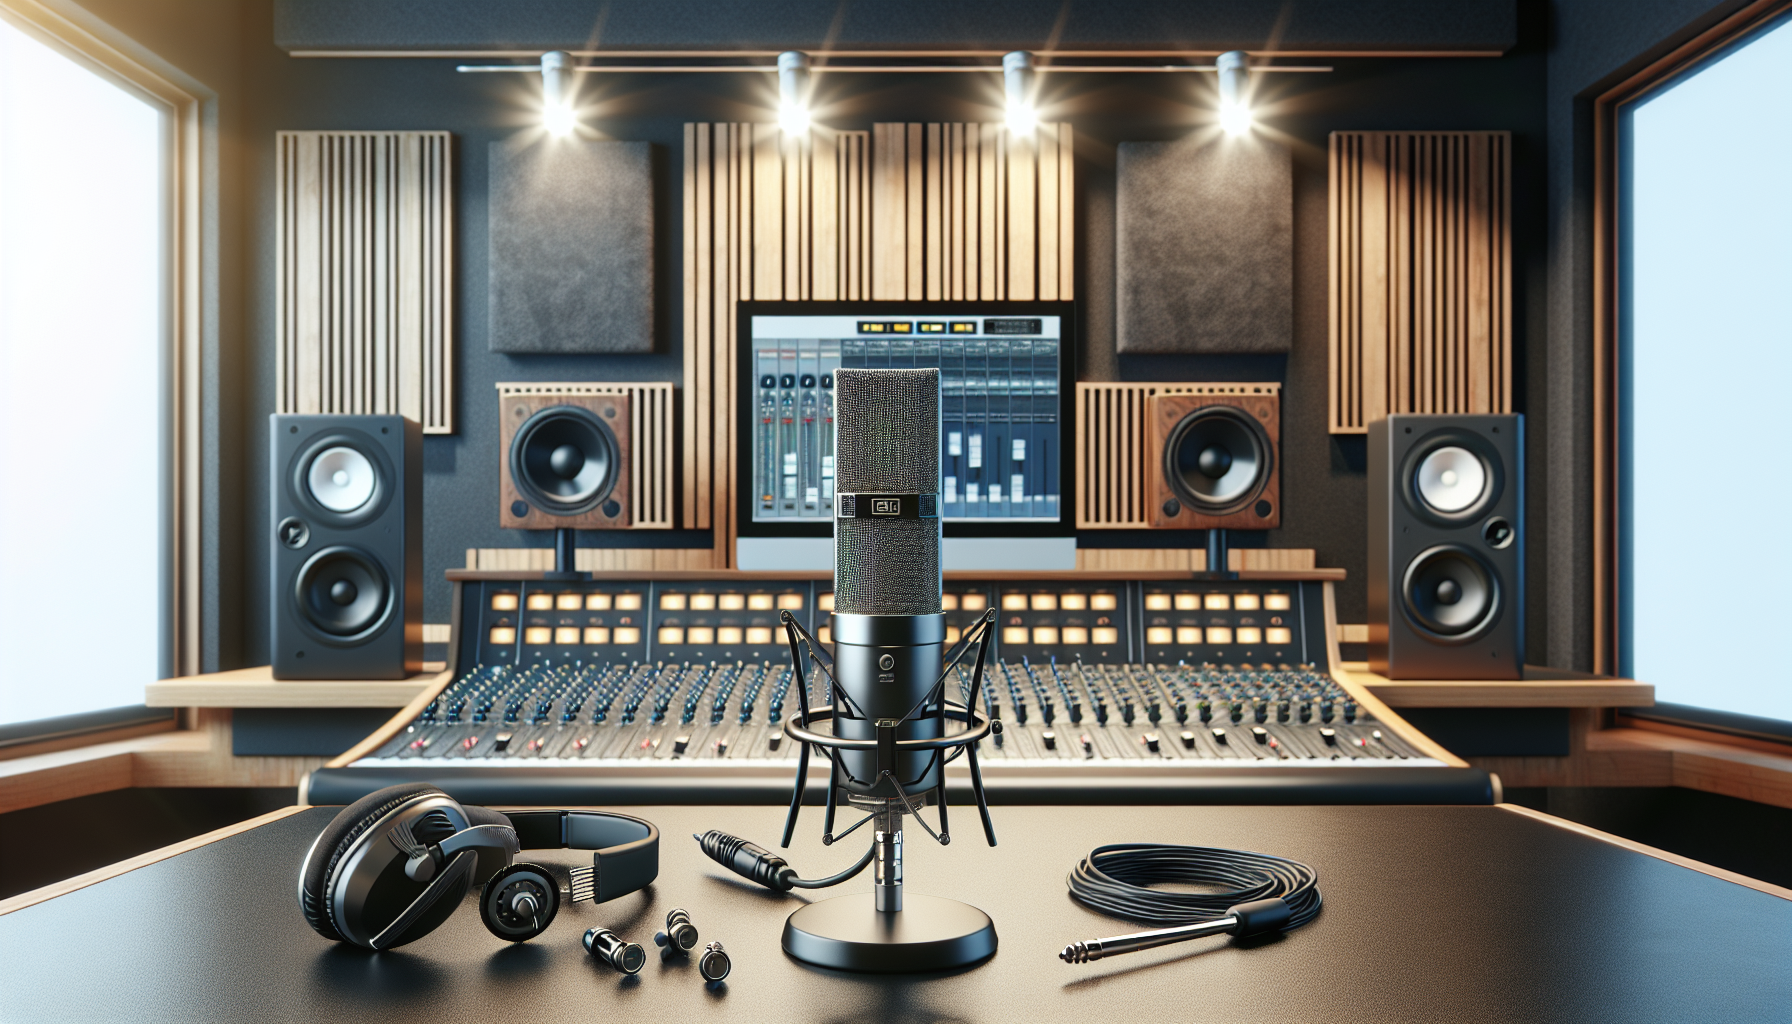
    The core of your home studio lies in the audio interface, which converts audio signals into a digital format that your computer can process. Beginners will find a basic two-channel interface sufficient to start. Invest in a large-diaphragm condenser microphone as it is adaptable for both vocals and various instruments. Additionally, studio monitors are crucial as they provide an accurate sound representation. This ensures what you record is exactly what you hear.

    Pro Tip: Match the microphone to your primary needs. For instance, a dynamic microphone suits loud sound sources such as drums, whereas a condenser microphone is perfect for capturing finer vocal and acoustic details.

    Effective Equipment Setup

    Initiate your setup by linking your audio interface to your computer using a USB or Thunderbolt connection. When positioning the microphone for vocals, place it about six inches from the mouth, just above the lips, and angle it towards the mouth to capture optimal sound. Arrange your studio monitors at ear level and in an equilateral triangle with your listening position to achieve the best stereo sound.

    Pro Tip: Organize your cables with cable managers to maintain a neat workspace and prevent recording interference or damage to cables.

    Choosing the Right Software

    Your recording journey requires a Digital Audio Workstation (DAW) to handle recording, editing, and mixing tasks. Beginners will appreciate user-friendly options like GarageBand for Mac or the free Audacity, available on various platforms. Start by setting up a new project, ready your audio tracks, and dive into recording. Learning basic editing functions such as cutting, fading, and applying effects will enhance your recordings further.

    Pro Tip: Opt for a 24-bit depth and a 48kHz sample rate when setting up your project, striking a balance between high-quality recordings and manageable file sizes.

    Optimizing Your Studio and Advancing Your Skills

    Maintaining your equipment regularly and keeping your studio clean are key to preserving the quality and longevity of your setup. To elevate your skills, engage with online resources such as tutorials, forums, and courses that specialize in home recording. Try various microphone positions and acoustic settings to discover the optimal arrangement for your music style.

    Pro Tip: Master keyboard shortcuts for your DAW to streamline your workflow and make music production more efficient.

    Conclusion

    Embarking on setting up your home recording studio represents a bold move towards realizing your musical aspirations. You now know the essentials needed for a successful studio and the significance of a conducive environment. Continuous improvement, driven by ongoing learning and experimentation, is the cornerstone of proficiency in music production. As you evolve, keep tweaking your setup to match your growing skills.

    Ready to start your music production journey? For further guidance or to explore advanced recording techniques, don’t hesitate to contact us!
  • Navigating Your First Studio Session: A Beginner’s Guide

    Navigating Your First Studio Session: A Beginner’s Guide

    Navigating Your First Studio Session: A Beginner’s Guide

    Welcome to the exciting world of music production! If you’re gearing up for your first studio session, it’s crucial to master both the technical skills and the social etiquette involved. This guide equips you with knowledge on studio etiquette, gear operation, and personal preparation to ensure your studio recording experience is successful and enjoyable.

    Getting Started with Studio Sessions

    Embarking on your first music studio session is an electrifying experience. It encompasses setting up equipment, recording tracks, and collaborating with audio engineers and producers to perfect your sound. Adequate preparation allows you to concentrate on the creative side of recording, helping you thrive in the new environment. A significant aspect of this preparation involves understanding studio etiquette and the fundamental operations of studio gear.

    Pro Tip: Familiarize yourself with the typical studio layout and its basic functions through online tutorials or guides prior to your session.

    Understanding Studio Etiquette

    To maintain a professional atmosphere, adherence to recording studio etiquette is paramount. Punctuality is crucial as it respects everyone’s time and maximizes your allocated studio hours. Efficiently managing your session, taking timely breaks, and interacting respectfully with the studio team and fellow artists will significantly improve the collaborative environment, leading to successful outcomes.

    Pro Tip: Confirm any guest visits with the studio manager in advance to avoid any session disruptions.

    Preparing for Your First Session

    Begin your session preparations long before setting foot in the studio. Engage in thorough practice and ensure you rest adequately—your voice and body must be in prime condition. Select songs that highlight your skills and set clear objectives for the session. Remember to bring essential items like your music, lyric sheets, and personal instruments.

    Pro Tip: Compile a checklist a few days before your session to make sure you have everything important.

    Navigating Studio Equipment

    A basic understanding of studio equipment is essential for any newcomer. Learn the functions of microphones, headphones, and soundboards to effortlessly navigate your session. Don’t shy away from asking your sound engineer for an equipment walkthrough. Communicating your sound preferences and comfort levels with the equipment to the engineer enhances recording quality.

    Pro Tip: Spend time learning about microphone polar patterns and headphone mixes, as this knowledge is crucial during tracking.

    Maximizing Productivity During Your Session

    Remaining focused and creative is essential, especially under the occasional stress of studio sessions. Be prepared to give and receive constructive criticism to boost your performance and the end product. Manage your work pace effectively, knowing when to advance or take a break. Regular reviews of recordings can help you spot issues early and ensure your vision is being accurately captured.

    Pro Tip: Keep a notebook handy to jot down ideas or feedback during your session.

    Post-Session Evaluation and Next Steps

    After your initial music studio session, thoroughly review your recordings to pinpoint areas for enhancement. Plan your future actions, which might include additional practice sessions or booking further studio time. Continuously develop your skills and build on your experiences with each studio visit.

    Pro Tip: Request feedback from your producer or engineer regarding potential improvements for future sessions.

    Each studio session is a stepping stone from a novice to a seasoned music producer.

    For personalized guidance or to book your next session, reach out to us today. Together, let’s create musical magic!

  • Ultimate Guide to Improving Vocal Recordings for Singers

    Ultimate Guide to Improving Vocal Recordings for Singers

    Mastering Vocal Recording Quality: A Comprehensive Guide

    For aspiring and experienced singers alike, the clarity and quality of vocal recordings can critically impact career opportunities. Whether crafting your first demo or recording vocals for a commercial release, comprehending the subtleties of vocal sound quality in studio environments is key. This guide delves into pivotal factors like microphone choice, room acoustics, and vocal effects that significantly enhance your outcomes. Prepare to elevate your vocal recordings to professional standards!

    Selecting the Ideal Microphone

    The microphone serves as your primary interface with the audio world, and choosing the right one is crucial for success. Condenser microphones excel in studio settings due to their sensitivity and ability to capture vocal subtleties. In contrast, dynamic microphones, known for their durability, are preferred for live performances. It is essential to choose a microphone that suits your voice type and musical style. Proper microphone positioning further optimizes your vocal capture.

    Pro Tip: Test multiple microphones by recording a segment of a song with each and compare the playback to find the best match for your voice.

    Enhancing Technique with Microphone Settings

    Refining your microphone technique can transform your recordings from amateur to professional level. The microphone’s distance and angle relative to the singer directly impact sound quality. Experiment with various positions to discover where your vocals sound best. Additionally, adjust settings like gain level and polar patterns to fit your vocal style and the room’s acoustics. Managing microphone techniques helps avoid issues with plosives and sibilance, which can obscure your recording’s clarity.

    Pro Tip: Utilize a pop filter and employ the ‘pencil trick’—tape a pencil vertically down the microphone’s diaphragm to mitigate the impact of plosives for a clearer sound.

    Optimizing Room Acoustics for Recording

    The recording environment plays a crucial role in the quality of your vocal tracks. A room with effective soundproofing eliminates unwanted noise and reverberations that can detract from the sound quality. Even basic DIY treatments, like installing acoustic panels or using heavy curtains, can significantly improve the acoustics. The aim is to create a ‘dead’ space that accurately captures the natural timbre of your voice without external interference.

    Pro Tip: If a professional setup is out of reach, try recording in a closet filled with clothes, which can mimic the sound absorption qualities of professional-grade materials.

    Applying Vocal Effects Wisely

    Using vocal effects like reverb and compression can polish your recordings, providing a professional-grade sound. However, it’s vital to apply these effects sparingly to avoid making the vocals feel distant or overly processed. Starting with a mild compression can help in maintaining consistent vocal levels. Adding a light reverb enhances the space around your voice without compromising its natural quality.

    Pro Tip: When using EQ, prioritize cutting problematic frequencies before boosting others to maintain the natural quality of your voice.

    The Art of Mixing and Mastering

    Mixing and mastering are critical in ensuring your vocals sit well within a track. Proper EQ techniques help eliminate frequency clashes and bring out the best in your voice. Use compression strategically to preserve the dynamic range while maintaining consistent levels. While home studios offer great flexibility, collaborating with a professional sound engineer can significantly boost the quality of major projects.

    Pro Tip: While mixing, alternate listening through different speakers and headphones to gauge how your vocal mix translates across various sound systems.

    Committing to Continuous Improvement

    Continuous learning and regular practice are indispensable for honing your recording skills. Experiment with new techniques, stay updated with the latest technological advancements, and seek constructive feedback on your recordings. Leveraging both formal training and self-guided learning resources like online tutorials can greatly aid in your development.

    Pro Tip: Regularly record and review your sessions to monitor your progress and identify areas needing improvement.

    Conclusion: Taking Your Vocal Recordings Further

    Advancing in vocal recording is an ongoing process of learning, practice, and experimentation. From selecting the appropriate microphone to perfecting your mixing skills, each step is an opportunity to better your sound. With patience and determination, use this guide to explore and enhance your vocal abilities and produce recordings that captivate your audience.

    Ready to enhance your vocal recordings? Explore deeper into each discussed topic, apply these techniques, and seek expert advice to refine your vocal prowess.

  • The Ultimate Guide to Mic Techniques for Studio Recording

    The Ultimate Guide to Mic Techniques for Studio Recording

    The Ultimate Guide to Mic Techniques for Studio Recording

    Welcome to Microphone Techniques for Studio Recording

    Welcome to your in-depth guide on microphone techniques for studio recording—a crucial skill for any sound engineer or recording artist. Mastering microphone usage can significantly improve your recordings, achieving a quality akin to that of a professional studio. This guide will cover various mic types, positioning tips, and optimal practices for capturing flawless audio.

    Choosing the Right Microphone

    Selecting the appropriate microphone is critical for your recording quality. Dynamic microphones, known for their robustness, are superb for capturing loud instruments like drums. For a wide frequency response and high sensitivity, condenser microphones are best for vocals and acoustic instruments, ensuring every detail is pristine. Ribbon microphones excel in recording ambient sounds due to their unique sound quality and bidirectional pickup pattern.

    Pro tip: Use a large-diaphragm condenser microphone to capture the subtle nuances of soft sounds.

    Mastering Microphone Placement

    Proper microphone placement is vital for capturing clear and balanced sound. Positioning the microphone roughly 6-12 inches from the source can reduce plosives while maintaining clarity. For instruments, it’s crucial to understand how placement affects the sound captured from different parts, such as the sound hole of a guitar or the rim of a drum.

    Pro tip: Take advantage of the proximity effect; come closer to the mic to enhance bass frequencies for a fuller vocal tone.

    Advanced Techniques for Professional Sound

    To further enhance recording quality, using multiple microphones offers additional depth and spatial quality. Employing techniques such as stereo miking captures a more authentic sound by mimicking human auditory perception. Also, mindful phase alignment ensures all sounds reinforce rather than cancel each other out.

    Pro tip: For optimal phase alignment, utilize phase-check techniques such as adjusting the phase switch and listen for a fuller sound.

    Optimizing Your Recording Environment

    The recording environment significantly influences sound quality. Basic acoustic treatments, like installing bass traps and diffusers, help prevent unwanted echoes and reverberation. Also, consider how different surfaces within the studio might reflect sound, and arrange your mics accordingly.

    Pro tip: In home studios, use heavy curtains and rugs in reflective areas to improve sound quality cost-effectively.

    Essential Tips and Avoidable Errors

    Avoid common mistakes such as fixed microphone setups without preliminary tests. Conducting short test sessions before final recordings can uncover potential problems with sound levels and clarity, enabling timely adjustments. Moreover, simple microphone maintenance, like regular cleaning and proper storage, extends their usability and performance.

    Pro tip: Record multiple takes with varying mic placements to provide options during editing, offering varying textures and depth.

    Conclusion: Elevate Your Recording Skills

    You’re now equipped with essential knowledge on microphone types, placement strategies, and the importance of a suitable recording environment. Mastery comes through experimentation and continual learning. Apply these techniques and share your experiences with others to refine your skills further.

    For more in-depth learning, consider exploring tutorials on specific mic techniques or industry case studies. Whether you’re tweaking your studio setup or experimenting with different mic settings, each step you take is crucial. If you wish to boost your recording quality further or learn more about capturing exceptional sound, explore our additional resources or contact us for personalized advice.

  • How to Enhance Vocal Recordings in Any Studio

    How to Enhance Vocal Recordings in Any Studio

    How to Enhance Vocal Recordings in Any Studio

    Whether you’re just starting out as a vocalist looking to enhance your tracks, or you’re a seasoned engineer aiming to capture the ideal vocal performance, mastering the art of vocal recording is essential for high-quality music production. This guide explores essential techniques from mic placement to advanced audio processing that will help your vocals stand out with clarity and impact.

    Selecting the Perfect Microphone for Vocals

    The first step in pristine vocal recordings is choosing the right microphone. Different mics capture sound uniquely, significantly impacting the vocal tonal quality. Condenser microphones are often preferred in studio settings for their sensitivity and broad frequency response, which are great for catching the subtle nuances of vocal performances.

    Pro Tip: Test various mics when possible. Each microphone can highlight different qualities of the voice, so experimenting can help you identify the best fit for your vocalist’s unique timbre.

    Mastering Microphone Placement and Technique

    The placement of the microphone is as critical as the choice of mic itself. Positioning the microphone about 6-12 inches from the singer, slightly above their mouth and angled towards it, can enhance the sound quality by reducing harsh plosive sounds and minimizing breathing noises.

    Pro Tip: Always use a pop filter and tailor your mic placement to the room’s acoustics. Experiment with different positions to find the optimal setup that offers the clearest sound.

    Smart Use of EQ and Compression

    Equalization (EQ) and compression are vital tools for fine-tuning vocal sound. Use EQ to adjust specific frequencies so the singer’s voice fits well in the mix. Compression helps maintain a consistent volume, ensuring vocals integrate smoothly with other tracks without overwhelming or getting lost.

    Pro Tip: Start with subtle compression settings and adjust gradually. Overdoing compression can rob the vocals of their natural dynamic and make them sound flat.

    Enhancing Vocals with Reverb and Delay

    Reverb and delay are effects that add depth and create space around the vocals, helping integrate them into the mix more naturally. However, it’s crucial to use these effects judiciously to keep the vocals from sounding distant or overly processed.

    Pro Tip: A short, soft reverb can add warmth without overshadowing the vocals. Consider using minimal, varied delays to enrich the vocal track subtly.

    Ensuring Emotional Resonance and Vocal Clarity

    While technical skills are fundamental, the emotional impact and clarity of the vocal performance are what truly captivate listeners. Effective communication and support during recording sessions can significantly enhance the vocalist’s performance.

    Pro Tip: Focus on building a positive relationship with the vocalist. A comfortable and confident performer is more likely to deliver powerful vocals. Offer constructive feedback and allow breaks to maintain vocal quality.

    Drive Your Vocal Tracks to Excellence

    Enhancing vocal recordings combines technical expertise, quality equipment, and attention to detail. By applying these strategies, you’re set to deliver vocals that are not only technically proficient but also emotionally compelling. Remember, adaptability is key since each vocalist and project is unique.

    Ready to delve deeper into music production or need expert help with your recording projects? Visit our blog for additional insights or contact our professional team for tailored support. Elevate your music production to new heights with our professional recording services.