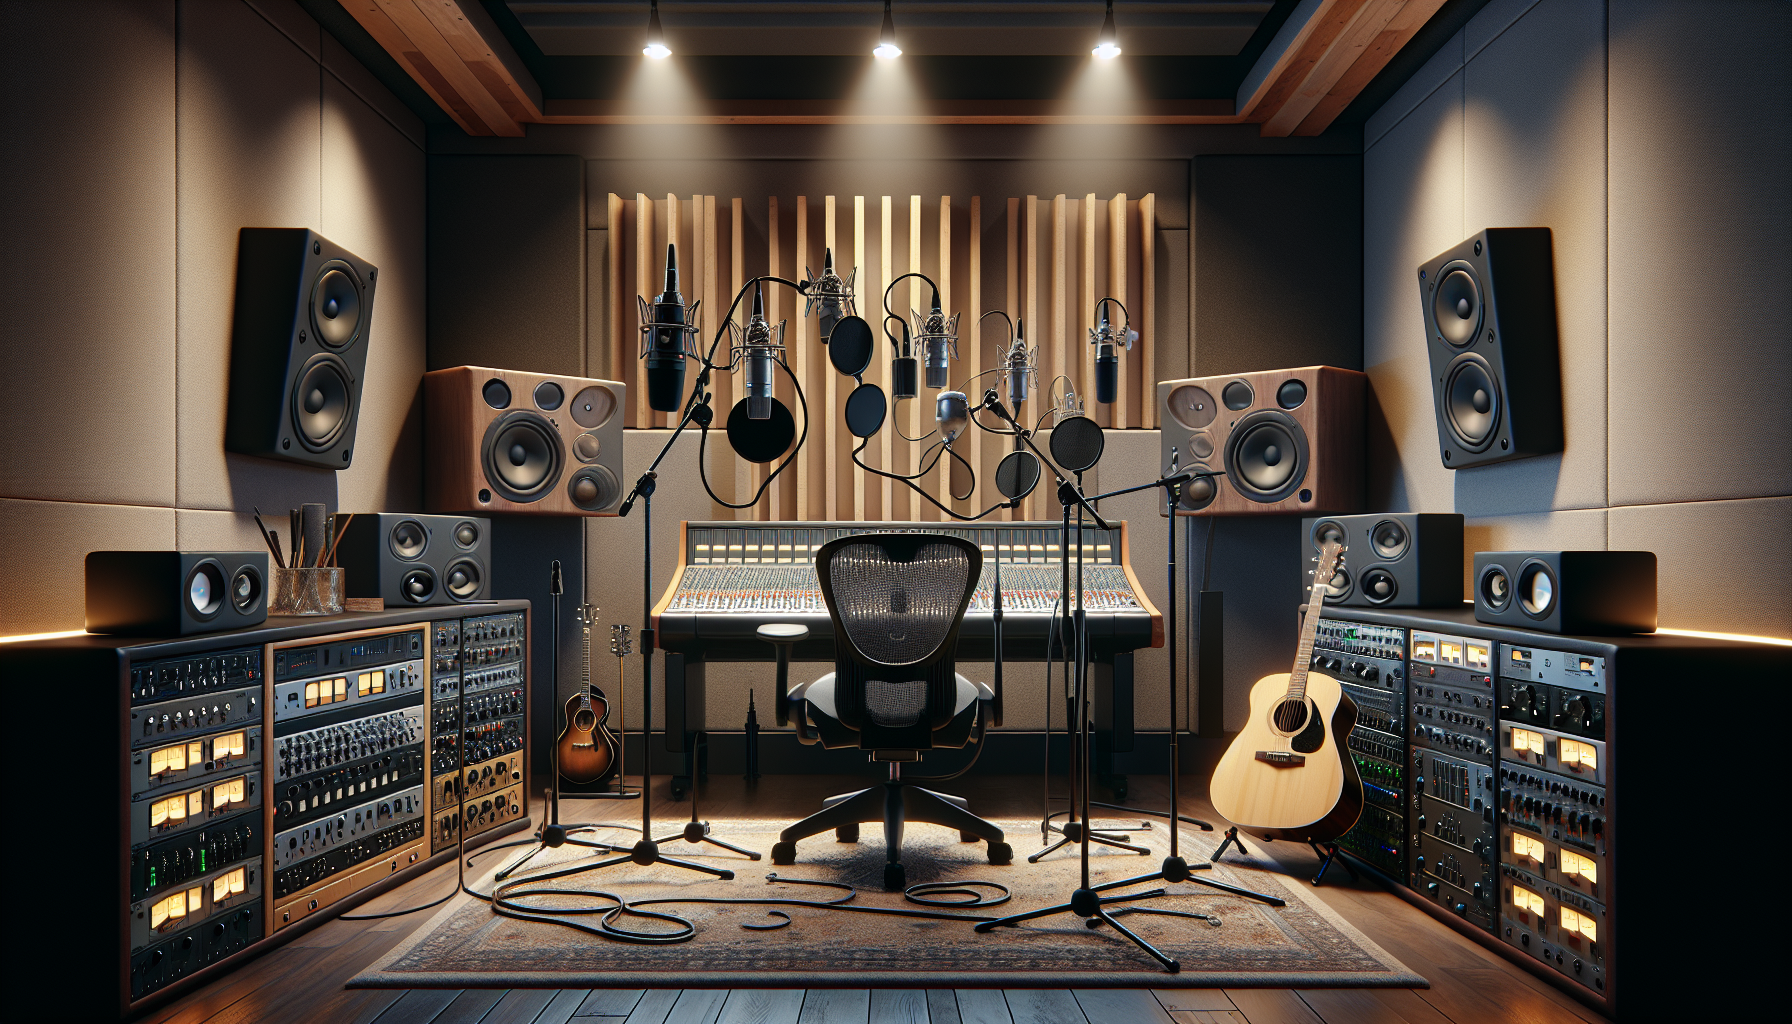
The Ultimate Guide to Mic Techniques for Studio Recording
Welcome to Microphone Techniques for Studio Recording
Welcome to your in-depth guide on microphone techniques for studio recording—a crucial skill for any sound engineer or recording artist. Mastering microphone usage can significantly improve your recordings, achieving a quality akin to that of a professional studio. This guide will cover various mic types, positioning tips, and optimal practices for capturing flawless audio.
Choosing the Right Microphone
Selecting the appropriate microphone is critical for your recording quality. Dynamic microphones, known for their robustness, are superb for capturing loud instruments like drums. For a wide frequency response and high sensitivity, condenser microphones are best for vocals and acoustic instruments, ensuring every detail is pristine. Ribbon microphones excel in recording ambient sounds due to their unique sound quality and bidirectional pickup pattern.
Pro tip: Use a large-diaphragm condenser microphone to capture the subtle nuances of soft sounds.
Mastering Microphone Placement
Proper microphone placement is vital for capturing clear and balanced sound. Positioning the microphone roughly 6-12 inches from the source can reduce plosives while maintaining clarity. For instruments, it’s crucial to understand how placement affects the sound captured from different parts, such as the sound hole of a guitar or the rim of a drum.
Pro tip: Take advantage of the proximity effect; come closer to the mic to enhance bass frequencies for a fuller vocal tone.
Advanced Techniques for Professional Sound
To further enhance recording quality, using multiple microphones offers additional depth and spatial quality. Employing techniques such as stereo miking captures a more authentic sound by mimicking human auditory perception. Also, mindful phase alignment ensures all sounds reinforce rather than cancel each other out.
Pro tip: For optimal phase alignment, utilize phase-check techniques such as adjusting the phase switch and listen for a fuller sound.
Optimizing Your Recording Environment
The recording environment significantly influences sound quality. Basic acoustic treatments, like installing bass traps and diffusers, help prevent unwanted echoes and reverberation. Also, consider how different surfaces within the studio might reflect sound, and arrange your mics accordingly.
Pro tip: In home studios, use heavy curtains and rugs in reflective areas to improve sound quality cost-effectively.
Essential Tips and Avoidable Errors
Avoid common mistakes such as fixed microphone setups without preliminary tests. Conducting short test sessions before final recordings can uncover potential problems with sound levels and clarity, enabling timely adjustments. Moreover, simple microphone maintenance, like regular cleaning and proper storage, extends their usability and performance.
Pro tip: Record multiple takes with varying mic placements to provide options during editing, offering varying textures and depth.
Conclusion: Elevate Your Recording Skills
You’re now equipped with essential knowledge on microphone types, placement strategies, and the importance of a suitable recording environment. Mastery comes through experimentation and continual learning. Apply these techniques and share your experiences with others to refine your skills further.
For more in-depth learning, consider exploring tutorials on specific mic techniques or industry case studies. Whether you’re tweaking your studio setup or experimenting with different mic settings, each step you take is crucial. If you wish to boost your recording quality further or learn more about capturing exceptional sound, explore our additional resources or contact us for personalized advice.

Leave a Reply