Category: Ultimate Guides

  • Ultimate Guide to Improving Vocal Recordings for Singers

    Ultimate Guide to Improving Vocal Recordings for Singers

    Mastering Vocal Recording Quality: A Comprehensive Guide

    For aspiring and experienced singers alike, the clarity and quality of vocal recordings can critically impact career opportunities. Whether crafting your first demo or recording vocals for a commercial release, comprehending the subtleties of vocal sound quality in studio environments is key. This guide delves into pivotal factors like microphone choice, room acoustics, and vocal effects that significantly enhance your outcomes. Prepare to elevate your vocal recordings to professional standards!

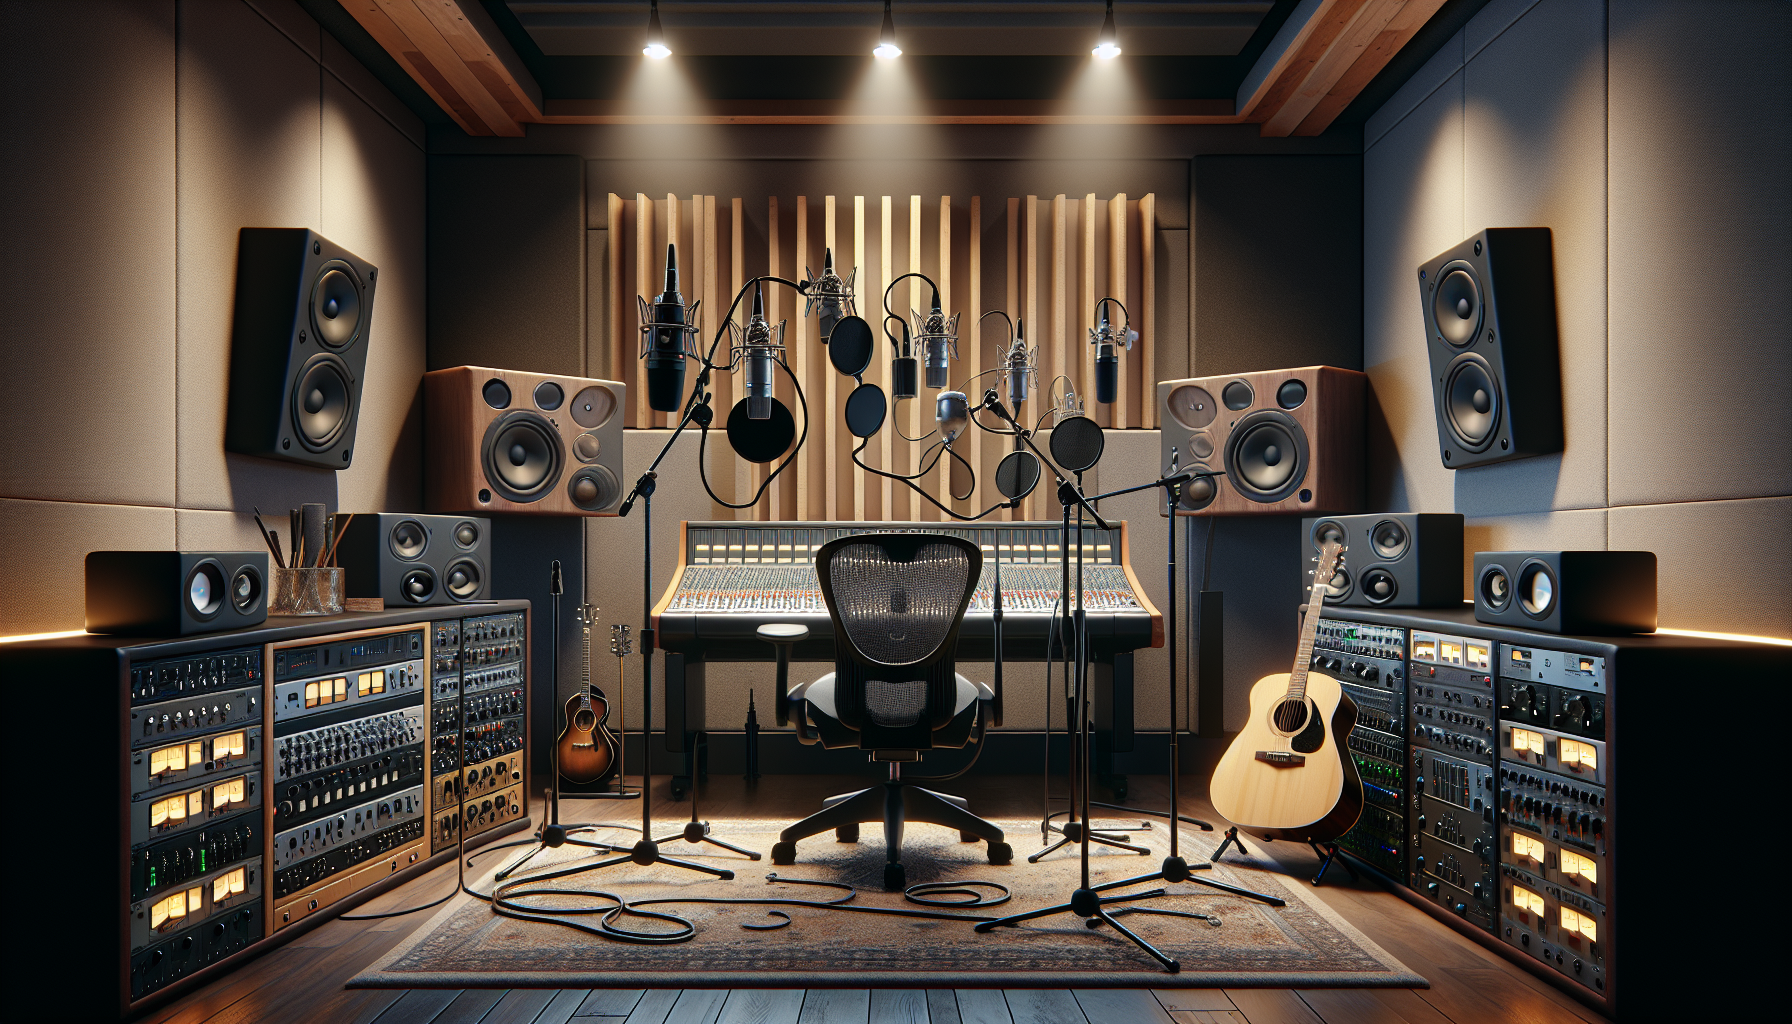
    Selecting the Ideal Microphone

    The microphone serves as your primary interface with the audio world, and choosing the right one is crucial for success. Condenser microphones excel in studio settings due to their sensitivity and ability to capture vocal subtleties. In contrast, dynamic microphones, known for their durability, are preferred for live performances. It is essential to choose a microphone that suits your voice type and musical style. Proper microphone positioning further optimizes your vocal capture.

    Pro Tip: Test multiple microphones by recording a segment of a song with each and compare the playback to find the best match for your voice.

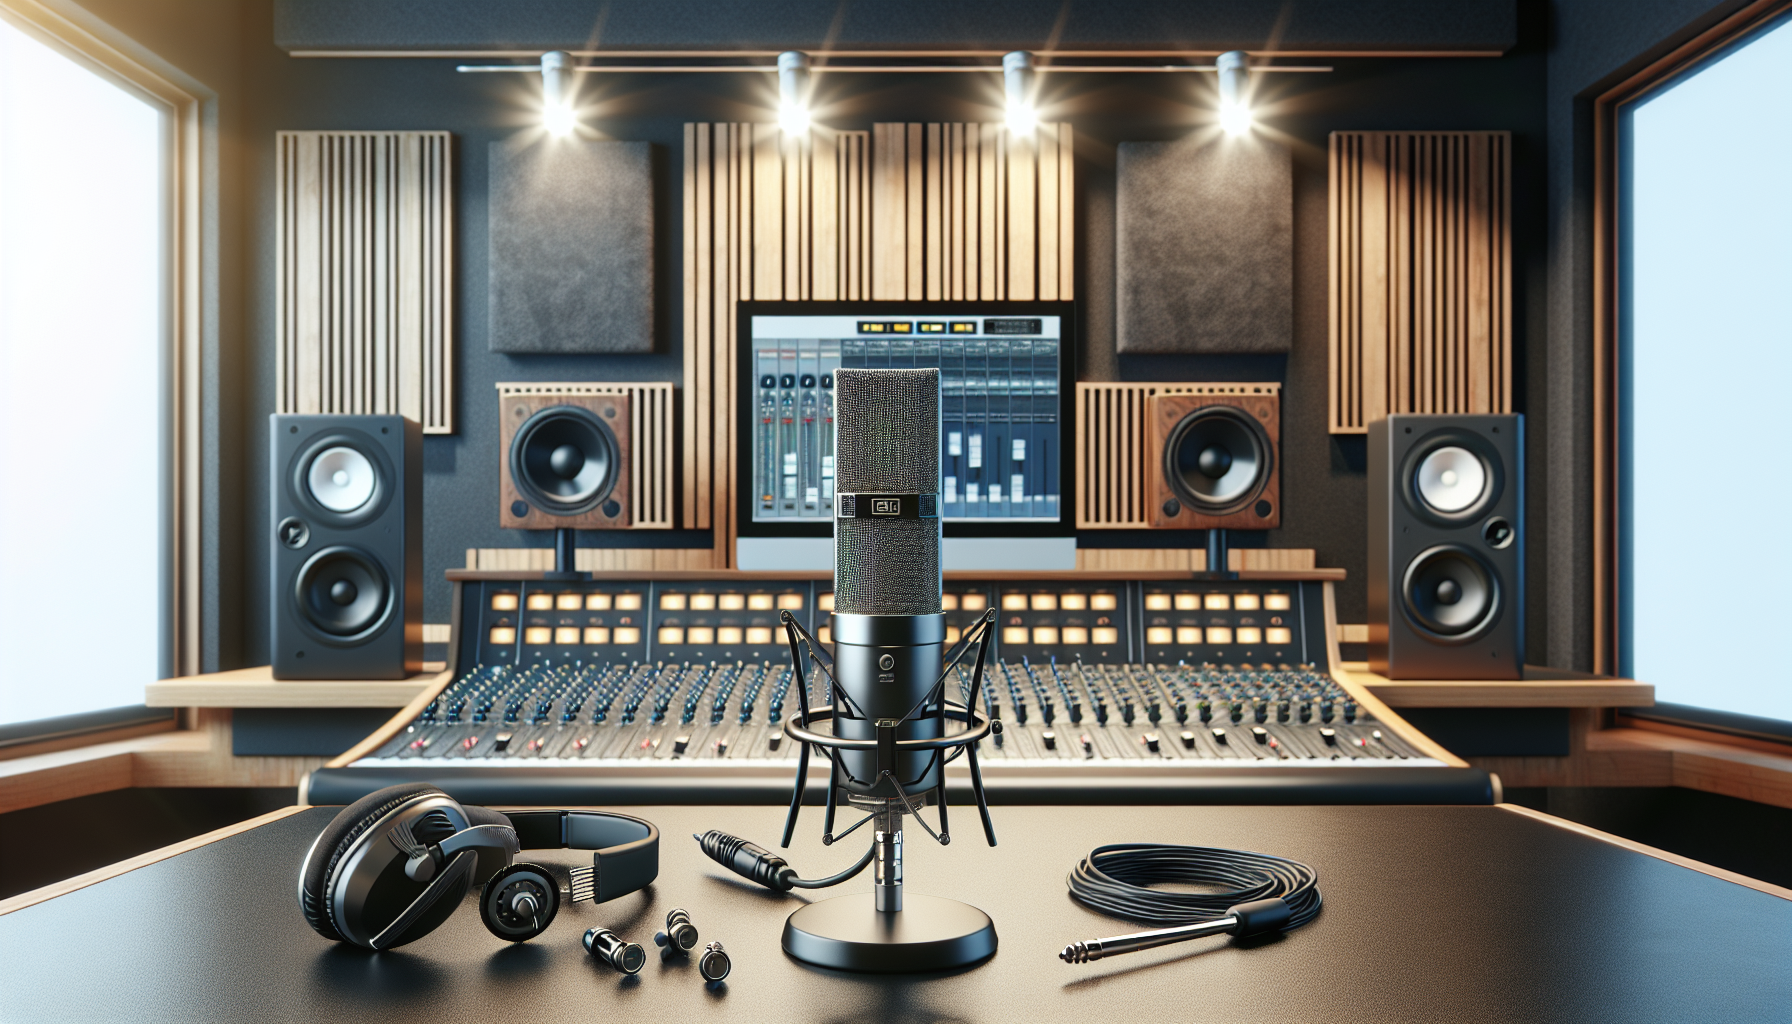
    Enhancing Technique with Microphone Settings

    Refining your microphone technique can transform your recordings from amateur to professional level. The microphone’s distance and angle relative to the singer directly impact sound quality. Experiment with various positions to discover where your vocals sound best. Additionally, adjust settings like gain level and polar patterns to fit your vocal style and the room’s acoustics. Managing microphone techniques helps avoid issues with plosives and sibilance, which can obscure your recording’s clarity.

    Pro Tip: Utilize a pop filter and employ the ‘pencil trick’—tape a pencil vertically down the microphone’s diaphragm to mitigate the impact of plosives for a clearer sound.

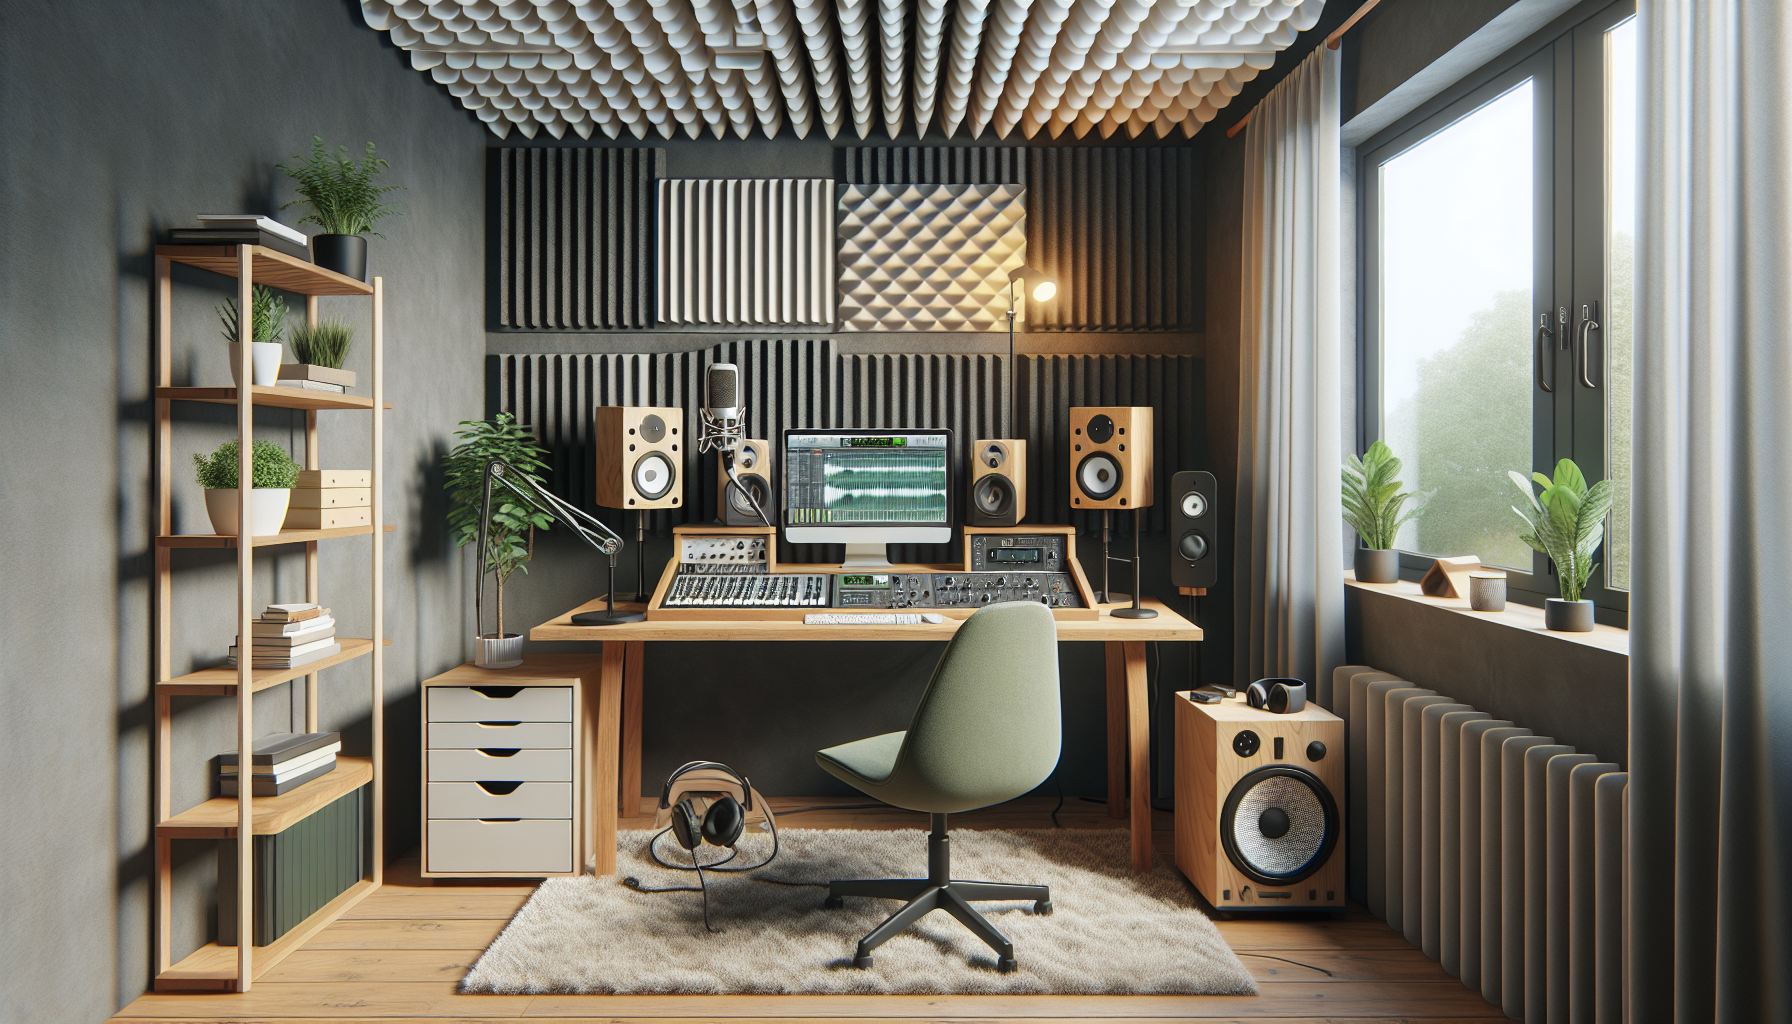
    Optimizing Room Acoustics for Recording

    The recording environment plays a crucial role in the quality of your vocal tracks. A room with effective soundproofing eliminates unwanted noise and reverberations that can detract from the sound quality. Even basic DIY treatments, like installing acoustic panels or using heavy curtains, can significantly improve the acoustics. The aim is to create a ‘dead’ space that accurately captures the natural timbre of your voice without external interference.

    Pro Tip: If a professional setup is out of reach, try recording in a closet filled with clothes, which can mimic the sound absorption qualities of professional-grade materials.

    Applying Vocal Effects Wisely

    Using vocal effects like reverb and compression can polish your recordings, providing a professional-grade sound. However, it’s vital to apply these effects sparingly to avoid making the vocals feel distant or overly processed. Starting with a mild compression can help in maintaining consistent vocal levels. Adding a light reverb enhances the space around your voice without compromising its natural quality.

    Pro Tip: When using EQ, prioritize cutting problematic frequencies before boosting others to maintain the natural quality of your voice.

    The Art of Mixing and Mastering

    Mixing and mastering are critical in ensuring your vocals sit well within a track. Proper EQ techniques help eliminate frequency clashes and bring out the best in your voice. Use compression strategically to preserve the dynamic range while maintaining consistent levels. While home studios offer great flexibility, collaborating with a professional sound engineer can significantly boost the quality of major projects.

    Pro Tip: While mixing, alternate listening through different speakers and headphones to gauge how your vocal mix translates across various sound systems.

    Committing to Continuous Improvement

    Continuous learning and regular practice are indispensable for honing your recording skills. Experiment with new techniques, stay updated with the latest technological advancements, and seek constructive feedback on your recordings. Leveraging both formal training and self-guided learning resources like online tutorials can greatly aid in your development.

    Pro Tip: Regularly record and review your sessions to monitor your progress and identify areas needing improvement.

    Conclusion: Taking Your Vocal Recordings Further

    Advancing in vocal recording is an ongoing process of learning, practice, and experimentation. From selecting the appropriate microphone to perfecting your mixing skills, each step is an opportunity to better your sound. With patience and determination, use this guide to explore and enhance your vocal abilities and produce recordings that captivate your audience.

    Ready to enhance your vocal recordings? Explore deeper into each discussed topic, apply these techniques, and seek expert advice to refine your vocal prowess.

  • The Ultimate Guide to Mic Techniques for Studio Recording

    The Ultimate Guide to Mic Techniques for Studio Recording

    The Ultimate Guide to Mic Techniques for Studio Recording

    Welcome to Microphone Techniques for Studio Recording

    Welcome to your in-depth guide on microphone techniques for studio recording—a crucial skill for any sound engineer or recording artist. Mastering microphone usage can significantly improve your recordings, achieving a quality akin to that of a professional studio. This guide will cover various mic types, positioning tips, and optimal practices for capturing flawless audio.

    Choosing the Right Microphone

    Selecting the appropriate microphone is critical for your recording quality. Dynamic microphones, known for their robustness, are superb for capturing loud instruments like drums. For a wide frequency response and high sensitivity, condenser microphones are best for vocals and acoustic instruments, ensuring every detail is pristine. Ribbon microphones excel in recording ambient sounds due to their unique sound quality and bidirectional pickup pattern.

    Pro tip: Use a large-diaphragm condenser microphone to capture the subtle nuances of soft sounds.

    Mastering Microphone Placement

    Proper microphone placement is vital for capturing clear and balanced sound. Positioning the microphone roughly 6-12 inches from the source can reduce plosives while maintaining clarity. For instruments, it’s crucial to understand how placement affects the sound captured from different parts, such as the sound hole of a guitar or the rim of a drum.

    Pro tip: Take advantage of the proximity effect; come closer to the mic to enhance bass frequencies for a fuller vocal tone.

    Advanced Techniques for Professional Sound

    To further enhance recording quality, using multiple microphones offers additional depth and spatial quality. Employing techniques such as stereo miking captures a more authentic sound by mimicking human auditory perception. Also, mindful phase alignment ensures all sounds reinforce rather than cancel each other out.

    Pro tip: For optimal phase alignment, utilize phase-check techniques such as adjusting the phase switch and listen for a fuller sound.

    Optimizing Your Recording Environment

    The recording environment significantly influences sound quality. Basic acoustic treatments, like installing bass traps and diffusers, help prevent unwanted echoes and reverberation. Also, consider how different surfaces within the studio might reflect sound, and arrange your mics accordingly.

    Pro tip: In home studios, use heavy curtains and rugs in reflective areas to improve sound quality cost-effectively.

    Essential Tips and Avoidable Errors

    Avoid common mistakes such as fixed microphone setups without preliminary tests. Conducting short test sessions before final recordings can uncover potential problems with sound levels and clarity, enabling timely adjustments. Moreover, simple microphone maintenance, like regular cleaning and proper storage, extends their usability and performance.

    Pro tip: Record multiple takes with varying mic placements to provide options during editing, offering varying textures and depth.

    Conclusion: Elevate Your Recording Skills

    You’re now equipped with essential knowledge on microphone types, placement strategies, and the importance of a suitable recording environment. Mastery comes through experimentation and continual learning. Apply these techniques and share your experiences with others to refine your skills further.

    For more in-depth learning, consider exploring tutorials on specific mic techniques or industry case studies. Whether you’re tweaking your studio setup or experimenting with different mic settings, each step you take is crucial. If you wish to boost your recording quality further or learn more about capturing exceptional sound, explore our additional resources or contact us for personalized advice.

  • Ultimate Guide to Home Studio Setup for Beginners

    Ultimate Guide to Home Studio Setup for Beginners

    Ultimate Guide to Home Studio Setup for Beginners

    Introduction: Starting Your Home Studio Journey

    Setting up a home recording studio is an exciting endeavor for any budding music producer or artist. In this guide, we’ll cover everything you need to set up a functional and professional-sounding studio at home, including selecting the right space, choosing essential equipment, setup tips, and soundproofing—all tailored for beginners on a budget.

    Selecting the Ideal Space for Your Studio

    The location of your studio greatly affects the sound quality and atmosphere of your recordings. Look for a moderately sized room that’s away from external noises like traffic or appliances, and avoid perfectly square spaces to minimize sound distortions. This setup helps in achieving better sound quality.

    Pro tip: Choose spaces with irregular shapes or rooms that can accommodate some furniture for natural sound diffusion.

    Essential Equipment for Beginners

    Investing in quality equipment is crucial for your studio. Start with the essentials: a sturdy microphone, reliable headphones, a solid audio interface, and precise monitors. Prioritize quality within your budget, looking to trusted brands such as Audio-Technica for microphones and Focusrite for audio interfaces.

    Pro tip: Read online reviews and, if possible, test the equipment in-store to make sure it fits your specific needs before purchasing.

    How to Set Up Your Studio Equipment

    Setting up your equipment correctly is essential for a smooth recording experience. Install your audio interface first, then connect your microphone and monitors. Organize cables neatly to avoid clutter and interference, and get familiar with the signal flow to handle basic troubleshooting effectively.

    Pro tip: Label your cables and connections to simplify troubleshooting and reconfiguration in the future.

    Basics of Acoustic Treatment

    Effective acoustic treatment is key to improving recording quality. You can start with simple DIY solutions: position bookshelves filled with books, hang heavy curtains, or make homemade panels from acoustic foam. These budget-friendly options help reduce unwanted echoes and reverberations, enhancing sound clarity.

    Pro tip: Before investing in expensive treatments, try various placements with affordable materials like rugs and fabric to gauge their impact.

    Recording and Monitoring Best Practices

    Adopt effective recording techniques to optimize your sessions and prevent common errors like clipping or distortion. Monitoring at a comfortable level is crucial for accurate sound assessment. Learn essential microphone positioning techniques based on the instrument or voice to ensure optimal sound capture.

    Pro tip: Utilize a pop filter when recording vocals to minimize disruptive “p” and “t” sounds, ensuring smoother audio quality.

    Smart Budgeting for Your Home Studio

    Creating a home studio on a budget doesn’t mean compromising on quality. Focus on investing in essential, high-quality equipment first and consider bundle deals or second-hand gear for cost savings. This approach allows you to maximize your resources without sacrificing performance.

    Pro tip: Sign up for newsletters from music equipment retailers to receive updates on sales and promotions.

    Conclusion: Embark on Your Recording Journey

    Starting your home recording studio is a fulfilling step towards musical creativity and independence. Remember, the journey doesn’t end here. As you expand your knowledge and experience, continue to upgrade your setup and refine your skills. Take every opportunity to enhance your expertise and consult professionals to further your learning.

    For a deeper exploration into advanced studio setups, keep an eye on our blog or reach out for personalized advice on advancing your home studio.