Ultimate Guide to Home Studio Setup for Beginners
Introduction: Starting Your Home Studio Journey
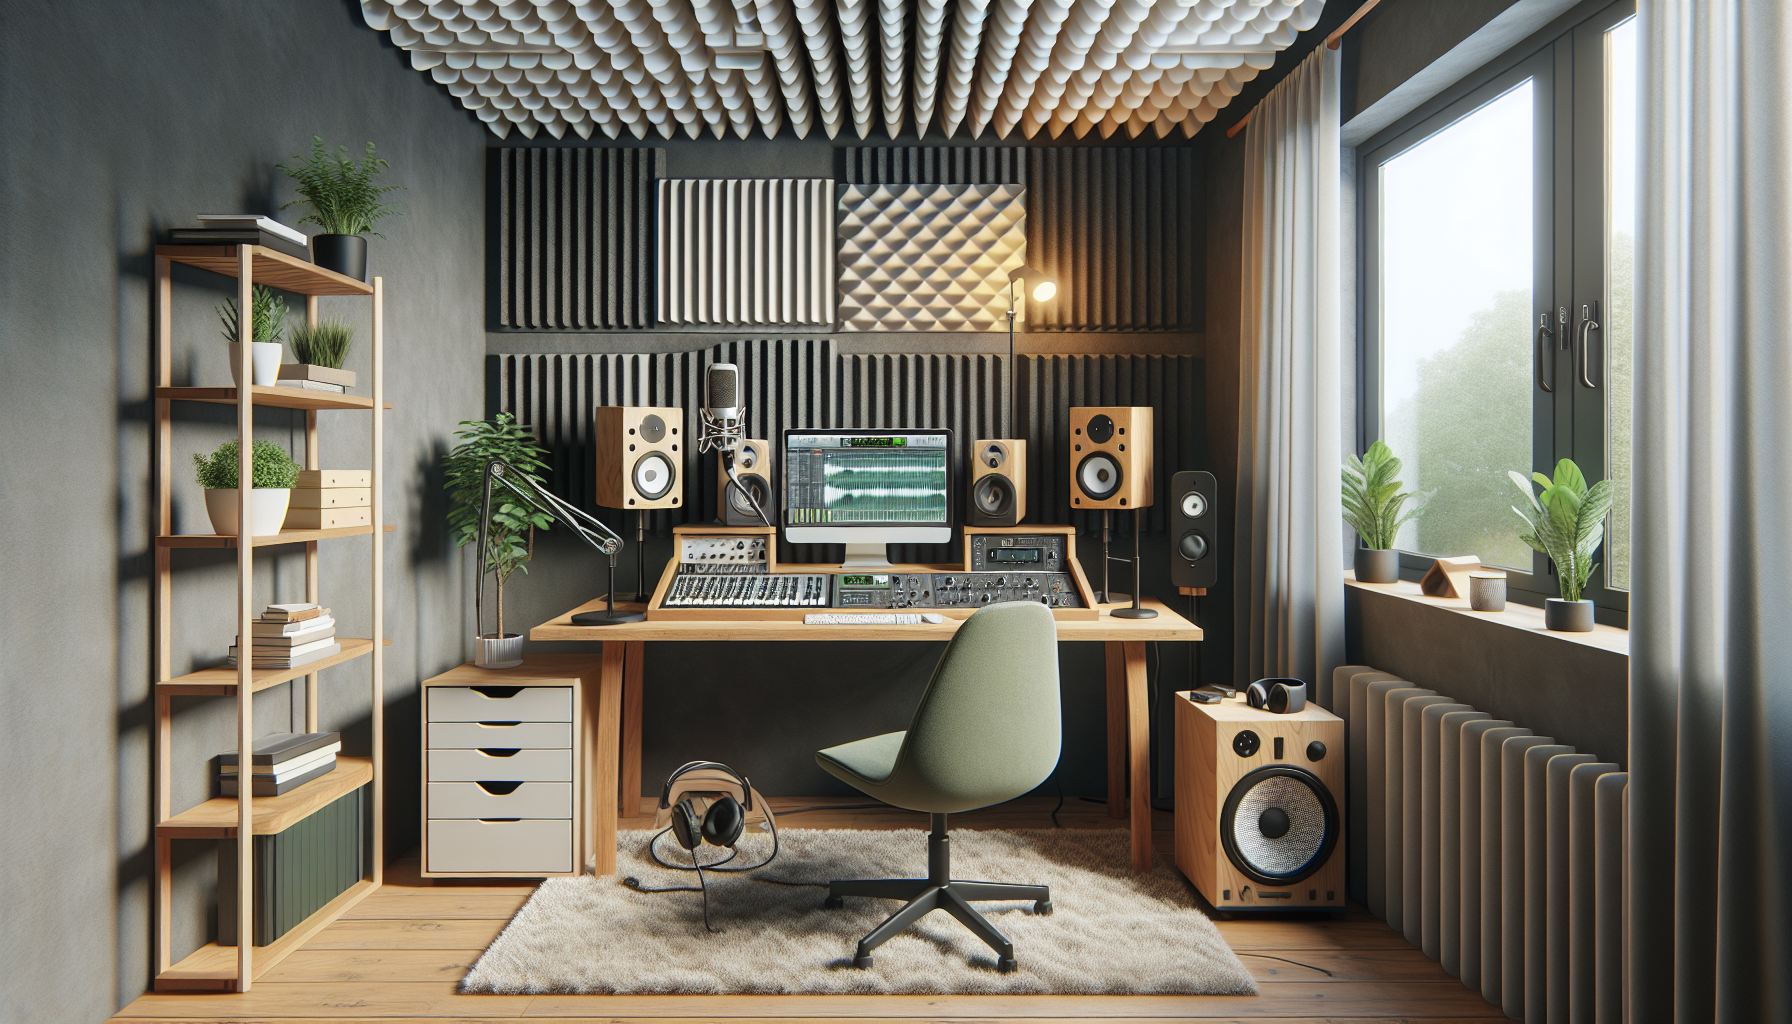
Setting up a home recording studio is an exciting endeavor for any budding music producer or artist. In this guide, we’ll cover everything you need to set up a functional and professional-sounding studio at home, including selecting the right space, choosing essential equipment, setup tips, and soundproofing—all tailored for beginners on a budget.
Selecting the Ideal Space for Your Studio
The location of your studio greatly affects the sound quality and atmosphere of your recordings. Look for a moderately sized room that’s away from external noises like traffic or appliances, and avoid perfectly square spaces to minimize sound distortions. This setup helps in achieving better sound quality.
Pro tip: Choose spaces with irregular shapes or rooms that can accommodate some furniture for natural sound diffusion.
Essential Equipment for Beginners
Investing in quality equipment is crucial for your studio. Start with the essentials: a sturdy microphone, reliable headphones, a solid audio interface, and precise monitors. Prioritize quality within your budget, looking to trusted brands such as Audio-Technica for microphones and Focusrite for audio interfaces.
Pro tip: Read online reviews and, if possible, test the equipment in-store to make sure it fits your specific needs before purchasing.
How to Set Up Your Studio Equipment
Setting up your equipment correctly is essential for a smooth recording experience. Install your audio interface first, then connect your microphone and monitors. Organize cables neatly to avoid clutter and interference, and get familiar with the signal flow to handle basic troubleshooting effectively.
Pro tip: Label your cables and connections to simplify troubleshooting and reconfiguration in the future.
Basics of Acoustic Treatment
Effective acoustic treatment is key to improving recording quality. You can start with simple DIY solutions: position bookshelves filled with books, hang heavy curtains, or make homemade panels from acoustic foam. These budget-friendly options help reduce unwanted echoes and reverberations, enhancing sound clarity.
Pro tip: Before investing in expensive treatments, try various placements with affordable materials like rugs and fabric to gauge their impact.
Recording and Monitoring Best Practices
Adopt effective recording techniques to optimize your sessions and prevent common errors like clipping or distortion. Monitoring at a comfortable level is crucial for accurate sound assessment. Learn essential microphone positioning techniques based on the instrument or voice to ensure optimal sound capture.
Pro tip: Utilize a pop filter when recording vocals to minimize disruptive “p” and “t” sounds, ensuring smoother audio quality.
Smart Budgeting for Your Home Studio
Creating a home studio on a budget doesn’t mean compromising on quality. Focus on investing in essential, high-quality equipment first and consider bundle deals or second-hand gear for cost savings. This approach allows you to maximize your resources without sacrificing performance.
Pro tip: Sign up for newsletters from music equipment retailers to receive updates on sales and promotions.
Conclusion: Embark on Your Recording Journey
Starting your home recording studio is a fulfilling step towards musical creativity and independence. Remember, the journey doesn’t end here. As you expand your knowledge and experience, continue to upgrade your setup and refine your skills. Take every opportunity to enhance your expertise and consult professionals to further your learning.
For a deeper exploration into advanced studio setups, keep an eye on our blog or reach out for personalized advice on advancing your home studio.
Leave a Reply