The Complete Guide to Recording Vocals: Studio Techniques for Every Singer
Introduction: The Importance of Quality Vocal Recording
Creating high-quality vocal recordings is crucial for meeting modern listener expectations and crafting music that truly resonates. Whether you’re an indie artist recording at home or an experienced studio singer, the quality of your recordings greatly influences how listeners connect with your music. Common issues include muffled voices, background noise, and inconsistent tone. Many believe high-end studios are indispensable for great quality; however, effective techniques and knowledge often surpass pure equipment investment.
This guide provides actionable techniques for vocal recording, balancing technical skills with capturing a captivating performance. We’ll discuss studio setups, microphone selection, vocal processing tips, vocal comping techniques, and effective communication with producers or engineers to enhance your sound. Let’s transform your recordings from amateur to radio-ready step by step.
Setting Up Your Studio: The Key to Great Vocals
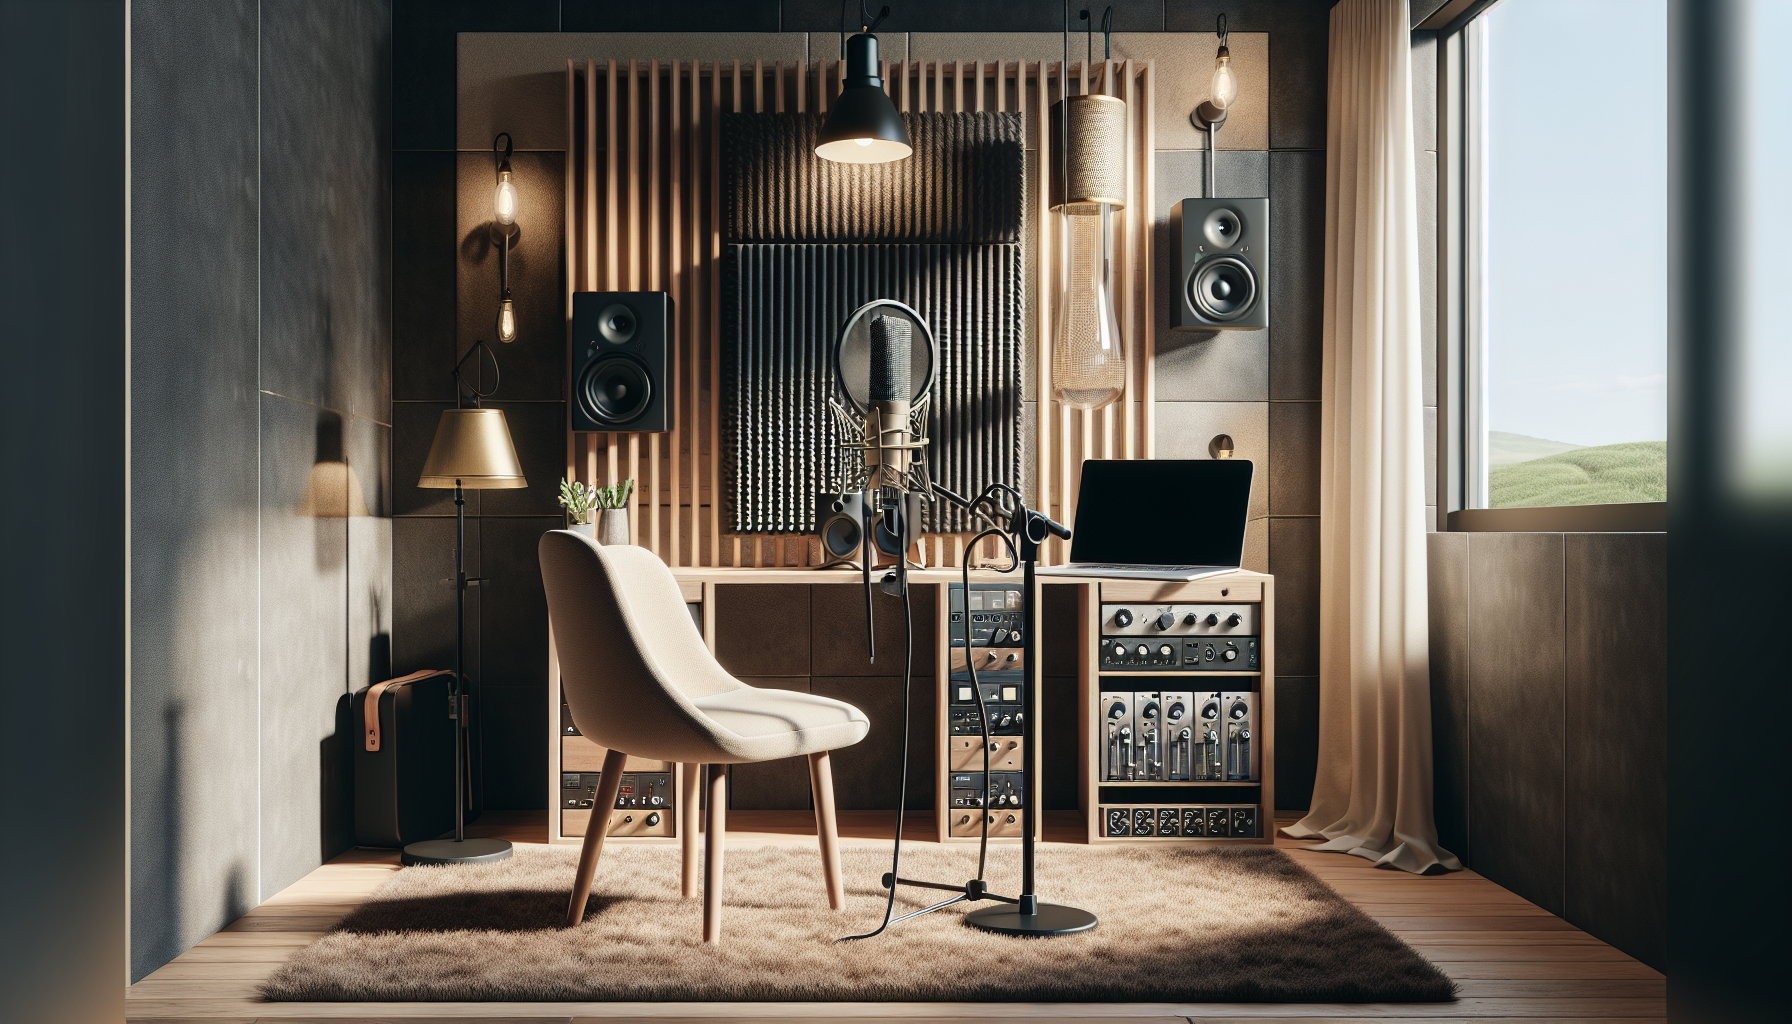
A well-prepared recording space is crucial for professional-sounding vocals. Acoustic treatment doesn’t have to be costly. The aim is to reduce reflections, prevent standing waves, and minimize reverb. Use DIY solutions like thick duvets, foam panels, or portable isolation shields to improve your sound.
Eliminate background noise from appliances, fans, and traffic. Turn off unnecessary electronics and consider noise gates. Proper mic placement is essential: position it away from corners and reflective surfaces, and use a pop filter to reduce plosives. Practical elements—good lighting, a comfortable chair, and water—keep you relaxed during long sessions.
- Use acoustic panels or DIY blankets at reflection points
- Invest in a microphone stand, pop filter, and isolation shield
- Close windows/doors and unplug noisy appliances
- Ensure adequate lighting and an ergonomic workspace
Pro tip: Perform a “clap test”—clap loudly and listen for echoes. If echoes persist, add more absorption materials to reduce reflections.
Choosing the Best Microphone and Vocal Chain
Selecting the right microphone can elevate a vocal take. Dynamic microphones like the Shure SM7B suit aggressive vocals, while large-diaphragm condensers like the Audio-Technica AT4040 are perfect for pop and acoustic sounds. Ribbon mics offer a warm, vintage tone.
Your vocal chain—microphone, preamp, interface, cables, and headphones—must be reliable. A clean XLR cable and a quality interface prevent noise. Ensure compatibility with your DAW and use setups you understand. A shock mount prevents rumble, and closed-back headphones avoid mic bleed.
When testing microphones, listen for clarity and the mic’s impact on your voice. Test several before purchasing; it’s not always the most expensive option that suits your needs.
Pro tip: Rent microphones and record the same passage with each to find the best fit for your voice and genre.
Vocal Techniques: Achieving Your Best Performance
A technically perfect recording is incomplete without a dynamic performance. Start with vocal warm-ups like gentle scales and lip trills to protect your voice. Maintain a consistent distance from the mic (usually 6–8 inches), angle it to reduce sibilance, and vary proximity for impact.
For added fullness, layer key lines and add harmonies. Escape “demo mode” by visualizing a live audience, moving naturally, and focusing on storytelling. Overcome nerves by taking breaks, rehearsing sections, and recording multiple takes.
Pro tip: Perform three takes in a row without playback to overcome overthinking, revealing an unexpected perfect take.
Workflow: Comping, Editing, and Processing Essentials
Comping—the process of combining the best sections of multiple takes—is crucial for a polished performance. In your DAW, stay organized with color-coded takes and clear labels.
Basic editing involves trimming silences, aligning timing, and minimal pitch correction. Remove background noise with editing tools and start processing with a high-pass EQ, light compression, and a de-esser. Refer to commercial tracks to calibrate your ears, and adjust presets to fit your unique sound.
Pro tip: Focus on emotion and storytelling during comping. Sometimes, an imperfect line carries more magic than a technically flawless take.
Communicating with Producers and Engineers Effectively
Good communication with producers is key to productive vocal sessions. Arrive with a clear vision and use references to illustrate your desired sound. Respect the producer’s workflow by listening fully before giving feedback and being open to suggestions.
Studio etiquette involves punctuality, prepared parts, and respect for collaborators’ expertise. Miscommunications often stem from unclear time management or creative boundaries, so maintain transparency and respect to yield the best results.
Pro tip: Spend five minutes at each session’s start clarifying your vision and, at the end, review successes and improvements for future sessions.
Advanced Vocal Production Techniques for Every Singer
Experienced vocalists thrive on experimental techniques. Try splitting harmonies, using whispered doubles, or automating effects for impact. Listen for unconventional layer ideas, like octave doubles or non-lyrical sounds, to add uniqueness.
To manage common issues like sibilance and plosives, use a de-esser, proper mic placement, and dual pop filters. For room tone, increase absorption.
Balance is vital—pursuing perfection might drain life from your vocals. Trust your ears and embrace slightly flawed but heartfelt takes.
Pro tip: Experiment with rules, like unusual harmonies or distortion, to carve your unique vocal identity.
Conclusion & Practical Next Steps: Your Guide to Pro-Level Vocal Recordings
This guide has covered essential vocal recording techniques—setting up your space, selecting the right gear, managing workflows, and delivering expressive performances. As you apply these recording vocal techniques, follow this pre-session checklist for success:
Leave a Reply