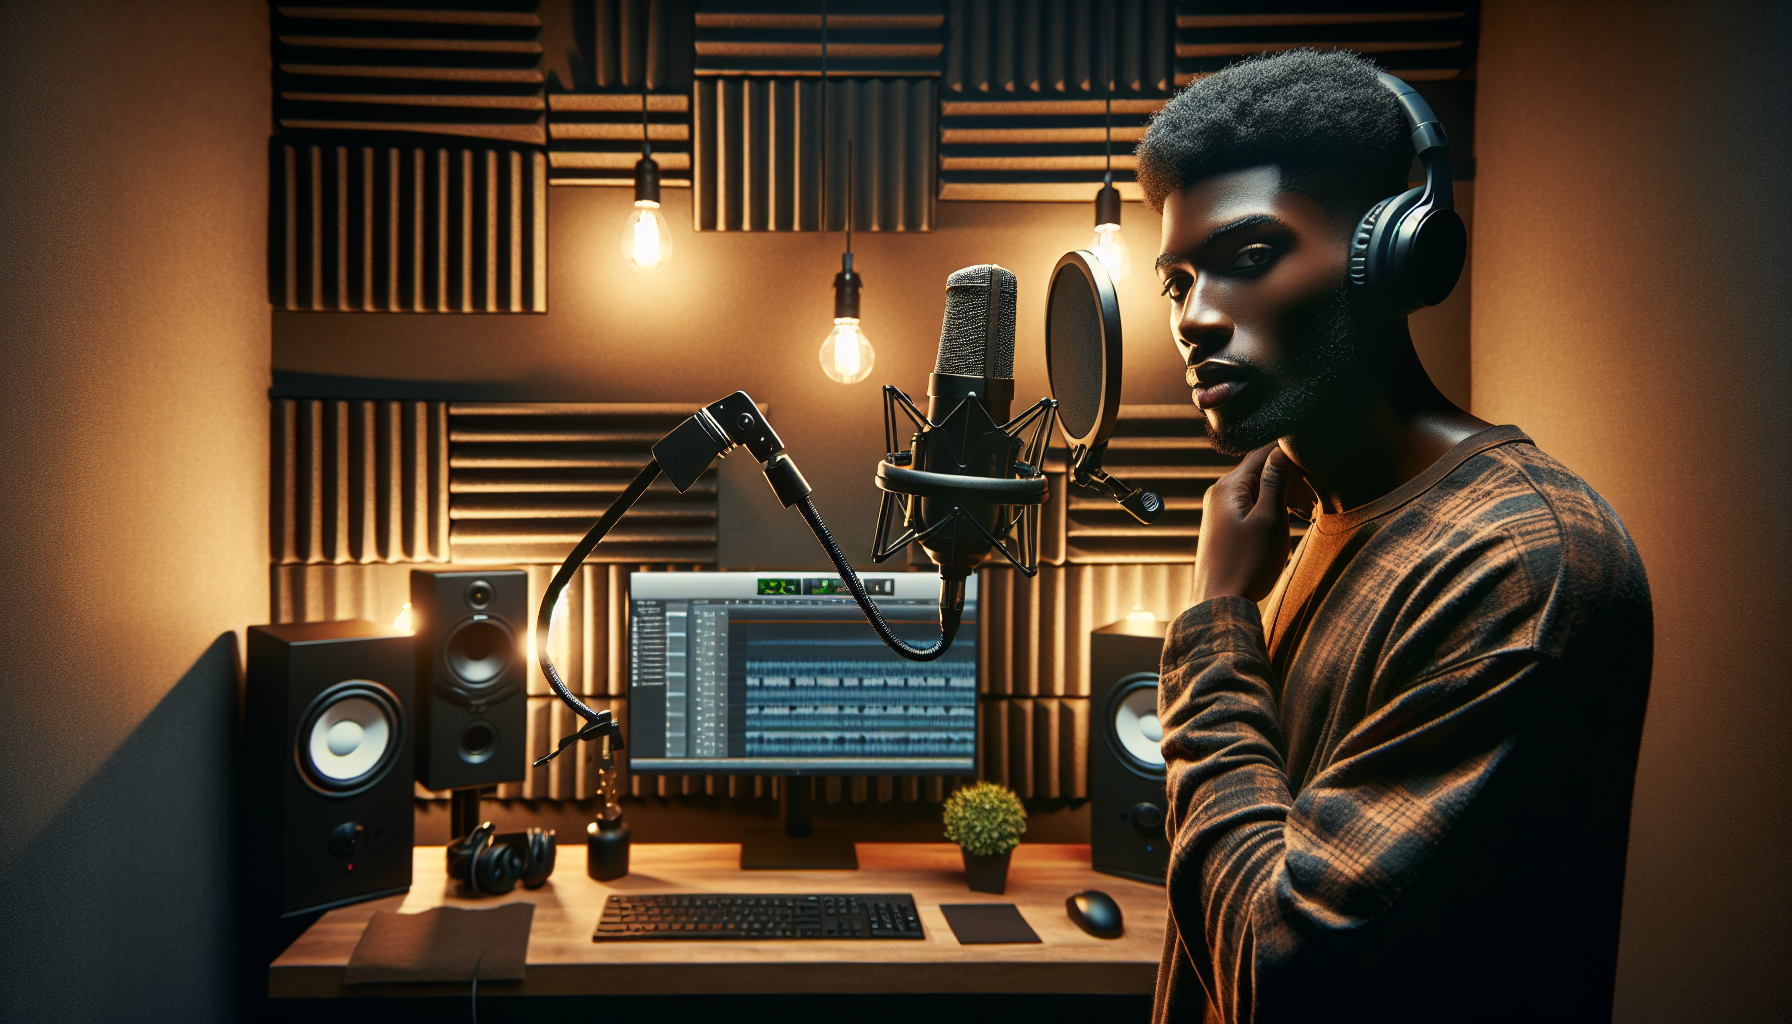
How to Make Your Vocals Shine: Recording & Mixing Secrets for Singers
Introduction: The Importance of Vocal Shine
Captivating listeners hinges on making your vocals shine, whether you’re sharing demos, uploading to streaming platforms, or performing live. Achieving stellar vocal clarity is not limited to professional studios; anyone can produce pristine, emotive vocals with the right approach. Yet, many singers face challenges with muddy or lifeless recordings at home, leading to frustration. The good news? You can attain a polished, professional sound with practical vocal recording tips and careful mixing techniques—without the need for expensive gear or advanced degrees.
This guide will teach you how to record professional vocals at home, from setting up your space, selecting the best microphones for vocals, to crafting a vocal chain that adds presence and excitement. Whether you’re a beginner or refining your DIY vocal recording process, these proven strategies provide actionable steps to make your vocals stand out. Ready to elevate your vocal tracks? Let’s dive in.
Section 1: Creating an Optimal Recording Environment
Exceptional vocal tracks start with your recording environment. Room acoustics play a crucial role in achieving vocal clarity and presence. Proper acoustics ensure your vocals remain distinct and not buried in the mix. An untreated room can introduce unwanted reflections, boxiness, and reverb that no plugin can fix.
- Control Reflections: Use blankets, mattresses, or acoustic foam panels to reduce flutter echoes and ringing tones. Closets full of clothes can serve as cost-effective vocal booths.
- Minimize Noise: Turn off fans, appliances, and close windows. Consider a dynamic microphone in noisy spaces.
- Room Size and Placement: In small rooms, record away from walls and corners to reduce low-frequency buildup. Test different spots by singing and clapping to find where your vocals sound most balanced.
Pro Tip:
Clap around your space to identify flutter echoes or ringy tones—treat these areas with extra absorption materials until your clap sounds clear and controlled.
Section 2: Selecting the Perfect Microphone for Your Voice
A critical element for home recording is the microphone. Choosing the right mic, whether dynamic or condenser, significantly impacts how your vocals stand out. Condenser microphones are renowned for their sensitivity and detail, while dynamic mics are durable and often reduce background noise.
- Vocal Style and Genre: Condensers complement smooth pop and R&B vocals; dynamics suit punchy rock or rap.
- Affordable Picks: Beginners can try the Audio-Technica AT2020 (condenser), Shure SM58 (dynamic), or Rode NT1-A.
- Essential Accessories: Use a pop filter for plosives and a shock mount to dampen vibrations.
- Mic Technique: Sing 4–8 inches from the mic, slightly off-axis, to minimize sibilance, and keep the mic at mouth height for a natural tone.
Pro Tip:
Record a short vocal line with different mics and distances, then compare the results. The best mic enhances your unique timbre, not just your budget.
Section 3: Mastering Vocal Recording Techniques
Beyond performance, capturing clean vocals is essential. These DIY recording techniques can elevate your recordings:
- Gain Staging: Set your audio interface gain so peaks reach between -10 to -6 dBFS to avoid clipping that’s irreversible.
- Warm Up: Engage in 10–15 minutes of vocal warmups to unlock range and prevent strain.
- Consistency: Maintain even energy and posture; mark your standing spot for consistent results.
- Multiple Takes: Record several takes and “comp” the best phrases together.
- Track Layers: Add doubles, harmonies, and ad-libs for professional dimension.
- Headphone Monitoring: Use closed-back headphones and adjust levels for natural, in-tune performances.
Pro Tip:
To tame aggressive sibilants and plosives, sing slightly off-axis during bright sections—this helps during editing.
Section 4: Beginner-Friendly Mixing Techniques to Make Vocals Pop
Mixing is where vocal magic occurs. Basic techniques can reveal rich details and ensure vocals sit well in the mix. Here’s a straightforward approach:
- Editing: Clean up timing, remove unwanted noise, apply a gentle de-esser, and use pitch correction sparingly.
- Vocal Chain: Use subtractive EQ to cut muddy lows (below 80Hz–120Hz) and boost 2–5kHz for clarity. Consider a low shelf for warmth if necessary.
- Compression: Set a ratio of 2:1–4:1, an attack of 10–20ms, and aim for 3-6dB of gain reduction.
- Vocal Effects: Add subtle plate or hall reverb and a slight slapback delay for spatial presence.
- Balancing: Use automation for gain control and gently pan backing tracks for separation.
- Plugins: Consider iZotope Nectar Elements, Waves CLA Vocals, or free plugins like TDR Nova and Melda Production.
Pro Tip:
Experiment with parallel compression by heavily compressing a duplicate vocal track and blending it with the original for added punch.
Section 5: Advanced Troubleshooting Tips and Common Vocal Issues
Despite best efforts, vocal issues may arise. Here are solutions to common problems in home studios:
- Sibilance and Plosives: Use a de-esser or automate volume dips, and prevent issues with a pop filter and correct mic positioning.
- Boxy or Muffled Vocals: Use EQ between 200Hz–500Hz to cut resonances; gently boost 120Hz and 3kHz for thin vocals.
- Layering Techniques: Pan harmonies and ad-libs wide, and use chorus effects for depth.
- Automation for Dynamics: Automate volume rides and selectively apply effects for excitement and focus.
- Mix Referencing: Compare your mix to commercial tracks for guidance on vocal tone and balance.
- Seek Expertise: If your mix is problematic, export stems for collaboration with a mix engineer or use online services for expert opinions.
Pro Tip:
Use the “car test” to ensure vocal clarity across different environments—play your track on various devices until balanced vocals are achieved.
Conclusion & Action Steps: Elevate Your Vocal Recordings
Achieving professional vocals relies on smart choices and process refinement. From optimizing your recording environment in small rooms to mastering vocal mixing techniques, keep in mind: Every detail counts in transforming your vocal tracks into captivating masterpieces.

Leave a Reply