Category: Equipment

  • Essential Home Recording Studio Setup for Beginners

    Essential Home Recording Studio Setup for Beginners

    Essential Home Recording Studio Setup for Beginners

    Introduction to Home Recording Studios

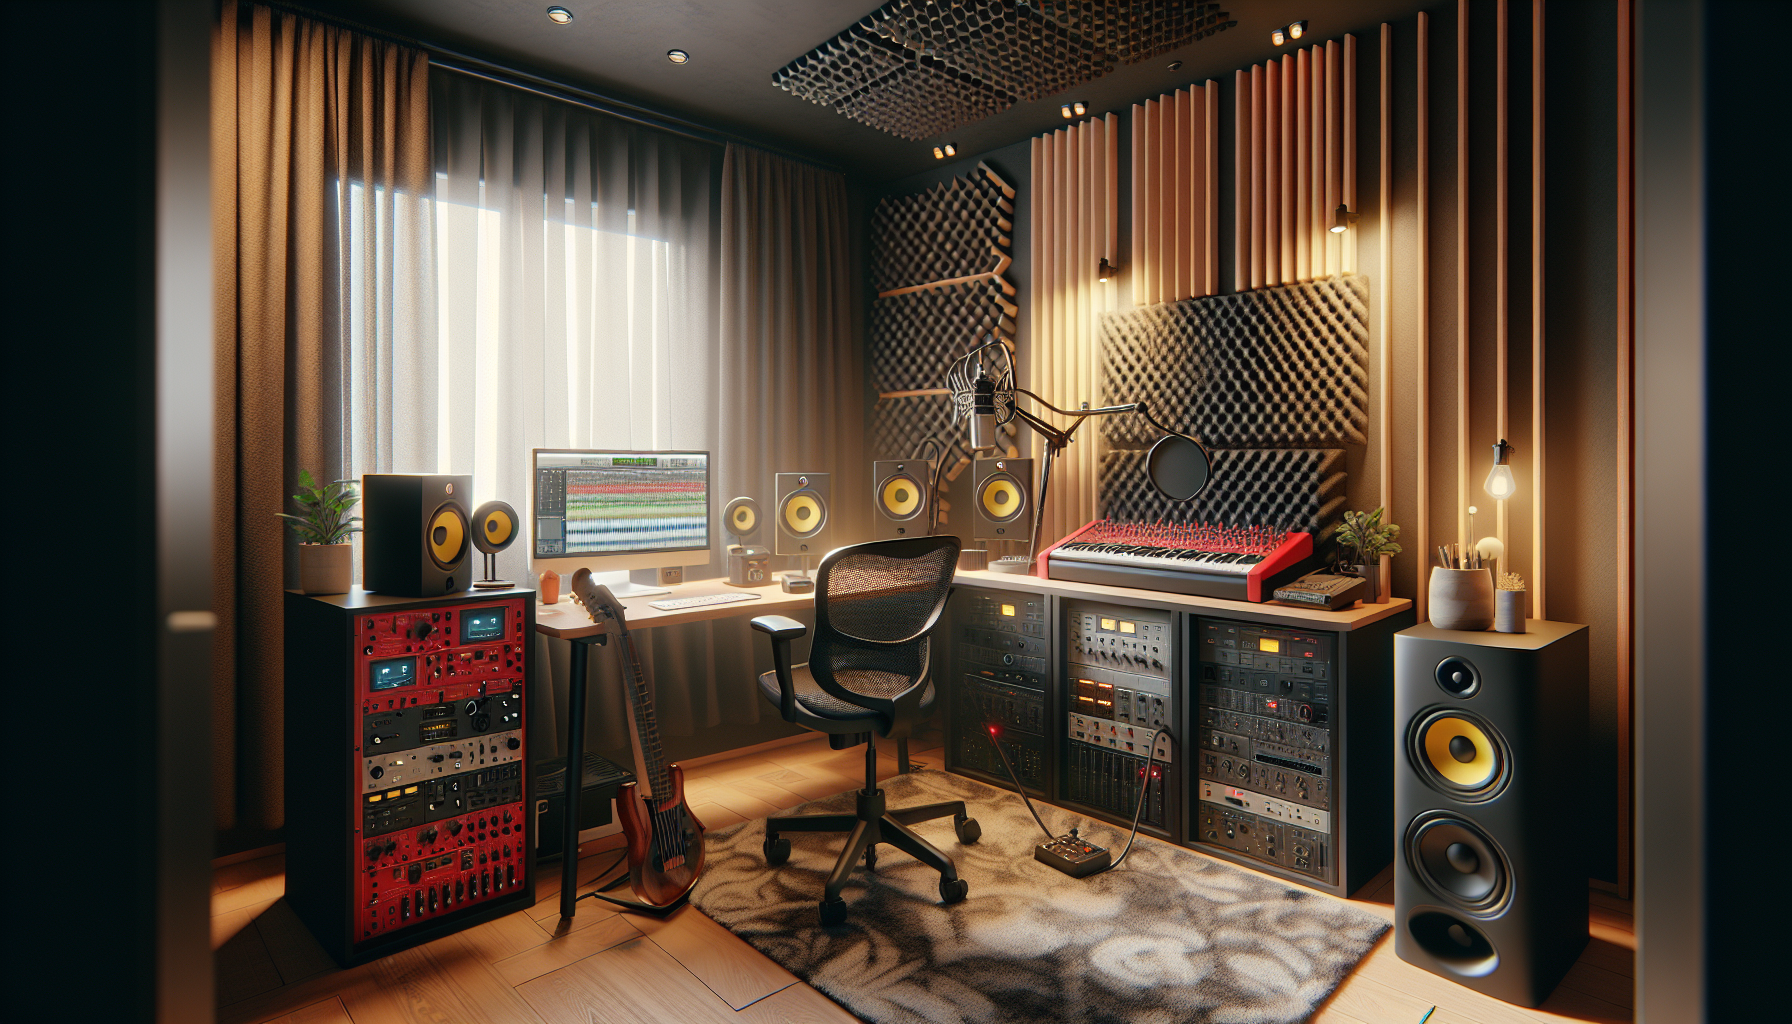
    A home recording studio transforms your personal space into a creative hub, allowing you to produce professional-level music recordings from the comfort of your home. It’s an indispensable asset for musicians at all levels, offering the liberty to explore and create music without the constraints of time and high studio costs. This guide covers the fundamentals of a basic studio setup, including the selection of the right room, essential equipment, and key software, empowering beginners to achieve high-quality music production.

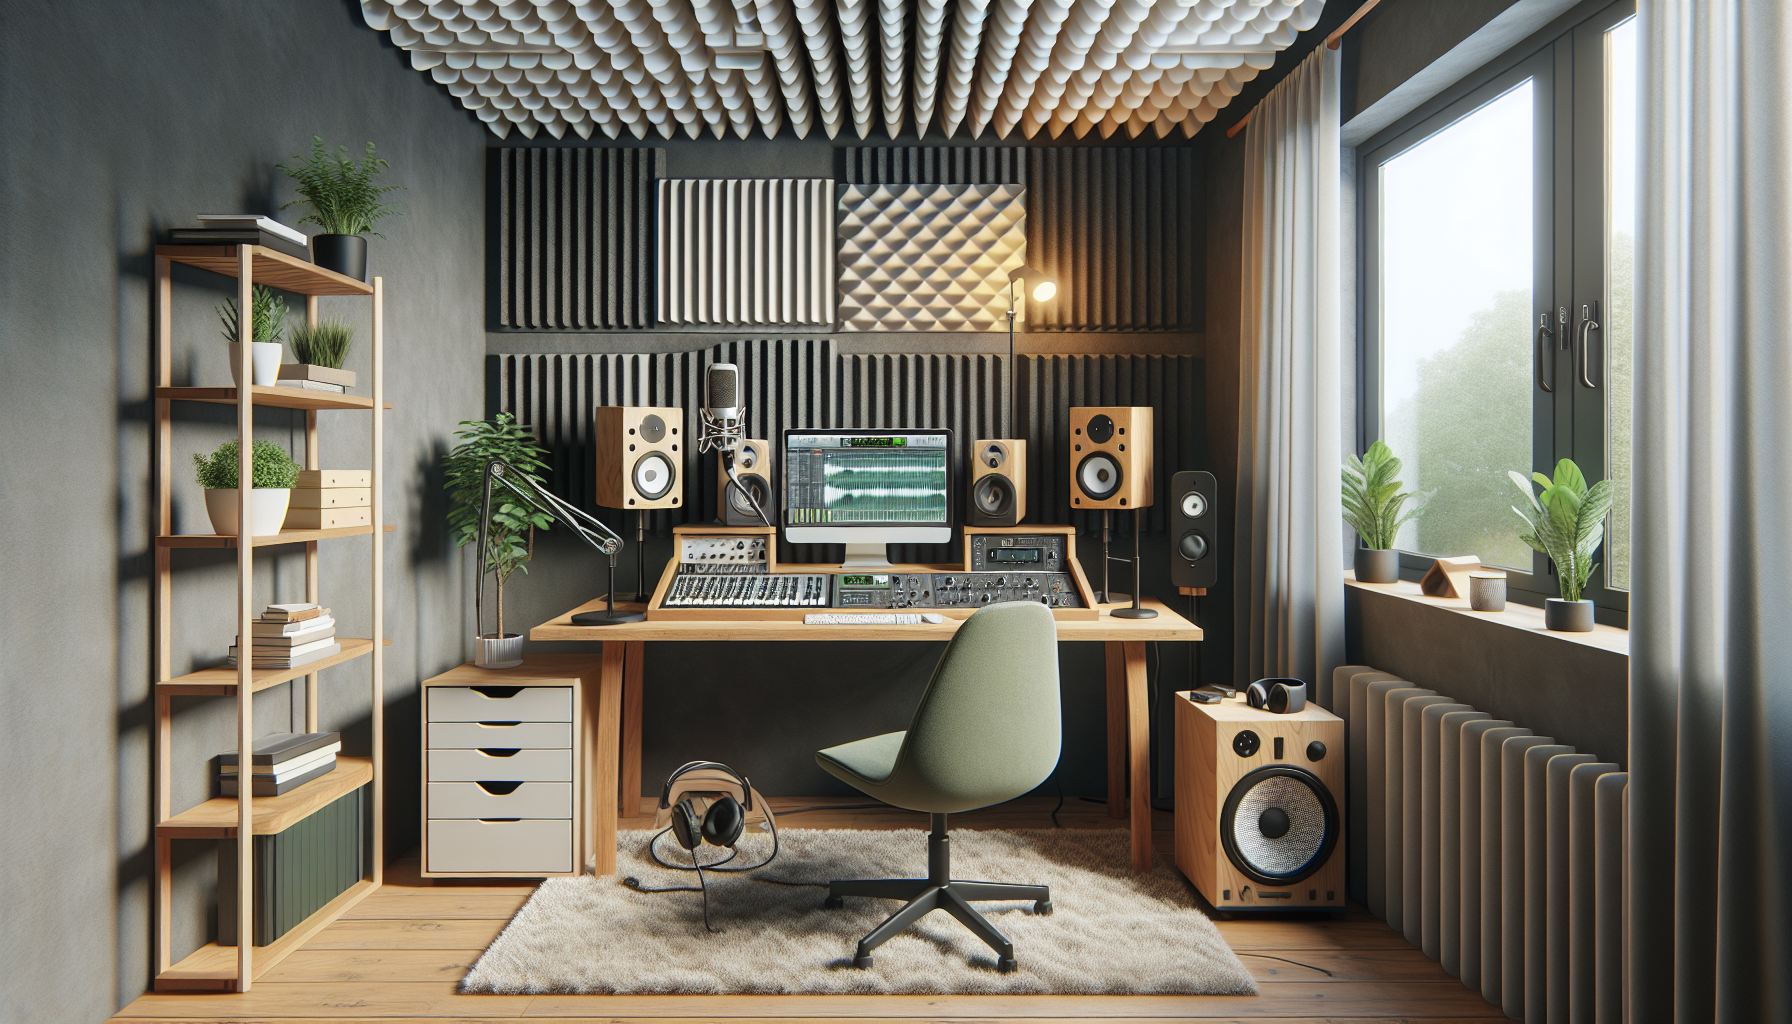
    Selecting the Ideal Room for Acoustics

    The choice of room significantly affects the acoustics of your home studio. High ceilings and non-square shapes are preferable as they help manage echoes and reverberations more effectively. Choose a space that is quiet and free from external noises such as traffic, appliances, or other household disturbances. Employing acoustic treatments such as bass traps and acoustic panels will further enhance the sound quality of your recordings.

    Pro Tip: If options are limited, arranging your setup away from walls and corners will minimize audio distortions and improve recording quality.

    Essential Equipment for High-Quality Recordings

    The core of your home studio lies in the audio interface, which converts audio signals into a digital format that your computer can process. Beginners will find a basic two-channel interface sufficient to start. Invest in a large-diaphragm condenser microphone as it is adaptable for both vocals and various instruments. Additionally, studio monitors are crucial as they provide an accurate sound representation. This ensures what you record is exactly what you hear.

    Pro Tip: Match the microphone to your primary needs. For instance, a dynamic microphone suits loud sound sources such as drums, whereas a condenser microphone is perfect for capturing finer vocal and acoustic details.

    Effective Equipment Setup

    Initiate your setup by linking your audio interface to your computer using a USB or Thunderbolt connection. When positioning the microphone for vocals, place it about six inches from the mouth, just above the lips, and angle it towards the mouth to capture optimal sound. Arrange your studio monitors at ear level and in an equilateral triangle with your listening position to achieve the best stereo sound.

    Pro Tip: Organize your cables with cable managers to maintain a neat workspace and prevent recording interference or damage to cables.

    Choosing the Right Software

    Your recording journey requires a Digital Audio Workstation (DAW) to handle recording, editing, and mixing tasks. Beginners will appreciate user-friendly options like GarageBand for Mac or the free Audacity, available on various platforms. Start by setting up a new project, ready your audio tracks, and dive into recording. Learning basic editing functions such as cutting, fading, and applying effects will enhance your recordings further.

    Pro Tip: Opt for a 24-bit depth and a 48kHz sample rate when setting up your project, striking a balance between high-quality recordings and manageable file sizes.

    Optimizing Your Studio and Advancing Your Skills

    Maintaining your equipment regularly and keeping your studio clean are key to preserving the quality and longevity of your setup. To elevate your skills, engage with online resources such as tutorials, forums, and courses that specialize in home recording. Try various microphone positions and acoustic settings to discover the optimal arrangement for your music style.

    Pro Tip: Master keyboard shortcuts for your DAW to streamline your workflow and make music production more efficient.

    Conclusion

    Embarking on setting up your home recording studio represents a bold move towards realizing your musical aspirations. You now know the essentials needed for a successful studio and the significance of a conducive environment. Continuous improvement, driven by ongoing learning and experimentation, is the cornerstone of proficiency in music production. As you evolve, keep tweaking your setup to match your growing skills.

    Ready to start your music production journey? For further guidance or to explore advanced recording techniques, don’t hesitate to contact us!

  • Essential Home Recording Studio Setup for Beginners

    Essential Home Recording Studio Setup for Beginners

    Essential Home Recording Studio Setup for Beginners

    Getting Started with Your Home Studio

    Building a home recording studio is an exhilarating step for any beginner in the music production realm. Today’s technology makes recording music from home extremely accessible. We will explore essential equipment, studio acoustics, budget-friendly strategies, and product recommendations for newcomers, highlighting the advancements in home recording technology making it the perfect time to begin your music production journey.

    Selecting Essential Equipment

    The heart of any home recording setup is its equipment. Key components include an audio interface like the Focusrite Scarlett 2i2, which offers a balance of quality and affordability by converting analog signals into digital format. Condenser microphones are perfect for capturing detailed vocals and acoustic instruments, whereas dynamic mics are suitable for louder sources. Additionally, reliable studio monitors such as the KRK Rokit are crucial for a clear and accurate audio mix.

    Pro tip: Beginners should start with a straightforward USB audio interface to simplify the learning process while still achieving quality recordings.

    Choosing the Right Music Production Software

    The Digital Audio Workstation (DAW) functions as the epicenter of music production, enabling recording, editing, and mixing on your computer. It’s advisable for beginners to select user-friendly DAWs like FL Studio or Ableton Live, tailored to personal music styles and needs. To enhance your music, invest in beginner-friendly plugins and virtual instruments.

    Pro tip: Experiment with free DAW trials to discover the most intuitive option before committing financially.

    Understanding Acoustic Treatment

    Effective acoustic treatment is essential for accurate recordings. Poor acoustics can distort how recordings sound when played back outside of the studio. Start by addressing key reflection points, such as walls near and across from your monitors, using acoustic panels or DIY alternatives like book-filled bookcases. Room shape and size significantly influence sound dynamics.

    Pro tip: Initially treat a couple of reflection points to notice the improvement in sound quality before a complete setup.

    Optimizing Your Studio Space

    Choosing a quiet location for your studio is critical to avoid disturbances and keep external noise out. Thoughtfully arrange your equipment, ensuring monitors are at ear level and form an equilateral triangle with your listening position. Simple soundproofing methods like weather stripping and heavy curtains can effectively minimize noise leakage.

    Pro tip: Use painter’s tape for temporary equipment placement, which helps in finalizing positions without the need for repetitive adjustments.

    Creating a Budget for Your Studio

    Starting a home studio need not be expensive. Focus on essential items like your audio interface, DAW, and a quality microphone initially. Opt for second-hand equipment or bundle deals online to save costs without losing quality. Gradually invest in better gear as your skills and needs evolve.

    Pro tip: Allocate funds for unforeseen expenses such as stands or cables, which can accumulate unexpectedly.

    Conclusion: Launching Your Music Production Career

    Now that we’ve outlined fundamental steps such as choosing appropriate equipment and budget management, you’re ready to embark on your music production journey. A home studio evolves with you, so begin with what you afford, learn your equipment well, and enjoy the creative process.

    Are you ready to start producing music? Explore each aspect of studio setup in our comprehensive guides or reach out for tailored advice to launch your recording journey successfully.

  • Ultimate Guide to Home Studio Setup for Beginners

    Ultimate Guide to Home Studio Setup for Beginners

    Ultimate Guide to Home Studio Setup for Beginners

    Introduction: Starting Your Home Studio Journey

    Setting up a home recording studio is an exciting endeavor for any budding music producer or artist. In this guide, we’ll cover everything you need to set up a functional and professional-sounding studio at home, including selecting the right space, choosing essential equipment, setup tips, and soundproofing—all tailored for beginners on a budget.

    Selecting the Ideal Space for Your Studio

    The location of your studio greatly affects the sound quality and atmosphere of your recordings. Look for a moderately sized room that’s away from external noises like traffic or appliances, and avoid perfectly square spaces to minimize sound distortions. This setup helps in achieving better sound quality.

    Pro tip: Choose spaces with irregular shapes or rooms that can accommodate some furniture for natural sound diffusion.

    Essential Equipment for Beginners

    Investing in quality equipment is crucial for your studio. Start with the essentials: a sturdy microphone, reliable headphones, a solid audio interface, and precise monitors. Prioritize quality within your budget, looking to trusted brands such as Audio-Technica for microphones and Focusrite for audio interfaces.

    Pro tip: Read online reviews and, if possible, test the equipment in-store to make sure it fits your specific needs before purchasing.

    How to Set Up Your Studio Equipment

    Setting up your equipment correctly is essential for a smooth recording experience. Install your audio interface first, then connect your microphone and monitors. Organize cables neatly to avoid clutter and interference, and get familiar with the signal flow to handle basic troubleshooting effectively.

    Pro tip: Label your cables and connections to simplify troubleshooting and reconfiguration in the future.

    Basics of Acoustic Treatment

    Effective acoustic treatment is key to improving recording quality. You can start with simple DIY solutions: position bookshelves filled with books, hang heavy curtains, or make homemade panels from acoustic foam. These budget-friendly options help reduce unwanted echoes and reverberations, enhancing sound clarity.

    Pro tip: Before investing in expensive treatments, try various placements with affordable materials like rugs and fabric to gauge their impact.

    Recording and Monitoring Best Practices

    Adopt effective recording techniques to optimize your sessions and prevent common errors like clipping or distortion. Monitoring at a comfortable level is crucial for accurate sound assessment. Learn essential microphone positioning techniques based on the instrument or voice to ensure optimal sound capture.

    Pro tip: Utilize a pop filter when recording vocals to minimize disruptive “p” and “t” sounds, ensuring smoother audio quality.

    Smart Budgeting for Your Home Studio

    Creating a home studio on a budget doesn’t mean compromising on quality. Focus on investing in essential, high-quality equipment first and consider bundle deals or second-hand gear for cost savings. This approach allows you to maximize your resources without sacrificing performance.

    Pro tip: Sign up for newsletters from music equipment retailers to receive updates on sales and promotions.

    Conclusion: Embark on Your Recording Journey

    Starting your home recording studio is a fulfilling step towards musical creativity and independence. Remember, the journey doesn’t end here. As you expand your knowledge and experience, continue to upgrade your setup and refine your skills. Take every opportunity to enhance your expertise and consult professionals to further your learning.

    For a deeper exploration into advanced studio setups, keep an eye on our blog or reach out for personalized advice on advancing your home studio.