Essential Home Recording Studio Setup for Beginners
Getting Started with Your Home Studio
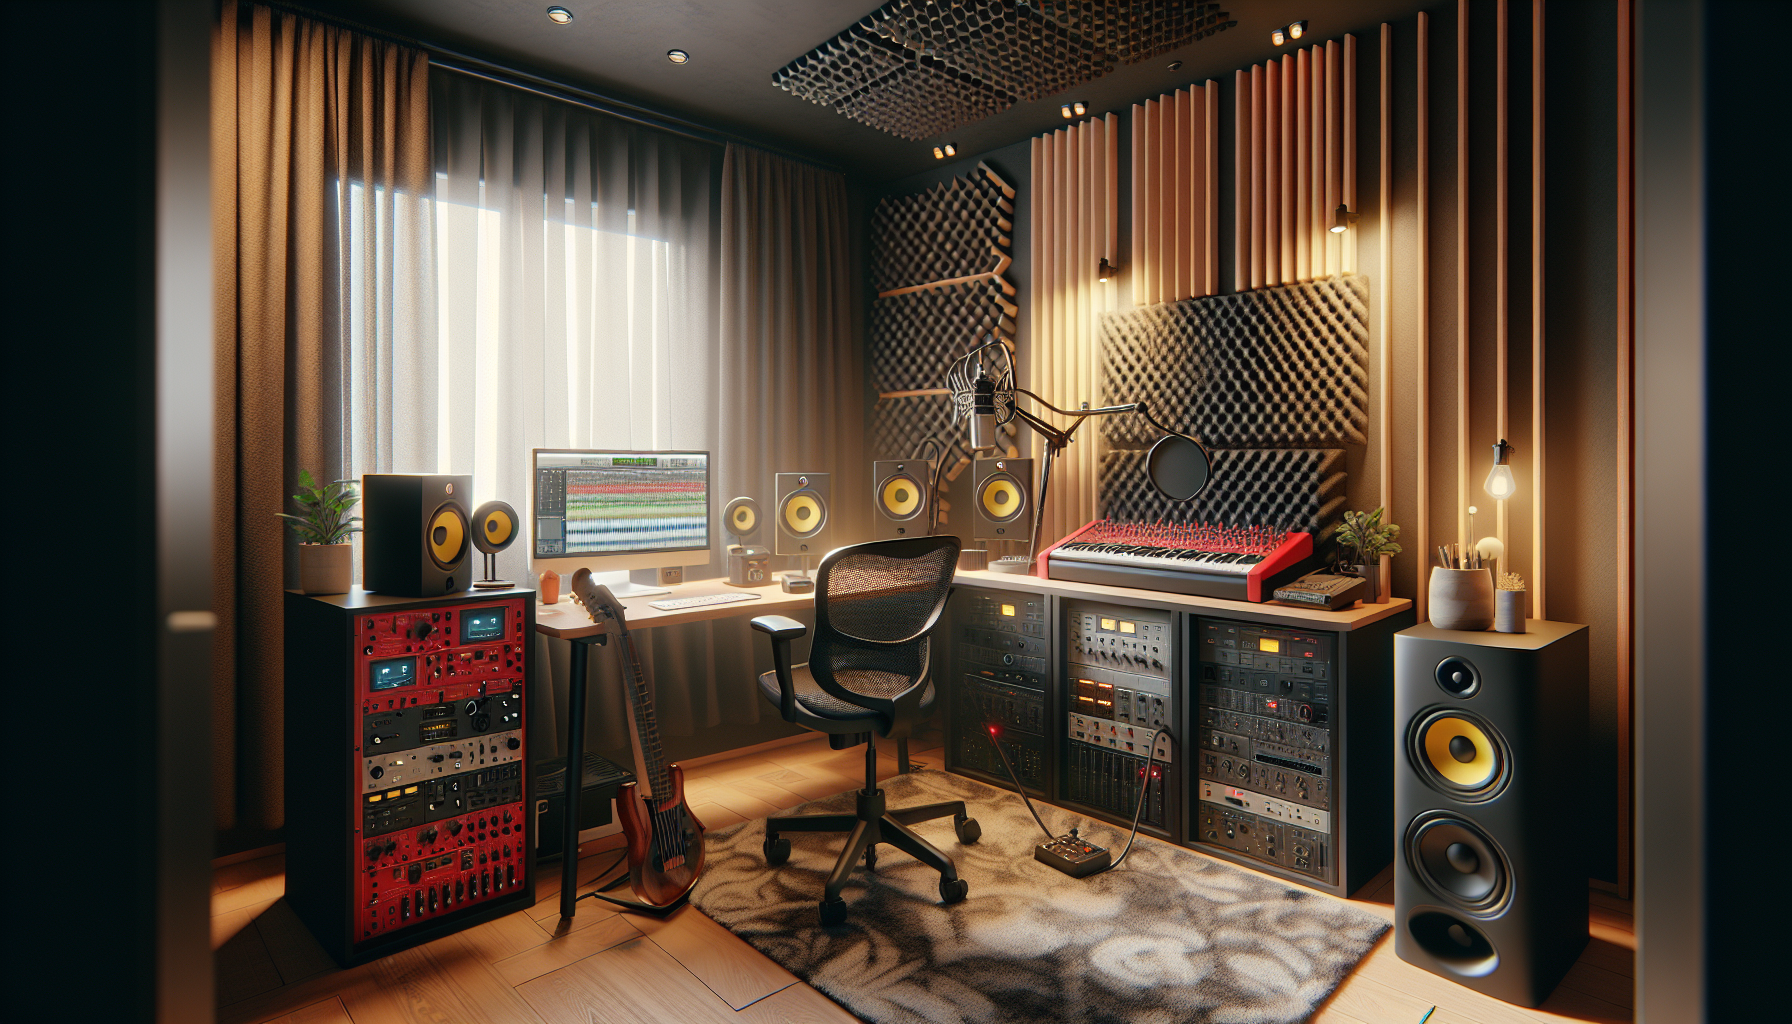
Building a home recording studio is an exhilarating step for any beginner in the music production realm. Today’s technology makes recording music from home extremely accessible. We will explore essential equipment, studio acoustics, budget-friendly strategies, and product recommendations for newcomers, highlighting the advancements in home recording technology making it the perfect time to begin your music production journey.
Selecting Essential Equipment
The heart of any home recording setup is its equipment. Key components include an audio interface like the Focusrite Scarlett 2i2, which offers a balance of quality and affordability by converting analog signals into digital format. Condenser microphones are perfect for capturing detailed vocals and acoustic instruments, whereas dynamic mics are suitable for louder sources. Additionally, reliable studio monitors such as the KRK Rokit are crucial for a clear and accurate audio mix.
Pro tip: Beginners should start with a straightforward USB audio interface to simplify the learning process while still achieving quality recordings.
Choosing the Right Music Production Software
The Digital Audio Workstation (DAW) functions as the epicenter of music production, enabling recording, editing, and mixing on your computer. It’s advisable for beginners to select user-friendly DAWs like FL Studio or Ableton Live, tailored to personal music styles and needs. To enhance your music, invest in beginner-friendly plugins and virtual instruments.
Pro tip: Experiment with free DAW trials to discover the most intuitive option before committing financially.
Understanding Acoustic Treatment
Effective acoustic treatment is essential for accurate recordings. Poor acoustics can distort how recordings sound when played back outside of the studio. Start by addressing key reflection points, such as walls near and across from your monitors, using acoustic panels or DIY alternatives like book-filled bookcases. Room shape and size significantly influence sound dynamics.
Pro tip: Initially treat a couple of reflection points to notice the improvement in sound quality before a complete setup.
Optimizing Your Studio Space
Choosing a quiet location for your studio is critical to avoid disturbances and keep external noise out. Thoughtfully arrange your equipment, ensuring monitors are at ear level and form an equilateral triangle with your listening position. Simple soundproofing methods like weather stripping and heavy curtains can effectively minimize noise leakage.
Pro tip: Use painter’s tape for temporary equipment placement, which helps in finalizing positions without the need for repetitive adjustments.
Creating a Budget for Your Studio
Starting a home studio need not be expensive. Focus on essential items like your audio interface, DAW, and a quality microphone initially. Opt for second-hand equipment or bundle deals online to save costs without losing quality. Gradually invest in better gear as your skills and needs evolve.
Pro tip: Allocate funds for unforeseen expenses such as stands or cables, which can accumulate unexpectedly.
Conclusion: Launching Your Music Production Career
Now that we’ve outlined fundamental steps such as choosing appropriate equipment and budget management, you’re ready to embark on your music production journey. A home studio evolves with you, so begin with what you afford, learn your equipment well, and enjoy the creative process.
Are you ready to start producing music? Explore each aspect of studio setup in our comprehensive guides or reach out for tailored advice to launch your recording journey successfully.
Leave a Reply