Category: Vocals

  • Beginner’s Guide to Producing Your First Track

    Beginner’s Guide to Producing Your First Track

    Blog Post: Beginner’s Guide to Producing Your First Track

    If you’ve always wanted to create your own music but aren’t sure where to start, this beginner’s guide to producing your first track is ideal. Whether you’re exploring music production basics or eager to learn how to create music at home, this straightforward guide covers the essentials—no pricey gear or prior expertise required. From mastering the fundamentals to setting up your DIY studio and crafting your debut track, this resource sets you on the path to success, helping you sidestep common mistakes and build a strong foundation in music creation.

    Understanding Music Production for Beginners

    Music production involves creating a finished track from an initial idea to a polished product ready for release. In today’s digital world, it combines creative and technical skills, primarily using digital tools rather than large studio setups. The key stages of producing a song include:

    • Composition: Crafting melodies, harmonies, and lyrics.
    • Arrangement: Structuring the song into sections like intro, verse, and chorus.
    • Recording: Capturing sounds via microphones or virtual instruments.
    • Mixing: Balancing audio tracks by adjusting levels, EQ, and effects.
    • Mastering: Fine-tuning the mix to ensure it sounds great on all playback systems.

    Vital terms for beginners include:

    • DAW (Digital Audio Workstation): Software for making, recording, and editing music (e.g., FL Studio, Ableton Live, GarageBand).
    • MIDI: A protocol for sending musical performance data to software instruments.
    • Audio Interface: Hardware that connects microphones and instruments to your computer.

    Despite popular belief, you don’t need expensive equipment to start producing music. Modern technology allows you to begin with just a computer and free software, emphasizing creativity, experimentation, and patience as you hone your skills.

    Pro Tip: Focus on learning song structure basics and workflow—starting simple is more important than having high-end gear. Make music with what you have and let creativity guide you.

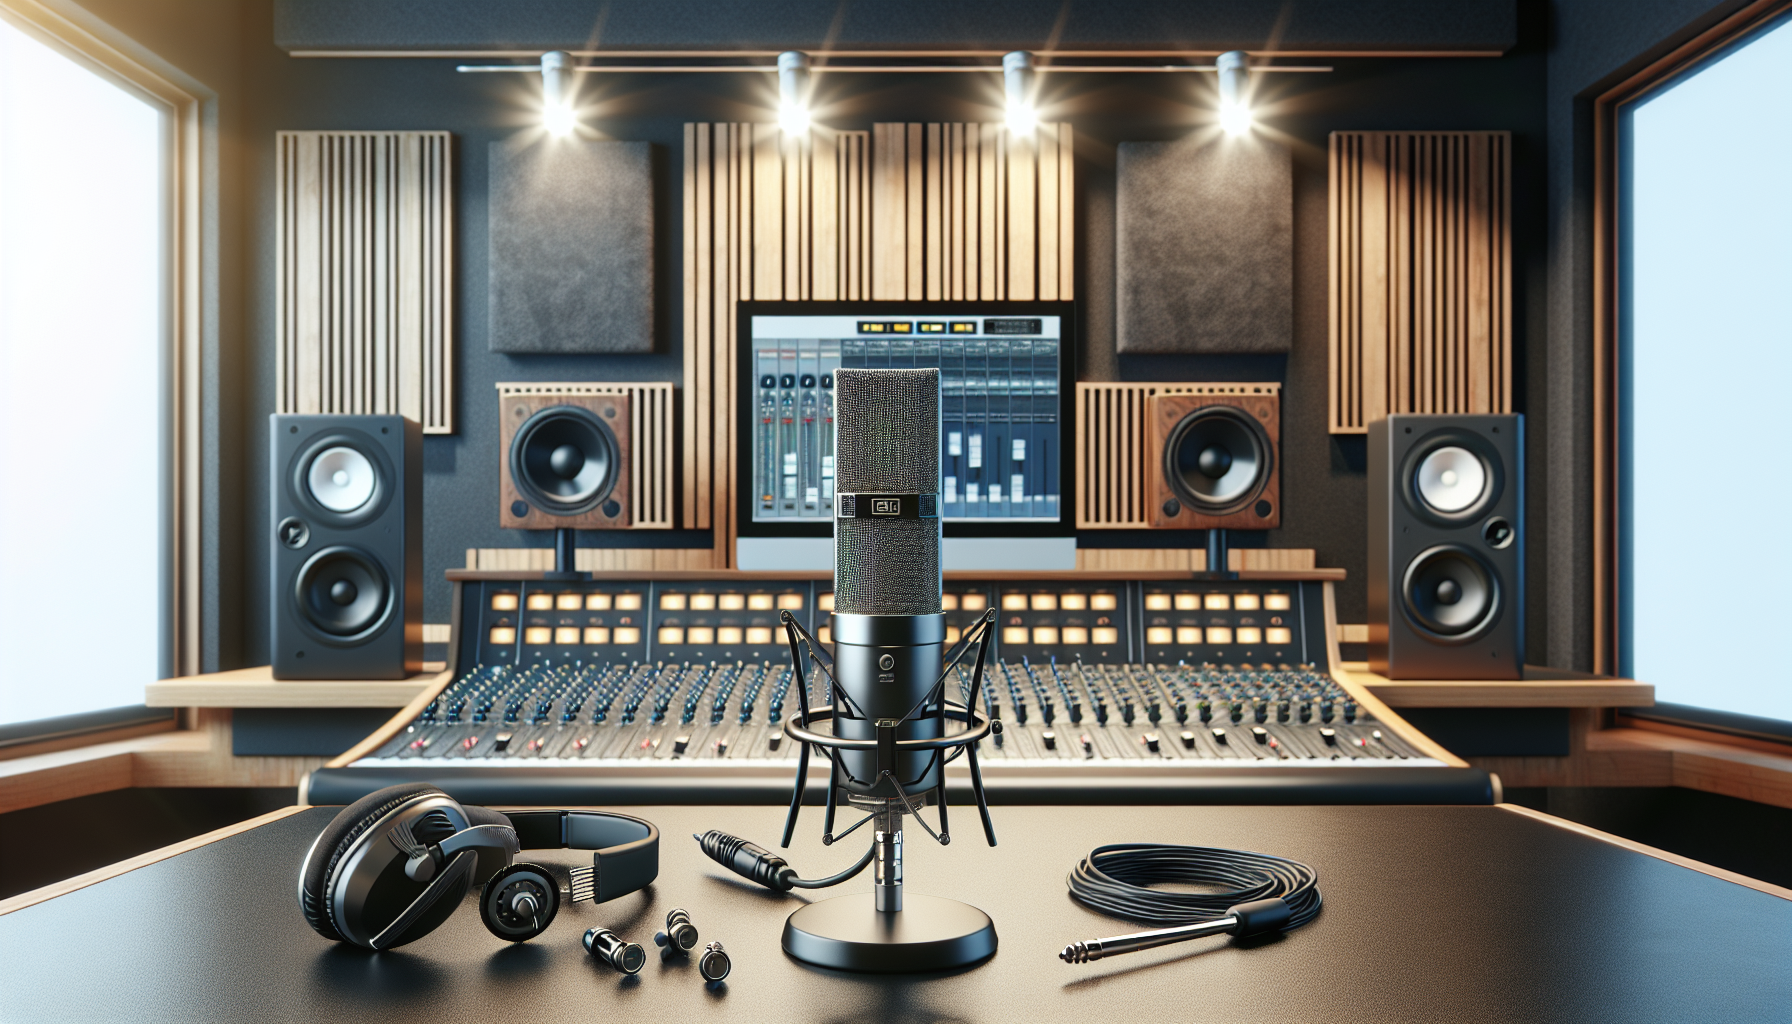
    Essential Tools and Equipment for Beginner Music Producers

    To get started in music production, you’ll need some essential tools. A basic setup includes:

    • Computer: Most modern PCs or Macs are sufficient for beginner projects.
    • Headphones: Closed-back studio headphones offer clear, honest monitoring.
    • Audio Interface (optional but recommended): Consider beginner models like Focusrite Scarlett Solo or PreSonus AudioBox.
    • MIDI Keyboard (optional): Provides hands-on control for virtual instruments; even a basic 25-key model works.
    • Microphone (optional): For recording vocals or instruments—USB condenser mics are affordable and versatile.

    The most crucial purchase is a DAW. Popular, beginner-friendly options include FL Studio, Ableton Live Lite, Reaper, and GarageBand (Mac). Many offer trial versions, and there are powerful free DAWs like Cakewalk and Tracktion. Software instruments provide a variety of sounds at a lower cost than hardware.

    Beginner Music Production Equipment Checklist:

    • Computer (laptop or desktop)
    • Free DAW (e.g., Cakewalk or GarageBand)
    • Closed-back headphones (e.g., Audio-Technica ATH-M20x)
    • MIDI keyboard (optional: Akai MPK Mini)
    • USB microphone (optional: Audio-Technica AT2020USB)

    Pro Tip: Use the software instruments and plugins included with your DAW to start. Upgrade your equipment only as your skills surpass the limitations of your current tools.

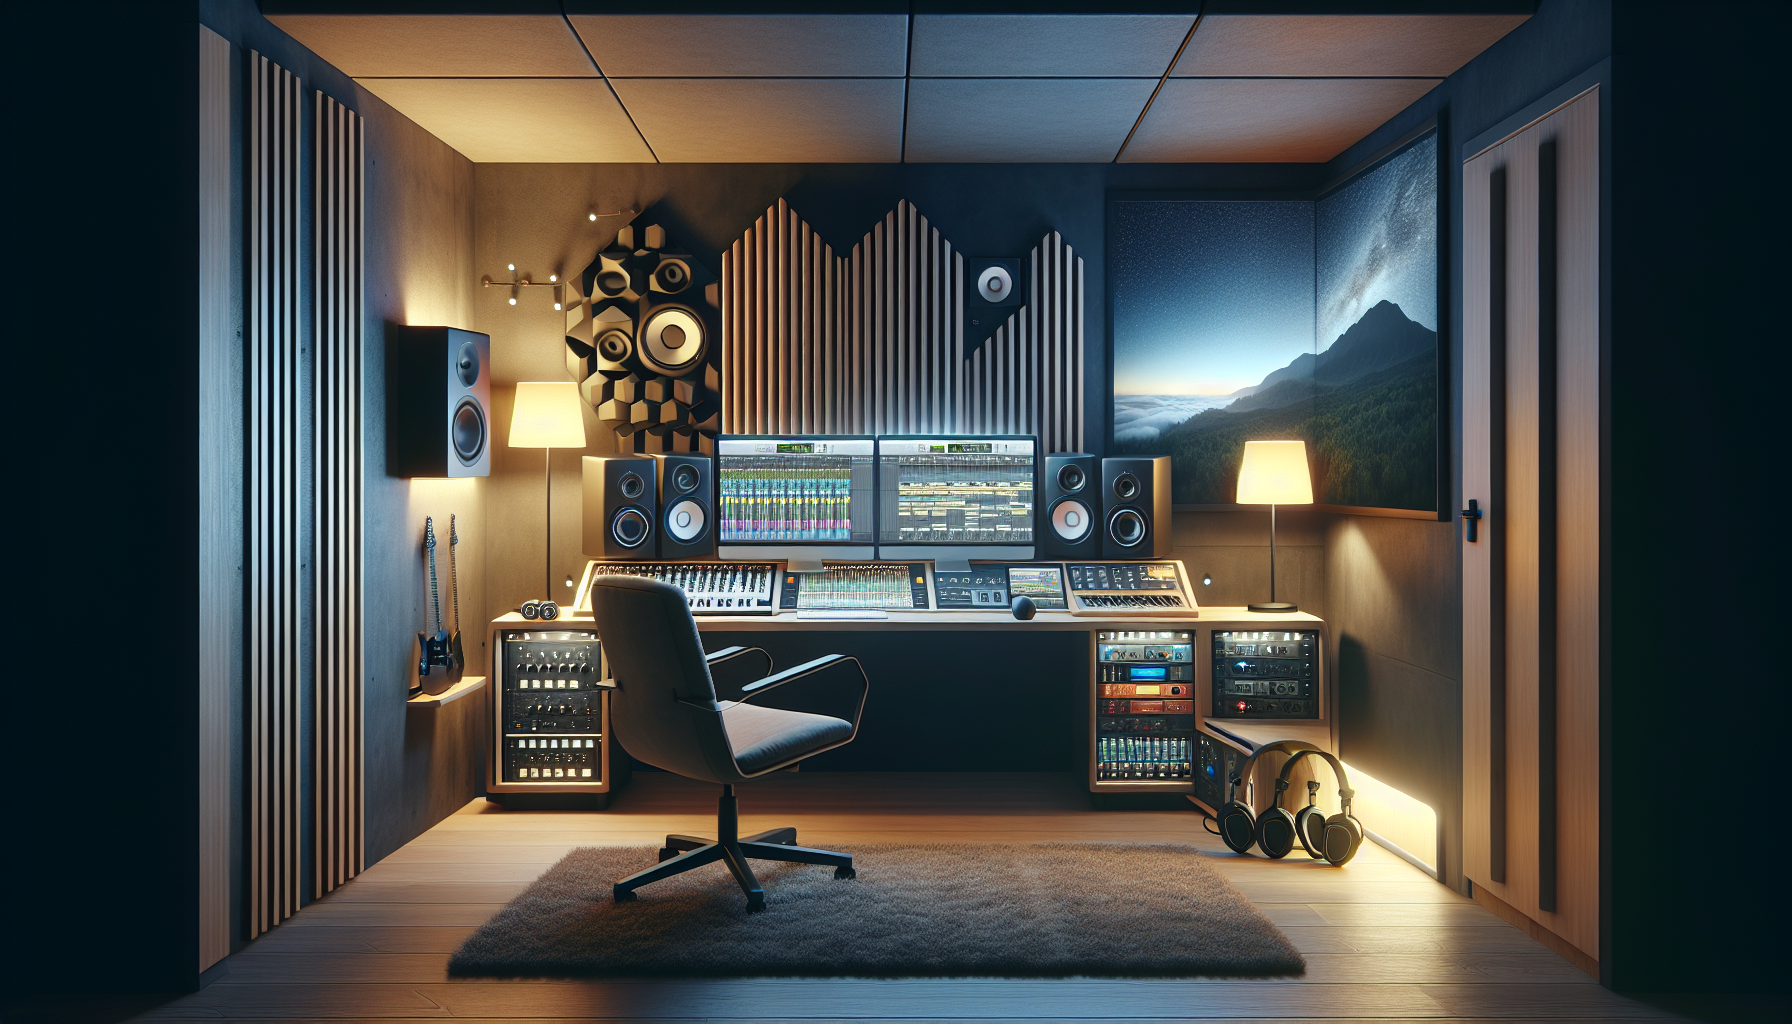
    Setting Up Your Home Studio for Music Production

    Creating a home studio doesn’t require turning your room into a high-end facility. Focus on making your workspace comfortable and functional:

    • Room Choice: Choose a quiet, undisturbed corner. Use soft furnishings like curtains and carpets to absorb sound reflections.
    • Desk Layout: Keep your computer, audio interface, and headphones within reach. Use cable organizers to prevent tangles.
    • Connections: Connect your audio interface to your computer via USB and plug in your headphones. Use quality USB or XLR cables.
    • Soundproofing: Minimize noise with draft stoppers, heavy curtains, or foam panels placed strategically around the room.

    Organization is key: label cables, assign a space for each device, and maintain organized DAW files for efficient workflow.

    Pro Tip: For limited space, opt for vertical storage solutions, wall-mounted hooks, and cable ties to keep your studio setup tidy.

    How to Produce Your First Track: A Simple Workflow

    Follow these steps to create your first song at home:

    1. Pick a Genre or Style: Choose one to define your sound palette and maintain focus.
    2. Start with a Core Idea: Hum a melody or tap a rhythm—record voice notes if inspiration strikes.
    3. Program Drums and Bass: Create a basic drum pattern and bassline in your DAW using virtual instruments or samples.
    4. Add Chords and Melodies: Layer simple chords and melodic ideas. Use MIDI keyboards or your DAW’s piano roll.
    5. Record Audio (optional): If you have a mic, record basic vocals or instruments, capturing multiple takes to choose from.
    6. Arrange Song Structure: Organize parts into an intro, verse, chorus, bridge, and outro. Keep structures simple initially.
    7. Refine with Effects: Add basic reverb or delay for depth but use effects sparingly at first.

    Focus on completion rather than perfection. Your first track is about learning, not attaining perfection.

    Pro Tip: Set a firm deadline to finish your project (e.g., “finish my first demo this weekend”). Deadlines encourage progress and prevent endless tweaking.

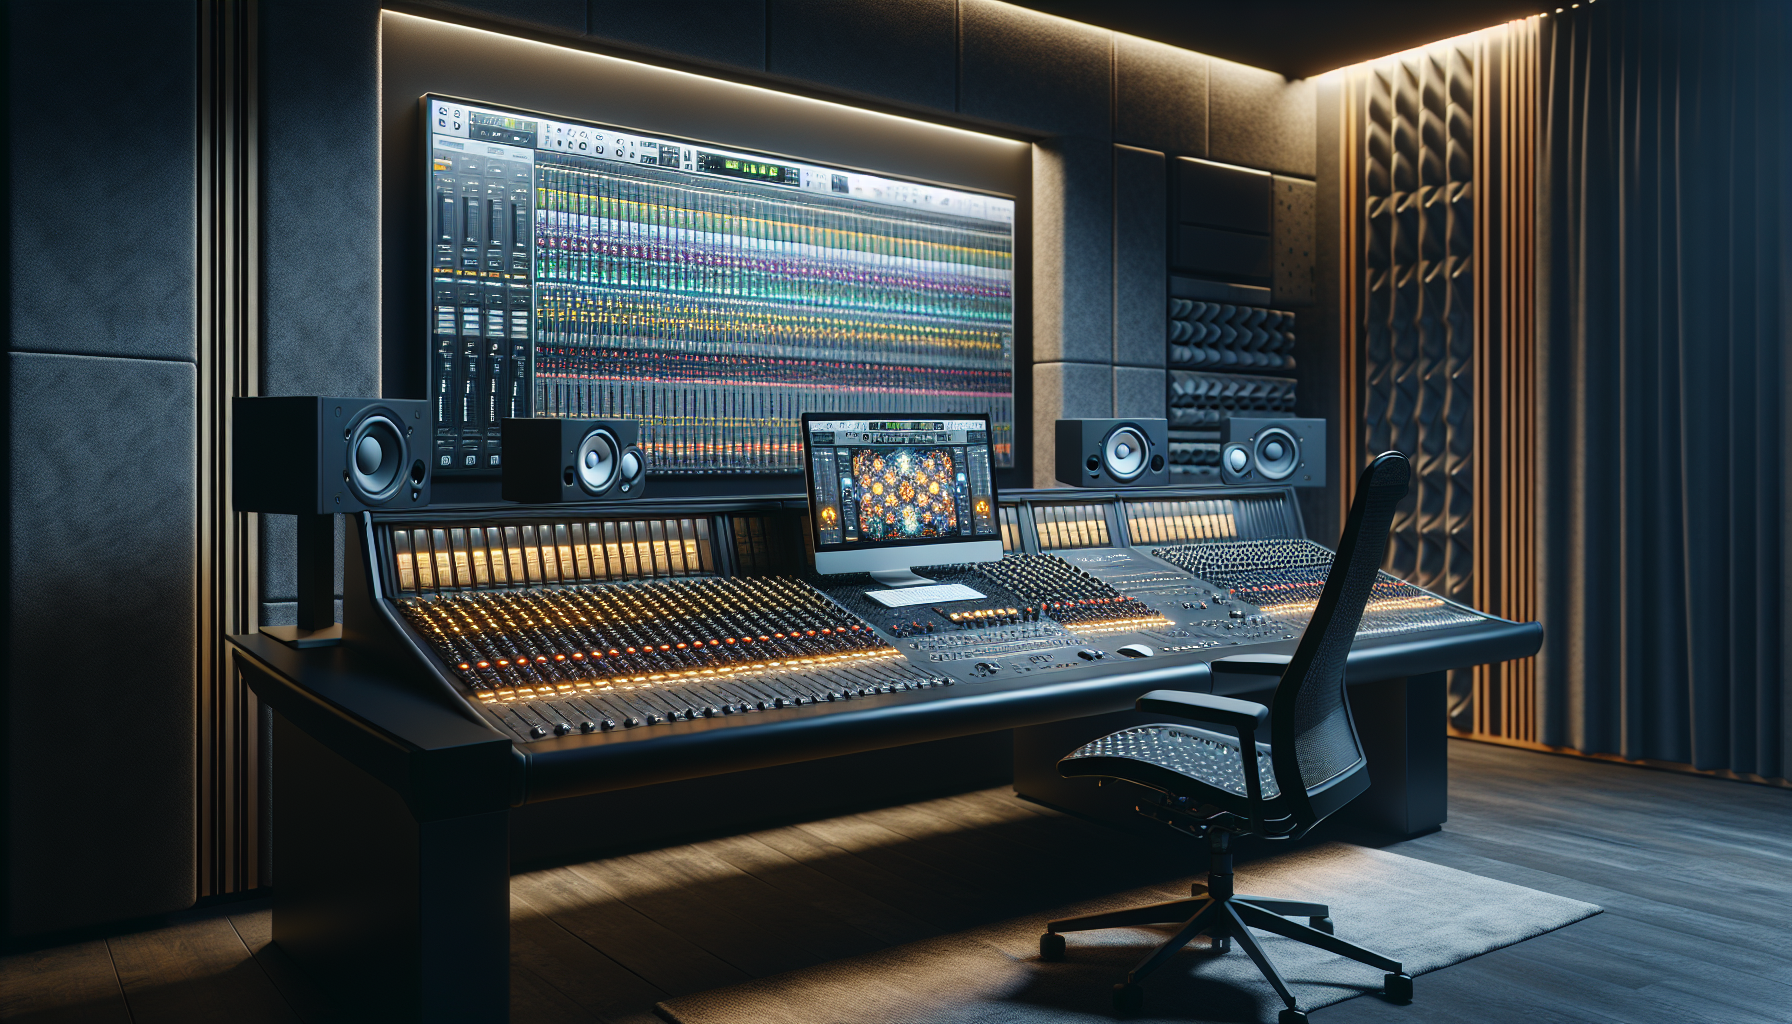
    Introduction to Mixing and Mastering for Beginners

    Mixing involves balancing and shaping sounds so they work well together in a track, while mastering gives the finished mix a consistent, polished sound. As a beginner, use these steps:

    • Start with Volume and Panning: Adjust track levels and use panning for spatial clarity.
    • Apply EQ: Adjust frequencies so each instrument remains distinct (e.g., reduce low mids in vocals).
    • Simple Compression: Apply gentle compression to level out dynamic ranges.
    • Reverb: Use reverb for space, but don’t overuse it to maintain a clean mix.

    For mastering, utilize your DAW’s basic presets for loudness and tonal balance. Listen to your track on different headphones or speakers for best results.

    Pro Tip: Rely on your ears more than visual meters. Briefly solo each element, then listen to the overall mix—good balance is more important than the fanciest plugins.

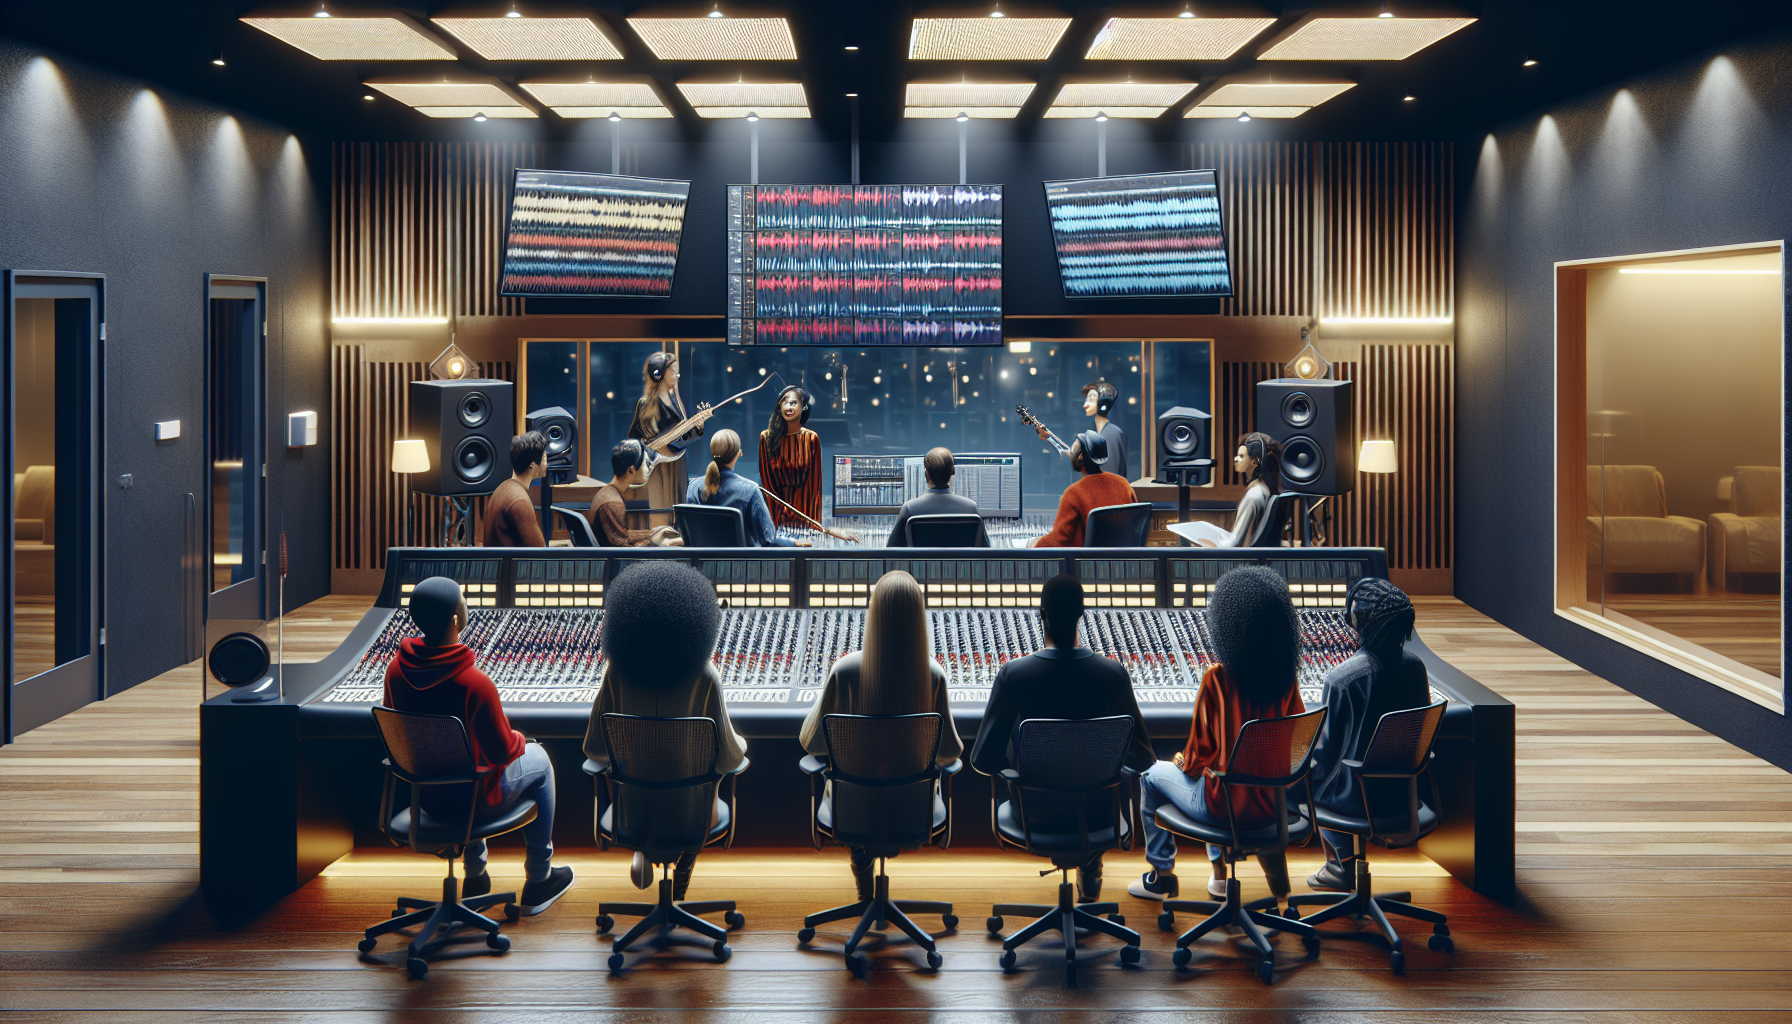
    Common Challenges for Beginners and Solutions

    Every beginner faces challenges like procrastination, gear envy, and feeling overwhelmed. Overcome them by:

    • Creative Block: Engage in “quick sketch” sessions of 15-30 minutes for non-judgmental experimentation.
    • Limited Gear: Master your current tools, as most DAWs include free instruments and effects.
    • Perfectionism: Remind yourself that each project is a learning opportunity. “Done” is better than “perfect.”
    • Burnout: Set realistic goals (e.g., “Finish one track this month”) and take regular breaks.
    • Feedback: Share your music with friends or online communities for constructive input.
    • Routine: Schedule regular sessions, even if just for 20 minutes a day, to build skills and momentum.

    Pro Tip: Join music producer forums and local meetups—free advice and collaboration opportunities can boost your growth and motivation.

    Advancing Your Skills and What’s Next

    Finishing tracks and building a portfolio is essential for growth as a producer. Continue learning through free music production resources like YouTube tutorials, and beginner courses. Practice consistently, experiment with new sounds, and don’t hesitate to step outside your comfort zone. Each completed track enhances your expertise and confidence in music production.

    Taking the leap into creating your first track is both exciting and rewarding. Remember, the tools and technology may aid your journey, but your passion and creativity will ultimately shape your music. Enjoy the process, and start making your first music production tracks today!

  • Mastering for Beginners: A Step-by-Step Guide

    Mastering for Beginners: A Step-by-Step Guide

    Introduction to Mastering for Beginners

    Mastering is the final polish of music production, essential for transforming a mixed track into a professional-sounding piece. It enhances the overall sound quality, ensures consistency across various playback systems, and brings the music to competitive loudness levels. For beginners, learning the transformation from an unmastered to a mastered track can be eye-opening, revealing the potential depth, clarity, and punch achievable. Though mastering may appear daunting, it is a skill that anyone can learn with dedication, offering immense satisfaction and the opportunity to elevate your music.

    Pro Tip: Before you start mastering, listen to professionally mastered tracks in your genre to set a quality benchmark for your own work.

    Must-Have Tools and Software for Mastering

    Starting mastering at home requires a basic setup: a reliable computer, high-quality speakers, and headphones. For those new to the process, beginner-friendly software like Ozone by iZotope provides intuitive interfaces and robust tools. Equally important is your acoustic environment; a poorly treated room can deceive your ears. Invest in essential plugins like Equalizers, Compressors, Limiters, and Stereo Imaging tools to significantly improve your mastering capabilities.

    Pro Tip: Choose headphones with a flat response to ensure accurate monitoring of your master.

    Basic Mastering Techniques Explained

    Mastering effectively relies on techniques like equalization, audio compression, and limiting. Equalization, or EQ, balances frequencies, making sure no frequency overpowers or lacks. Compression maintains a consistent level throughout the track, and limiting is essential to prevent distortion and maintain competitive loudness. Manipulating stereo width can also make your track sound larger and more immersive.

    Pro Tip: When using EQ, opt for subtle cuts over boosts to preserve the natural sound quality.

    Step-by-Step Guide to Mastering

    To begin mastering, first import tracks into your mastering software and set initial levels conservatively to prevent clipping. Adjust the EQ to correct any frequency imbalances. Then, apply compression wisely to enhance dynamics without flattening them. Achieving industry-standard loudness while preserving dynamic range is crucial for consistent playback across all devices. Conclude your session with stereo enhancements and embedding the necessary metadata.

    Pro Tip: Test your master on various listening devices to ensure consistent quality across different environments.

    Common Mastering Errors and Prevention Tips

    A common mistake in DIY mastering is over-compression, which can strip away life from the sound. Always watch for signs of reduced dynamic contrast. In EQ handling, avoid excessive adjustments as they can render the track unnatural. Additionally, resist the temptation to overly prioritize volume in the ‘loudness wars,’ as this can lead to a tiring listening experience. Strive for a natural and dynamic sound balance.

    Pro Tip: Regularly take breaks and listen to reference tracks to maintain an objective perspective of your sound.

    Exercises to Enhance Your Mastering Skills

    Start with simpler mastering projects to practice your skills. Conduct A/B listening tests with professional tracks to evaluate the impact of your mastering decisions. Experimenting with various tools and methods will deepen your understanding of what suits different music types best. Also, be receptive to feedback from experienced engineers.

    Pro Tip: Utilize spectrum analyzers and loudness meters to visually assist your mastering decisions.

    Additional Resources for Mastering Education

    To supplement practical experience, myriad resources like “Mastering Audio” by Bob Katz offer deep insights, while YouTube and other platforms provide professional tutorials. Engaging with online communities, such as Gearslutz, allows for the exchange of tips and advice. Apps and visual analysis tools also offer real-time feedback, enhancing your mastering process.

    Pro Tip: Participate in workshops and webinars to learn from experts and network with peers.

    Get Started with Mastering Today

    Mastering is a crucial skill that significantly enhances the sound quality of your music. Equipped with the proper tools, techniques, and a dedication to ongoing learning, you can achieve professional-quality sound in your home studio. Dive into mastering and begin applying these techniques to your tracks today. The journey might seem challenging, but it is immensely rewarding as you push the boundaries of audio enhancement.

    For more detailed guidance or personal support, don’t hesitate to contact our professional mastering services!

  • Overcoming Common Vocal Recording Challenges in Home Studios

    Overcoming Common Vocal Recording Challenges in Home Studios

    Master Vocal Recording in Your Home Studio

    As technology advances and the music industry evolves, home studios are becoming increasingly popular among vocalists and singer-songwriters. The ability to produce high-quality music in your own space not only saves money but also enhances creative control. However, home recording presents challenges such as acoustic issues and the absence of professional equipment. This article offers practical solutions and techniques to help you overcome these hurdles and elevate your home studio’s recording quality.

    Effective Acoustic Treatment in Home Studios

    Controlling room acoustics is critical when recording vocals at home. Unwanted reverb and echo can compromise the clarity of your vocal tracks. Implementing budget-friendly solutions like placing blankets or foam panels around your studio can significantly reduce reverb and manage sound reflections.

    Expert Tip: Focus on corners and the area directly behind the microphone—these spots often contribute to unwanted sound reflections and echo.

    Selecting the Right Recording Equipment

    The foundation of superb home recordings is selecting the appropriate microphone. Understanding the distinct characteristics of dynamic and condenser microphones can profoundly influence your results. Complementary equipment like pop filters, sturdy stands, and quality headphones are equally important. An audio interface can also enhance your setup by delivering cleaner, more professional audio.

    Expert Tip: For condenser mic users, a shock mount is invaluable for minimizing handling noise, and a pop filter can help manage harsh plosives in your recordings.

    Optimizing Microphone Placement for Clarity

    The positioning of your microphone is key to capturing clear vocal recordings. Adjusting the distance and angle of the microphone can prevent plosives and minimize breath sounds. While dynamic mics often require close proximity to fully capture the voice’s tonal quality, condenser mics can be positioned slightly further to utilize their sensitivity and broad frequency response.

    Expert Tip: Try angling the microphone slightly off-axis from the mouth to reduce breath sounds and plosive noises while maintaining vocal clarity.

    Maximizing Your DAW’s Potential

    Selecting the right Digital Audio Workstation (DAW) is crucial for successful vocal recordings at home. Get familiar with your DAW’s settings to optimize input levels and utilize plugins like EQ, compression, and reverb effectively, which can significantly enhance your vocal tracks.

    Expert Tip: Employ a high-pass filter on vocal tracks to cut out unnecessary low-frequency noise that can muddle the mix.

    Recording Tips for Consistency and Emotional Impact

    Preparation is key before recording. A thorough vocal warm-up not only improves your performance but also ensures consistency across takes. Mastering techniques for emotional delivery and breath control is essential for capturing compelling vocal tracks.

    Expert Tip: Record several takes of each song section to choose the best performance or create a composite track for the best sound quality.

    Minimizing Noise for Pristine Vocal Tracks

    Home recording environments often contain background noises that can affect recording clarity. Implement DIY soundproofing techniques like sealing gaps around doors and laying rugs on hardwood floors to reduce noise. Additionally, leveraging software for noise reduction post-recording can clean up your tracks substantially.

    Expert Tip: Optimize recording times by choosing periods when ambient noise is minimal, such as early mornings or late evenings, to dodge common disruptions like traffic and household appliances.

    Conclusion: Elevate Your Home Studio Recordings

    To excel in home studio recording, continual improvement and adoption of new techniques are vital. Enhance your vocal recording quality by implementing the right microphone setups and acoustic treatments, and by optimizing your DAW settings. Remember, persistence and experimentation are your best tools. Feel inspired to boost your home studio skills? Apply these DIY vocal recording strategies and share your progress, or seek professional guidance to further your audio production prowess.

  • How to Create Viral DJ Mixes in 2023

    How to Create Viral DJ Mixes in 2023

    Maximizing the Viral Potential of DJ Mixes in 2023

    Key Trends and Strategies for Viral DJ Mixes

    In the evolving music industry, it’s critical to understand the dynamics of digital content to create viral DJ mixes in 2023. With streaming platforms and social media profoundly shaping music consumption, studying successful DJ mixes can uncover key elements—like a unique blend of tracks or compelling narratives—that amplify their reach. For example, mixes that skillfully include trending DJ tracks often gain more traction by tapping into popular preferences.

    Pro Tip: Explore weekly trending playlists on platforms like Spotify and SoundCloud. Integrating these popular vibes into your mixes can boost relatability and shareability.

    Choosing the Right Tracks for Impactful Mixes

    The tracks you select form the backbone of your DJ mix, setting the tone and determining its potential to engage listeners. A balanced selection of trending tracks and undiscovered gems can intrigue and surprise your audience, keeping your set fresh and giving you a unique edge. Regularly checking music trends, such as those found on Beatport’s Top 100, can help you choose tracks that resonate with listeners.

    Pro Tip: Employ thematic or concept-driven approaches, such as mixing tracks around a specific event or season, to make your set not only entertaining but also timely and relevant.

    Advanced Techniques to Distinguish Your DJ Set

    Viral DJ mixes must sound exceptional and demonstrate technical skill that captivates the audience. Advanced techniques like seamless transitions, tempo adjustments, and innovative live remixing can distinguish your set. Leveraging advanced DJ tools and software, such as Native Instruments Traktor or Serato DJ, allows you to maximize your performance. Personal style is key; it can turn an ordinary set into a viral sensation.

    Pro Tip: Record your practice sessions to critique and refine your techniques and explore different styles to discover what engages your audience most effectively.

    Utilizing Social Media for Enhanced Visibility and Engagement

    In our digital era, mastering social media is essential for promoting music. Platforms like Instagram, TikTok, and YouTube are invaluable, with features like Instagram Stories and TikTok challenges tailored for DJ mix promotion. A visually appealing presentation and strategic timing of posts can greatly boost visibility and engagement. Furthermore, regular interaction with your audience and collaborations with other artists can foster a loyal fanbase and keep your sets popular online.

    Pro Tip: Use platform-specific analytics to understand content performance. This insight allows you to craft posts that replicate successful formats and themes.

    Evaluating Your Mix’s Performance and Sustaining Success

    After launching your mix, tracking its performance with analytical tools is essential. Monitoring reach, engagement, and overall success helps you set realistic goals for future promotions. Virality can be unpredictable, and responding to feedback, continuously improving, and adapting are vital for ongoing success. Each success is a learning opportunity that can open doors to new gigs, collaborations, and sponsorships.

    Pro Tip: Maintain an ongoing dialogue with your audience to understand their preferences, which is crucial for creating mixes that resonate widely while maintaining your artistic authenticity.

    Creating viral DJ mixes in 2023 demands a mix of musical intuition, technical skill, and sharp promotional strategies. By keeping abreast of the latest in DJ mixing techniques, engaging effectively on social media, and adapting to changes in the musical landscape, any talented DJ can achieve viral success. If you aim to elevate your DJ career or need advice on promoting your mixes, consider seeking professional guidance or exploring additional resources. The right support can make a significant difference in realizing your musical goals.

  • Creating Engaging DJ Sets for Live Performances and Streams

    Creating Engaging DJ Sets for Live Performances and Streams

    Unlock the Secrets to Captivating DJ Sets

    Introduction: The Art of DJing

    An engaging DJ set can captivate live audiences and stream viewers with its unique power. To mesmerize your audience, you need to understand their preferences and master the atmosphere, whether performing in a club or from your home studio. Key elements like song selection, crowd reading, smooth transitions, and smart use of technology are crucial. Each component plays a vital role in creating a memorable experience, ensuring your audience stays hooked from beginning to end.

    Song Selection: Crafting the Perfect Playlist

    A memorable DJ set begins with careful song selection. Choosing the right tracks can mirror the audience’s current vibe while steering the energy during your performance. Having a diverse music library allows you to adapt to different moods and settings. Balancing popular hits with obscure tracks keeps the set engaging and fresh, leaving a lasting impression on your listeners.

    Pro Tip: Invest time in creating versatile playlists for various moods and energy levels. This preparation will keep your sets adaptable and interesting, no matter the crowd.

    Engaging the Audience: Reading and Reacting to the Crowd

    The ability to read and react to the crowd is essential for a successful live set. Watching how the audience responds to different tracks and adjusting your set accordingly is an art. Engaging directly, for instance by making eye contact or sharing stories behind your music choices, can greatly enhance your connection with the audience, making the set feel more personal and interactive.

    Pro Tip: Whenever possible, step out from behind the DJ booth to mingle with the audience; this interaction can create a compelling and immersive experience.

    Transitions and Techniques: Smooth Out Your Set

    Mastery of transitions is crucial; they form the backbone of your DJ set. Smooth and creative transitions can distinguish your performance from others, whether you are a beginner or a veteran. Avoid common mistakes like clashing beats or jarring changes that can break the flow and disengage your audience.

    Pro Tip: Experiment with different mixing techniques during your practice sessions. Record and review these sessions to determine which transitions work best, then refine your techniques for live performances.

    Integrating Technology: Enhancing Your Performance

    The infusion of technology in DJing has transformed performances and audience interactions. Advanced DJ software, controllers, and apps for playlist management can significantly enhance your set. Incorporating visual effects that sync with your beats can bring a new dimension to the auditory experience. For streamers, engaging with your viewers through social media adds an interactive element similar to live shows.

    Pro Tip: Take advantage of apps and software that enable real-time preview of visual effects, synchronizing them perfectly with your beats for maximum impact during performances.

    Conclusion: Elevate Your DJ Skills

    Mastering the art of DJing involves understanding your audience, selecting the perfect tracks, executing flawless transitions, and utilizing the latest technology. Each element is crucial in designing a vibrant and impactful DJ set that resonates deeply with your audience. Embrace the opportunity to experiment with new technologies and techniques, and always be prepared to adapt to your crowd’s energy.

    Subscribe to our newsletter for more insights and tips on enhancing your DJ sets. If you have experiences or questions to share, we’d love to hear from you in the comments below. Keep the vibes alive and the music playing!

  • Top Mixing Techniques to Improve Your Music Production

    Top Mixing Techniques to Improve Your Music Production

    Unlocking Advanced Techniques in Music Mixing

    For passionate music producers, the mastery of advanced mixing techniques is crucial. Basic mixing skills such as leveling, panning, and EQ adjustments lay the foundation, but diving deeper can truly transform the sound quality of your tracks. This guide will arm intermediate producers with the skills needed to enhance the clarity, dynamics, and spatial depth of their productions.

    Advanced EQ Techniques for Clearer Sound

    Maximizing clarity in your mix begins with a profound understanding of the frequency spectrum. Advanced EQ techniques focus substantially on cutting unnecessary frequencies that cloud your sound, alongside careful boosts. For instance, a mild boost around 2kHz can bring out vocal presence, whereas reducing frequencies around 300Hz can decrease muddiness in guitars.

    Pro Tip: Utilize a high-pass filter on non-bass instruments to tidy up the low end, allowing bass elements to shine.

    Optimizing Dynamics with Compression

    Dynamic compression is vital for controlling your track’s range and adding vibrancy. Tailor compression settings for each element to prevent an overly compressed, flat sound. A 3:1 ratio suits vocals well, whereas drums might require more aggressive settings. Experiment with side-chain compression and parallel compression to achieve dynamic balance and depth.

    Pro Tip: When compressing vocals, adjust the attack time to let initial vocal nuances shine through before compression takes effect.

    Creating Stereo Width and Spatial Depth

    A precise stereo image not only broadens your mix but also enhances its spatial depth, making it more engaging. Effective techniques include careful panning and stereo wideners. Balance is key—use mid-side processing to boost the side signals without overwhelming central elements like vocals and bass.

    Pro Tip: Ensure mono compatibility to keep your mix impactful on any playback system.

    Incorporating Creative Effects for Texture

    Reverb, delay, and distortion are powerful tools for adding texture and depth. A controlled use of effects ensures your mix remains vibrant and balanced. For example, a slapback delay can subtly enrich vocals, while a hint of reverb brings snares to life.

    Pro Tip: Send similar instruments to a shared effects bus with a unified reverb or delay setting to maintain a cohesive sound space.

    Streamlining Your Mixing Workflow

    Combining various advanced techniques effectively requires a streamlined workflow. Start with templates and presets, then customize extensively. Regularly compare your tracks with professional productions to ensure a competitive edge. Cultivate a habit of experimentation to continually discover unique soundscapes and techniques.

    Pro Tip: Establish a reliable recall system in your DAW for efficient A/B testing, helping you understand the impact of different mix settings.

    Conclusion: Enhance Your Productions with Advanced Mixing

    Adopting advanced mixing techniques not only elevates the professional quality of your productions but also furthers your growth as a music producer. Continuous learning and experimentation are paramount. To delve deeper, consider accessing detailed resources or seeking professional advice. Share your mixing insights and engage with others in music production communities to expand your knowledge and skills.

    Interested in a personalized approach to mastering these techniques? Reaching out to professionals and exploring additional training opportunities can bring you closer to your next major breakthrough in music production.

  • Essential Home Recording Studio Setup for Beginners

    Essential Home Recording Studio Setup for Beginners

    Essential Home Recording Studio Setup for Beginners

    Introduction to Home Recording Studios

    A home recording studio transforms your personal space into a creative hub, allowing you to produce professional-level music recordings from the comfort of your home. It’s an indispensable asset for musicians at all levels, offering the liberty to explore and create music without the constraints of time and high studio costs. This guide covers the fundamentals of a basic studio setup, including the selection of the right room, essential equipment, and key software, empowering beginners to achieve high-quality music production.

    Selecting the Ideal Room for Acoustics

    The choice of room significantly affects the acoustics of your home studio. High ceilings and non-square shapes are preferable as they help manage echoes and reverberations more effectively. Choose a space that is quiet and free from external noises such as traffic, appliances, or other household disturbances. Employing acoustic treatments such as bass traps and acoustic panels will further enhance the sound quality of your recordings.

    Pro Tip: If options are limited, arranging your setup away from walls and corners will minimize audio distortions and improve recording quality.

    Essential Equipment for High-Quality Recordings

    The core of your home studio lies in the audio interface, which converts audio signals into a digital format that your computer can process. Beginners will find a basic two-channel interface sufficient to start. Invest in a large-diaphragm condenser microphone as it is adaptable for both vocals and various instruments. Additionally, studio monitors are crucial as they provide an accurate sound representation. This ensures what you record is exactly what you hear.

    Pro Tip: Match the microphone to your primary needs. For instance, a dynamic microphone suits loud sound sources such as drums, whereas a condenser microphone is perfect for capturing finer vocal and acoustic details.

    Effective Equipment Setup

    Initiate your setup by linking your audio interface to your computer using a USB or Thunderbolt connection. When positioning the microphone for vocals, place it about six inches from the mouth, just above the lips, and angle it towards the mouth to capture optimal sound. Arrange your studio monitors at ear level and in an equilateral triangle with your listening position to achieve the best stereo sound.

    Pro Tip: Organize your cables with cable managers to maintain a neat workspace and prevent recording interference or damage to cables.

    Choosing the Right Software

    Your recording journey requires a Digital Audio Workstation (DAW) to handle recording, editing, and mixing tasks. Beginners will appreciate user-friendly options like GarageBand for Mac or the free Audacity, available on various platforms. Start by setting up a new project, ready your audio tracks, and dive into recording. Learning basic editing functions such as cutting, fading, and applying effects will enhance your recordings further.

    Pro Tip: Opt for a 24-bit depth and a 48kHz sample rate when setting up your project, striking a balance between high-quality recordings and manageable file sizes.

    Optimizing Your Studio and Advancing Your Skills

    Maintaining your equipment regularly and keeping your studio clean are key to preserving the quality and longevity of your setup. To elevate your skills, engage with online resources such as tutorials, forums, and courses that specialize in home recording. Try various microphone positions and acoustic settings to discover the optimal arrangement for your music style.

    Pro Tip: Master keyboard shortcuts for your DAW to streamline your workflow and make music production more efficient.

    Conclusion

    Embarking on setting up your home recording studio represents a bold move towards realizing your musical aspirations. You now know the essentials needed for a successful studio and the significance of a conducive environment. Continuous improvement, driven by ongoing learning and experimentation, is the cornerstone of proficiency in music production. As you evolve, keep tweaking your setup to match your growing skills.

    Ready to start your music production journey? For further guidance or to explore advanced recording techniques, don’t hesitate to contact us!

  • Navigating Your First Studio Session: A Beginner’s Guide

    Navigating Your First Studio Session: A Beginner’s Guide

    Navigating Your First Studio Session: A Beginner’s Guide

    Welcome to the exciting world of music production! If you’re gearing up for your first studio session, it’s crucial to master both the technical skills and the social etiquette involved. This guide equips you with knowledge on studio etiquette, gear operation, and personal preparation to ensure your studio recording experience is successful and enjoyable.

    Getting Started with Studio Sessions

    Embarking on your first music studio session is an electrifying experience. It encompasses setting up equipment, recording tracks, and collaborating with audio engineers and producers to perfect your sound. Adequate preparation allows you to concentrate on the creative side of recording, helping you thrive in the new environment. A significant aspect of this preparation involves understanding studio etiquette and the fundamental operations of studio gear.

    Pro Tip: Familiarize yourself with the typical studio layout and its basic functions through online tutorials or guides prior to your session.

    Understanding Studio Etiquette

    To maintain a professional atmosphere, adherence to recording studio etiquette is paramount. Punctuality is crucial as it respects everyone’s time and maximizes your allocated studio hours. Efficiently managing your session, taking timely breaks, and interacting respectfully with the studio team and fellow artists will significantly improve the collaborative environment, leading to successful outcomes.

    Pro Tip: Confirm any guest visits with the studio manager in advance to avoid any session disruptions.

    Preparing for Your First Session

    Begin your session preparations long before setting foot in the studio. Engage in thorough practice and ensure you rest adequately—your voice and body must be in prime condition. Select songs that highlight your skills and set clear objectives for the session. Remember to bring essential items like your music, lyric sheets, and personal instruments.

    Pro Tip: Compile a checklist a few days before your session to make sure you have everything important.

    Navigating Studio Equipment

    A basic understanding of studio equipment is essential for any newcomer. Learn the functions of microphones, headphones, and soundboards to effortlessly navigate your session. Don’t shy away from asking your sound engineer for an equipment walkthrough. Communicating your sound preferences and comfort levels with the equipment to the engineer enhances recording quality.

    Pro Tip: Spend time learning about microphone polar patterns and headphone mixes, as this knowledge is crucial during tracking.

    Maximizing Productivity During Your Session

    Remaining focused and creative is essential, especially under the occasional stress of studio sessions. Be prepared to give and receive constructive criticism to boost your performance and the end product. Manage your work pace effectively, knowing when to advance or take a break. Regular reviews of recordings can help you spot issues early and ensure your vision is being accurately captured.

    Pro Tip: Keep a notebook handy to jot down ideas or feedback during your session.

    Post-Session Evaluation and Next Steps

    After your initial music studio session, thoroughly review your recordings to pinpoint areas for enhancement. Plan your future actions, which might include additional practice sessions or booking further studio time. Continuously develop your skills and build on your experiences with each studio visit.

    Pro Tip: Request feedback from your producer or engineer regarding potential improvements for future sessions.

    Each studio session is a stepping stone from a novice to a seasoned music producer.

    For personalized guidance or to book your next session, reach out to us today. Together, let’s create musical magic!

  • Ultimate Guide to Improving Vocal Recordings for Singers

    Ultimate Guide to Improving Vocal Recordings for Singers

    Mastering Vocal Recording Quality: A Comprehensive Guide

    For aspiring and experienced singers alike, the clarity and quality of vocal recordings can critically impact career opportunities. Whether crafting your first demo or recording vocals for a commercial release, comprehending the subtleties of vocal sound quality in studio environments is key. This guide delves into pivotal factors like microphone choice, room acoustics, and vocal effects that significantly enhance your outcomes. Prepare to elevate your vocal recordings to professional standards!

    Selecting the Ideal Microphone

    The microphone serves as your primary interface with the audio world, and choosing the right one is crucial for success. Condenser microphones excel in studio settings due to their sensitivity and ability to capture vocal subtleties. In contrast, dynamic microphones, known for their durability, are preferred for live performances. It is essential to choose a microphone that suits your voice type and musical style. Proper microphone positioning further optimizes your vocal capture.

    Pro Tip: Test multiple microphones by recording a segment of a song with each and compare the playback to find the best match for your voice.

    Enhancing Technique with Microphone Settings

    Refining your microphone technique can transform your recordings from amateur to professional level. The microphone’s distance and angle relative to the singer directly impact sound quality. Experiment with various positions to discover where your vocals sound best. Additionally, adjust settings like gain level and polar patterns to fit your vocal style and the room’s acoustics. Managing microphone techniques helps avoid issues with plosives and sibilance, which can obscure your recording’s clarity.

    Pro Tip: Utilize a pop filter and employ the ‘pencil trick’—tape a pencil vertically down the microphone’s diaphragm to mitigate the impact of plosives for a clearer sound.

    Optimizing Room Acoustics for Recording

    The recording environment plays a crucial role in the quality of your vocal tracks. A room with effective soundproofing eliminates unwanted noise and reverberations that can detract from the sound quality. Even basic DIY treatments, like installing acoustic panels or using heavy curtains, can significantly improve the acoustics. The aim is to create a ‘dead’ space that accurately captures the natural timbre of your voice without external interference.

    Pro Tip: If a professional setup is out of reach, try recording in a closet filled with clothes, which can mimic the sound absorption qualities of professional-grade materials.

    Applying Vocal Effects Wisely

    Using vocal effects like reverb and compression can polish your recordings, providing a professional-grade sound. However, it’s vital to apply these effects sparingly to avoid making the vocals feel distant or overly processed. Starting with a mild compression can help in maintaining consistent vocal levels. Adding a light reverb enhances the space around your voice without compromising its natural quality.

    Pro Tip: When using EQ, prioritize cutting problematic frequencies before boosting others to maintain the natural quality of your voice.

    The Art of Mixing and Mastering

    Mixing and mastering are critical in ensuring your vocals sit well within a track. Proper EQ techniques help eliminate frequency clashes and bring out the best in your voice. Use compression strategically to preserve the dynamic range while maintaining consistent levels. While home studios offer great flexibility, collaborating with a professional sound engineer can significantly boost the quality of major projects.

    Pro Tip: While mixing, alternate listening through different speakers and headphones to gauge how your vocal mix translates across various sound systems.

    Committing to Continuous Improvement

    Continuous learning and regular practice are indispensable for honing your recording skills. Experiment with new techniques, stay updated with the latest technological advancements, and seek constructive feedback on your recordings. Leveraging both formal training and self-guided learning resources like online tutorials can greatly aid in your development.

    Pro Tip: Regularly record and review your sessions to monitor your progress and identify areas needing improvement.

    Conclusion: Taking Your Vocal Recordings Further

    Advancing in vocal recording is an ongoing process of learning, practice, and experimentation. From selecting the appropriate microphone to perfecting your mixing skills, each step is an opportunity to better your sound. With patience and determination, use this guide to explore and enhance your vocal abilities and produce recordings that captivate your audience.

    Ready to enhance your vocal recordings? Explore deeper into each discussed topic, apply these techniques, and seek expert advice to refine your vocal prowess.

  • Top 5 Mixing Techniques to Enhance Vocal Tracks

    Top 5 Mixing Techniques to Enhance Vocal Tracks

    Top 5 Mixing Techniques to Enhance Vocal Tracks

    Welcome to your guide on professional music production, specifically focusing on enhancing vocal tracks. Whether you’re a budding music producer or an experienced sound engineer, this post provides essential vocal mixing tips and techniques to help elevate the quality of your productions.

    Essential Vocal Mixing Insights

    The human voice is loaded with emotional nuances, essential for the song’s emotional appeal. Yet, producers and engineers often grapple with issues like sibilance, dynamics, and clarity. Here, you’ll find key techniques that can transform your vocal tracks.

    Fundamentals of Vocal Mixing

    Understanding the basics of vocal mixing is crucial before diving into complex techniques. Mixing aims to harmoniously blend tracks, while mastering focuses on final modifications pre-distribution. Essential elements like EQ, compression, and reverb are pivotal in sculpting the vocal sound. A well-treated acoustic environment ensures the accuracy of what you mix, preventing environmental distortions.

    Pro Tip: Begin with neutral EQ settings and make incremental adjustments to maintain a natural vocal sound.

    Technique #1: Strategic EQ Adjustments

    Effective EQ adjustments can significantly enhance a vocal track. Use a high-pass filter to eliminate distracting low frequencies. Focus on mid-frequencies to improve clarity and presence. Implementing de-essing softens harsh sibilant sounds like “s” and “sh”.

    Pro Tip: Apply EQ changes gradually, using narrow sweeps to precision-tune your adjustments for optimal clarity.

    Technique #2: Compression for Consistent Vocal Levels

    Compression is essential for a balanced vocal performance, making soft parts audible and preventing loud parts from being too dominant. Set the compressor with an appropriate attack and release to echo the vocalist’s natural expression. Consider using parallel compression for added dynamic texture without overwhelming the track.

    Pro Tip: Opt for a slower attack to retain the natural sound of the voice and a quicker release to keep the energy intact.

    Technique #3: Enhancing Depth with Reverb and Delay

    Reverb and delay can expand the vocal’s spatial and textural feel when used judiciously. The right balance and type of these effects are crucial to prevent them from overshadowing the vocal itself.

    Pro Tip: Apply a high-pass filter to reverb sends to avoid muddy low-frequency accumulation, ensuring a clearer mix.

    Technique #4: Adding Warmth with Harmonic Enhancement

    Using saturation plugins can infuse warmth and richness, allowing the vocals to feel fuller and more present in the mix. It’s vital to integrate harmonics carefully to complement rather than dominate the primary vocal line.

    Pro Tip: Start with subtle saturation and increase incrementally for a natural enhancement.

    Technique #5: Dynamic Mixing with Automation

    Automation offers precise control over mixing elements, allowing vocal parts to seamlessly integrate or stand out during different song sections. It is particularly effective for emphasizing key lyrical moments, thereby elevating the track’s emotional impact.

    Pro Tip: Target automation on critical parts of the lyrics to spotlight emotional highs, creating a compelling auditory journey for listeners.

    Conclusion: Mastery Through Practice

    To master these vocal mixing techniques, you’ll need patience, practice, and a sharp ear. Every track offers unique challenges, so stay innovative with your approach. Critical listening remains a significant skill in achieving professional-level vocals. Continue learning with additional resources like tutorials and hands-on experience to further refine your mixing skills.

    Interested in deepening your vocal production skills or require personalized support? Contact our studio or visit our blog for comprehensive tutorials and expert tips on mastering vocal recordings.