Author: Neat Little Studios

  • The Ultimate Guide to Mic Techniques for Studio Recording

    The Ultimate Guide to Mic Techniques for Studio Recording

    The Ultimate Guide to Mic Techniques for Studio Recording

    Welcome to Microphone Techniques for Studio Recording

    Welcome to your in-depth guide on microphone techniques for studio recording—a crucial skill for any sound engineer or recording artist. Mastering microphone usage can significantly improve your recordings, achieving a quality akin to that of a professional studio. This guide will cover various mic types, positioning tips, and optimal practices for capturing flawless audio.

    Choosing the Right Microphone

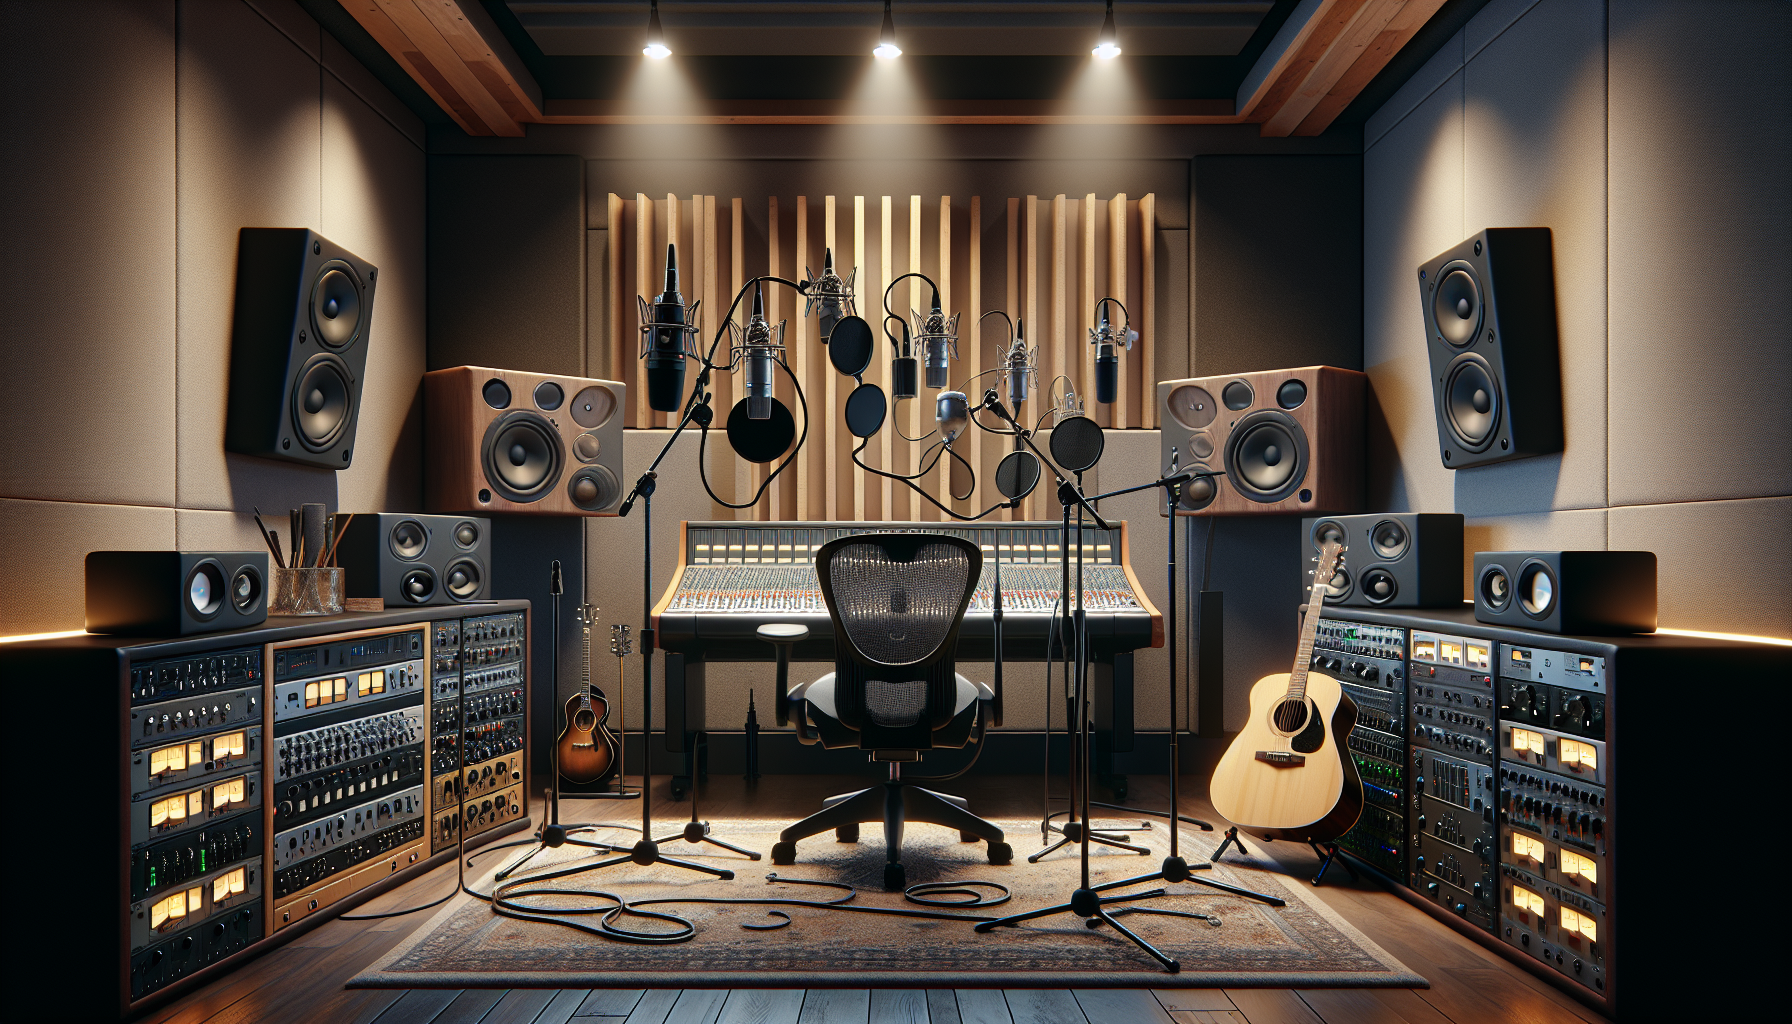
    Selecting the appropriate microphone is critical for your recording quality. Dynamic microphones, known for their robustness, are superb for capturing loud instruments like drums. For a wide frequency response and high sensitivity, condenser microphones are best for vocals and acoustic instruments, ensuring every detail is pristine. Ribbon microphones excel in recording ambient sounds due to their unique sound quality and bidirectional pickup pattern.

    Pro tip: Use a large-diaphragm condenser microphone to capture the subtle nuances of soft sounds.

    Mastering Microphone Placement

    Proper microphone placement is vital for capturing clear and balanced sound. Positioning the microphone roughly 6-12 inches from the source can reduce plosives while maintaining clarity. For instruments, it’s crucial to understand how placement affects the sound captured from different parts, such as the sound hole of a guitar or the rim of a drum.

    Pro tip: Take advantage of the proximity effect; come closer to the mic to enhance bass frequencies for a fuller vocal tone.

    Advanced Techniques for Professional Sound

    To further enhance recording quality, using multiple microphones offers additional depth and spatial quality. Employing techniques such as stereo miking captures a more authentic sound by mimicking human auditory perception. Also, mindful phase alignment ensures all sounds reinforce rather than cancel each other out.

    Pro tip: For optimal phase alignment, utilize phase-check techniques such as adjusting the phase switch and listen for a fuller sound.

    Optimizing Your Recording Environment

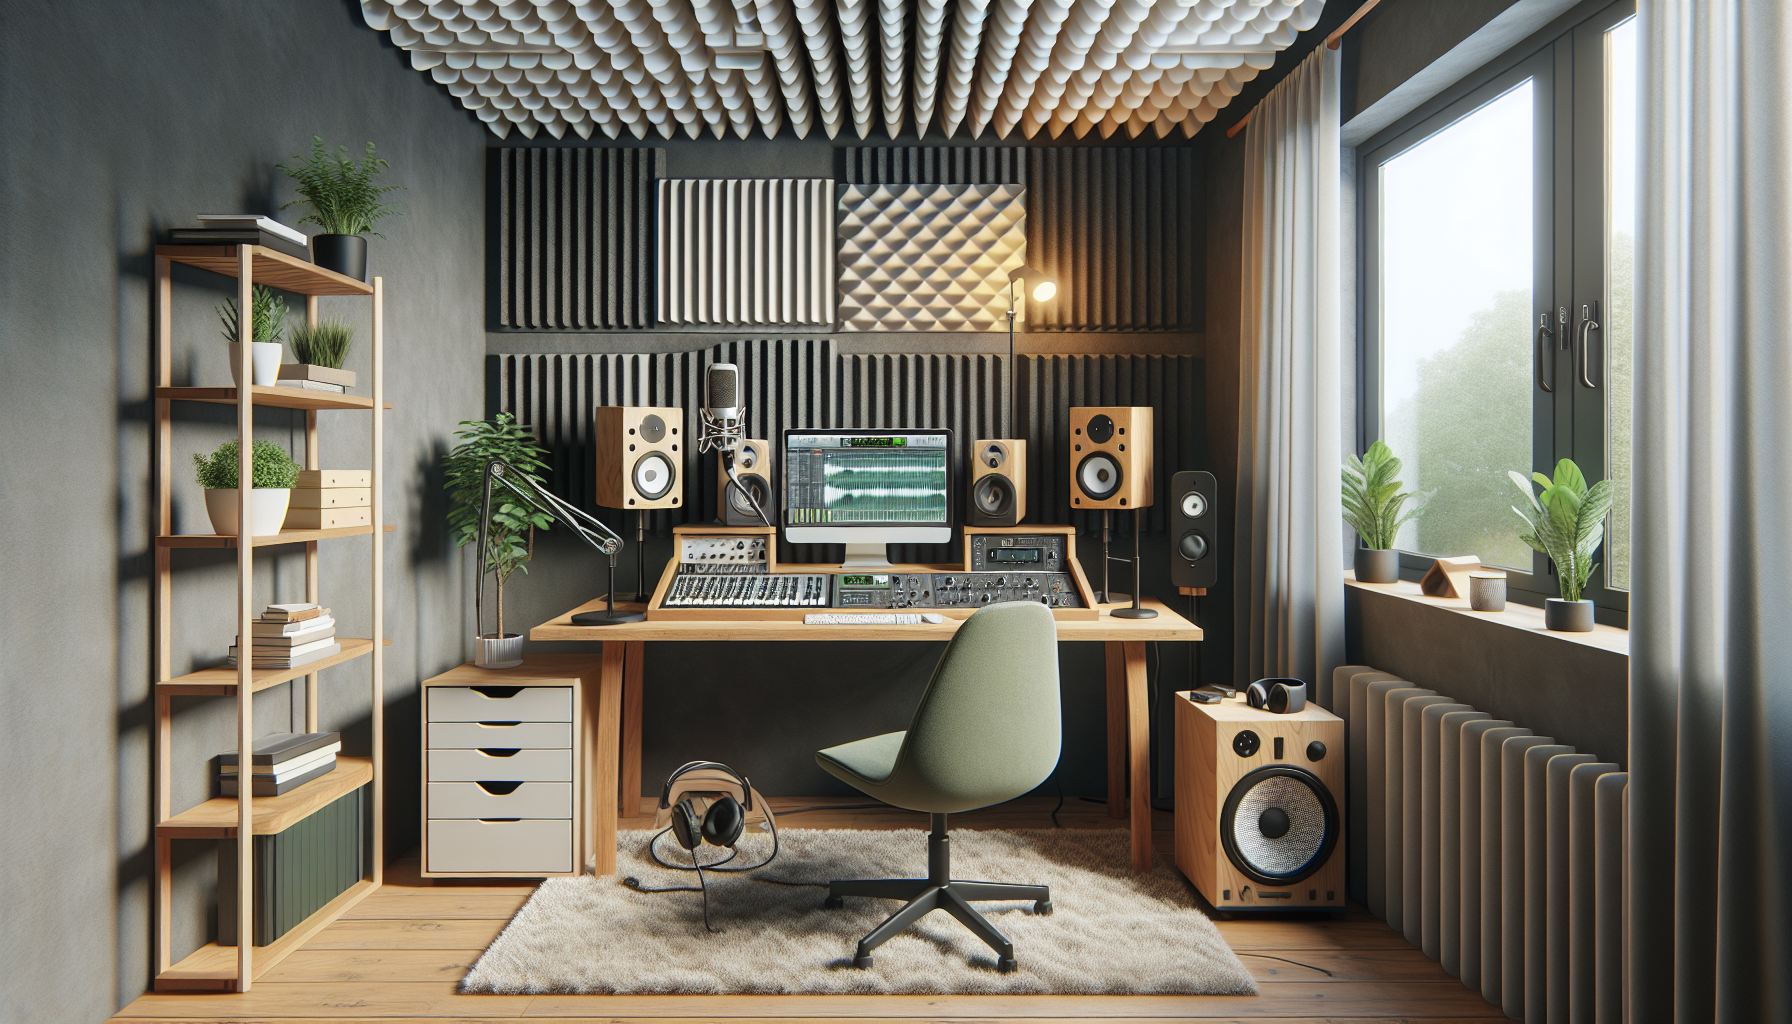
    The recording environment significantly influences sound quality. Basic acoustic treatments, like installing bass traps and diffusers, help prevent unwanted echoes and reverberation. Also, consider how different surfaces within the studio might reflect sound, and arrange your mics accordingly.

    Pro tip: In home studios, use heavy curtains and rugs in reflective areas to improve sound quality cost-effectively.

    Essential Tips and Avoidable Errors

    Avoid common mistakes such as fixed microphone setups without preliminary tests. Conducting short test sessions before final recordings can uncover potential problems with sound levels and clarity, enabling timely adjustments. Moreover, simple microphone maintenance, like regular cleaning and proper storage, extends their usability and performance.

    Pro tip: Record multiple takes with varying mic placements to provide options during editing, offering varying textures and depth.

    Conclusion: Elevate Your Recording Skills

    You’re now equipped with essential knowledge on microphone types, placement strategies, and the importance of a suitable recording environment. Mastery comes through experimentation and continual learning. Apply these techniques and share your experiences with others to refine your skills further.

    For more in-depth learning, consider exploring tutorials on specific mic techniques or industry case studies. Whether you’re tweaking your studio setup or experimenting with different mic settings, each step you take is crucial. If you wish to boost your recording quality further or learn more about capturing exceptional sound, explore our additional resources or contact us for personalized advice.
  • Creating Compelling Content for DJ Social Media

    Creating Compelling Content for DJ Social Media

    Creating Compelling Content for DJ Social Media

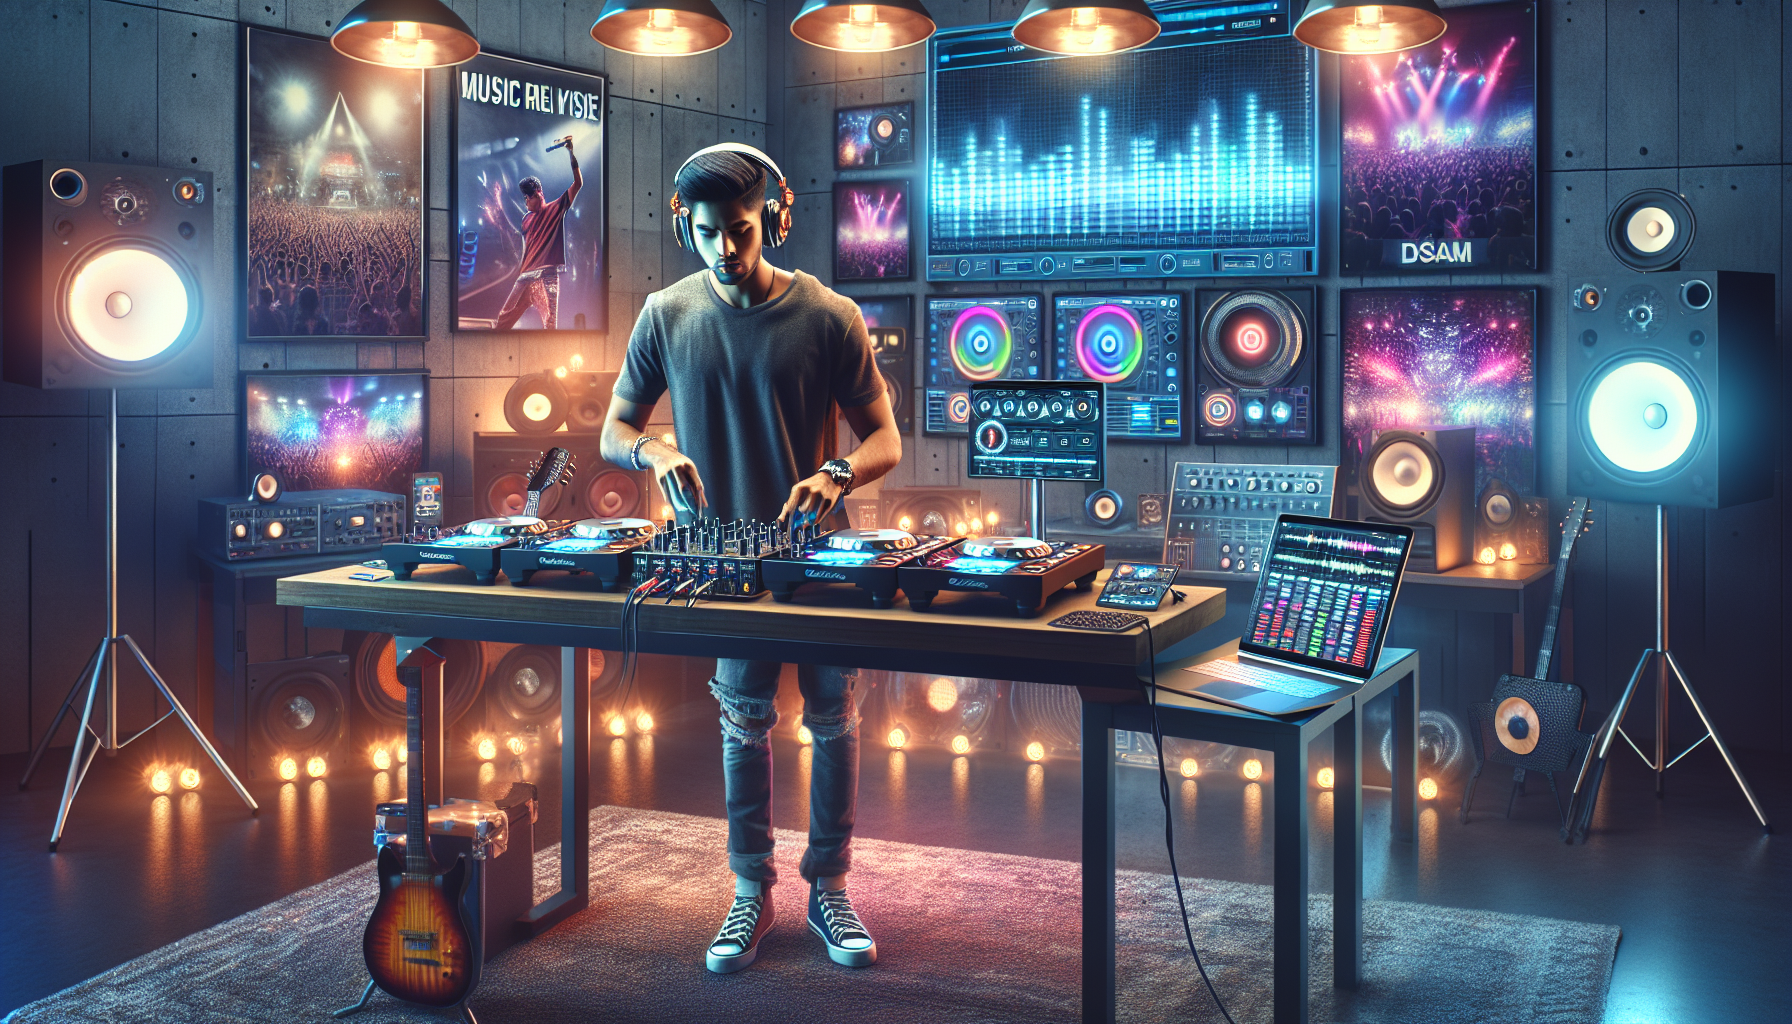
    DJs seeking to dominate social platforms must grasp the nuances of compelling social media content. Every post, whether a high-energy mix or an engaging live stream, can boost followers and strengthen your brand. This guide delivers practical advice on leveraging social media marketing to amplify your DJ career.

    Know Your Audience: Mastering DJ Social Media Engagement

    Successful social media engagement starts with understanding your audience. DJs generally attract a youthful, vibrant crowd, from teens to millennials who engage actively online. By examining successful DJs, you’ll find they focus on interactive, visually appealing content that sets trends and captivates their audience. Platforms like Instagram and TikTok are essential for visual and audio content, whereas Twitter may not serve the DJ’s needs as effectively.

    Pro tip: Analyze follower demographics through social media analytics to refine your content, tailoring it to their music preferences or favorite festival experiences.

    The Art of Engaging DJ Content

    To captivate your audience, DJ content must beautifully meld auditory and visual elements. High-quality, original mixes and sharp, inventive visuals maintain a DJ’s professional image and boost engagement. Updating cover and profile photos regularly with fresh, high-quality images of recent performances or new gear can also enhance your visual appeal.

    Pro tip: Keep your visual identity captivating by regularly refreshing your social media images with snapshots from recent events or fresh DJ setups.

    Innovate with Unique Audio Content

    Distinguish yourself by creating exclusive soundtracks or sets that aren’t available elsewhere. Software like Ableton Live or Serato DJ Pro helps deliver superb sound quality. Ensure you use licensed or original music to avoid copyright issues.

    Pro tip: Craft mixes with seasonal or topical themes to boost relatability and encourage sharing, such as a vibrant summer playlist or a soothing ambient mix for winding down.

    Strategies to Maximize Engagement

    True engagement goes beyond posting; it’s about sparking dialogues. Craft captivating captions, use trending hashtags, and time your posts to maximize visibility and interaction. Engaging with comments and messages builds a committed community.

    Pro tip: Engage your audience with interactive elements like polls or queries about their favorite tracks to foster interaction and sharing.

    Expanding Reach with Video and Live Streams

    Videos and live streams are vital for DJs. Showcasing ‘behind-the-decks’ footage or live performance clips can generate excitement. Streaming on platforms like Twitch or YouTube invites real-time audience interactions, enhancing fan connections.

    Pro tip: Collaborate with other artists in your streams to cross-promote and captivate a wider audience.

    Enhance Your Approach by Tracking Content Performance

    It’s essential to know what resonates with your audience. Use tools like Instagram Insights or Twitter Analytics to track engagement and adjust your strategies. Experiment with different content types and posting schedules to optimize your approach.

    Pro tip: Implement regular A/B testing with various posting times or content styles to refine your social media tactics.

    Keep Evolving Your DJ Social Media Strategy

    To excel in social media marketing, continuously adapt by embracing new trends and experimenting with content types, post timing, and innovative visual elements. This adaptability is key to staying relevant and engaging on social media.

    Call to Action: Experiment with these strategies in your DJ career and share your experiences! Have additional tips? Join the conversation in the comments or send us a message!

  • Mastering Basics for Amateur Producers: A Starter Guide

    Mastering Basics for Amateur Producers: A Starter Guide

    Mastering Basics for Amateur Producers: A Starter Guide

    Embarking on the journey of music production can be exhilarating yet daunting for amateur producers. With the right guidance on mastering basics, you can transform your raw musical ideas into polished tracks that resonate with listeners. This starter guide empowers you with essential techniques and insights that form a strong foundation in the competitive field of music production.

    What Does a Music Producer Do?

    A music producer plays a crucial role, blending creative artistry with technical expertise. They not only record songs but also shape the music’s sound, manage recording session logistics, and sometimes guide the project’s artistic direction. Fully understanding this role is essential in mastering music production basics.

    Pro Tip: Study renowned producers in your genre. Observe how they manage sounds, handle vocal performances, and create unique audio environments. This practical insight can be transformative for your projects.

    Setting Up Your Home Studio

    Understanding a producer’s responsibilities helps you set up a functional home studio. Essential equipment includes a reliable computer, a digital audio workstation (DAW), quality headphones, and possibly a good microphone for recording vocals or instruments.

    Pro Tip: Choose a beginner-friendly DAW that fits your budget. Many, like Ableton Live, FL Studio, and Logic Pro, offer free trials to help you find the most comfortable option before investing.

    Mastering Your Digital Audio Workstation

    Mastering your DAW, the cornerstone of music production, involves knowing its features, workflow, and plugins. Most DAWs come with built-in samples, virtual instruments, and effects, allowing you to start producing music with minimal initial investment.

    Pro Tip: Spend time daily exploring your DAW’s features. Try composing simple beats or remixing tracks to enhance your familiarity with the available tools.

    Introduction to Mixing and Mastering

    Mixing and mastering are vital for producing high-quality music. Mixing adjusts and combines individual tracks for balance, while mastering optimizes this mix for distribution. Both skills demand a good understanding of sound dynamics.

    Pro Tip: Work with reference tracks during mixing and mastering. Select a professional song that showcases excellent production in your genre and compare your tracks to this benchmark to assess quality and progress.

    Effectively Using Plugins and Virtual Instruments

    Plugins and virtual instruments are fundamental in modern music production, offering sounds ranging from traditional instruments to futuristic synths. Effective use of these tools can significantly enhance your productions.

    Pro Tip: Avoid cluttering your tracks with excessive plugins. Focus on mastering essential tools like reverb, EQ, and compression to maintain manageable sessions and ensure sound quality.

    Start Creating Standout Music Today

    Mastering the basics of music production requires time, practice, and continuous learning. By focusing on these fundamental areas, you’ll be well-prepared to create music that makes an impact. Consider professional training or tutorials to further refine your skills.

    If this guide has been helpful, or if you need more specialized guidance in music production, feel free to reach out or explore additional resources on our website. Start your music production journey with confidence, and let us help you excel every step of the way!

  • Capturing the Perfect DJ Mix: Tips and Tricks

    Capturing the Perfect DJ Mix: Tips and Tricks

    Mastering DJ Mixing: Essential Techniques and Equipment

    Mastering DJ mixing is a blend of art and technical prowess, essential for any aspiring or professional DJ. This guide provides crucial tips and techniques to create stellar mixes. Whether you are honing your skills or adding professional finesse, learn how to enhance your DJ performances consistently.

    Grasp the Basics of DJ Mixing

    Understanding track structures is pivotal in DJ mixing. Tracks are composed of intros, outros, breaks, and peaks. Familiarity with these elements enables smooth song transitions.

    Pro Tip: Examine each track’s waveform via your DJ software to identify breakdowns, drops, and peaks, enhancing transition timing.

    Develop Skills in Beatmatching and Tempo Control

    Beatmatching, the essence of DJ mixing, entails aligning the beats of two tracks for seamless blending. While digital tools offer syncing aids, manual beatmatching sharpens your auditory skills and improves mixing adaptability.

    Pro Tip: Leverage digital sync for convenience, but also practice manual beatmatching to deepen your musical understanding and flexibility.

    Select Optimal DJ Equipment

    The right equipment is crucial in defining the quality of your DJ mix. Options range from controllers and turntables to software-focused setups, each with unique benefits.

    Pro Tip: A high-quality pair of headphones is crucial for live mixing, providing sound isolation and clear cue audibility against background noise.

    Efficient Use of EQ for Fluid Transitions

    Mastering the Equalizer (EQ) settings is key to creating smooth track transitions. Manage the bass, mid, and treble to merge tracks without your audience noticing the change.

    Pro Tip: During a transition, reduce the bass of the outgoing track while increasing it on the incoming track to maintain clarity and energy.

    Incorporate Effects to Elevate Your Mix

    Effects like reverb, echo, and phaser add dimensions to a mix. Modern DJ mixers and software provide these tools to enhance the auditory experience.

    Pro Tip: Use effects judiciously to emphasize transitions or crucial moments, avoiding excessive use that can overpower the music.

    Record and Review Your DJ Mixes

    Recording and reviewing your mixes is imperative for continual improvement. This process aids in developing a distinct style and refining skills based on feedback.

    Pro Tip: Post-session, assess your mix noting strengths and areas for improvement to better your future performances.

    By mastering fundamental and advanced DJ mixing techniques, and using professional-grade equipment, you elevate your audio projects. With each mix, you have a new opportunity to impress and connect with your audience.

    For further insights or to engage with expert audio mixing services, contact our professionals today and take your DJ skills to the next level!

  • How to Enhance Vocal Recordings in Any Studio

    How to Enhance Vocal Recordings in Any Studio

    How to Enhance Vocal Recordings in Any Studio

    Whether you’re just starting out as a vocalist looking to enhance your tracks, or you’re a seasoned engineer aiming to capture the ideal vocal performance, mastering the art of vocal recording is essential for high-quality music production. This guide explores essential techniques from mic placement to advanced audio processing that will help your vocals stand out with clarity and impact.

    Selecting the Perfect Microphone for Vocals

    The first step in pristine vocal recordings is choosing the right microphone. Different mics capture sound uniquely, significantly impacting the vocal tonal quality. Condenser microphones are often preferred in studio settings for their sensitivity and broad frequency response, which are great for catching the subtle nuances of vocal performances.

    Pro Tip: Test various mics when possible. Each microphone can highlight different qualities of the voice, so experimenting can help you identify the best fit for your vocalist’s unique timbre.

    Mastering Microphone Placement and Technique

    The placement of the microphone is as critical as the choice of mic itself. Positioning the microphone about 6-12 inches from the singer, slightly above their mouth and angled towards it, can enhance the sound quality by reducing harsh plosive sounds and minimizing breathing noises.

    Pro Tip: Always use a pop filter and tailor your mic placement to the room’s acoustics. Experiment with different positions to find the optimal setup that offers the clearest sound.

    Smart Use of EQ and Compression

    Equalization (EQ) and compression are vital tools for fine-tuning vocal sound. Use EQ to adjust specific frequencies so the singer’s voice fits well in the mix. Compression helps maintain a consistent volume, ensuring vocals integrate smoothly with other tracks without overwhelming or getting lost.

    Pro Tip: Start with subtle compression settings and adjust gradually. Overdoing compression can rob the vocals of their natural dynamic and make them sound flat.

    Enhancing Vocals with Reverb and Delay

    Reverb and delay are effects that add depth and create space around the vocals, helping integrate them into the mix more naturally. However, it’s crucial to use these effects judiciously to keep the vocals from sounding distant or overly processed.

    Pro Tip: A short, soft reverb can add warmth without overshadowing the vocals. Consider using minimal, varied delays to enrich the vocal track subtly.

    Ensuring Emotional Resonance and Vocal Clarity

    While technical skills are fundamental, the emotional impact and clarity of the vocal performance are what truly captivate listeners. Effective communication and support during recording sessions can significantly enhance the vocalist’s performance.

    Pro Tip: Focus on building a positive relationship with the vocalist. A comfortable and confident performer is more likely to deliver powerful vocals. Offer constructive feedback and allow breaks to maintain vocal quality.

    Drive Your Vocal Tracks to Excellence

    Enhancing vocal recordings combines technical expertise, quality equipment, and attention to detail. By applying these strategies, you’re set to deliver vocals that are not only technically proficient but also emotionally compelling. Remember, adaptability is key since each vocalist and project is unique.

    Ready to delve deeper into music production or need expert help with your recording projects? Visit our blog for additional insights or contact our professional team for tailored support. Elevate your music production to new heights with our professional recording services.

  • Top 5 Mixing Techniques for Professional-Sounding Tracks

    Top 5 Mixing Techniques for Professional-Sounding Tracks

    Top 5 Mixing Techniques for Professional-Sounding Tracks

    Every music producer, whether amateur or professional, strives for that polished, professional sound that captivates listeners in today’s competitive music scene. Achieving such a level of professionalism requires more than great musical ideas; it demands meticulous mixing techniques that elevate raw recordings into compelling auditory experiences. If you’re aiming to improve your tracks significantly, mastering key mixing techniques is crucial. Explore the top five mixing techniques that can take your music to a professional level.

    Optimizing Mix Clarity with EQ

    Equalization (EQ) is a vital tool in a mixer’s toolkit. Effective EQ use is about carving out space for each element in your mix, ensuring each sound is distinct and clear. This involves eliminating unnecessary frequencies from tracks to prevent muddiness, such as using high-pass filters to remove low-end rumble from non-bass elements and reducing mid-range frequencies to decrease clashes between vocals and guitars.

    Pro Tip: Prioritize cutting frequencies over boosting them, as this preserves the natural dynamics of the original sounds and ensures a cleaner mix.

    Mastering Consistency with Compression

    Compression is key to managing your mix’s dynamic range. It works by leveling out tracks, reducing the volume of loud sounds or amplifying quieter ones to maintain consistency. Use compression carefully, as excessive compression can sap the life from your sound, while too little can leave dynamic imbalances.

    Pro Tip: Try parallel compression on vocals to thicken them without sacrificing dynamics, blending a compressed signal with the original.

    Creating Depth with Reverb and Delay

    Reverb and delay are essential for adding spatial depth to your mix. Reverb helps emulate physical spaces, enhancing the emotional impact by giving context to sounds. Delay adds rhythm and texture creatively. However, it’s important to apply these effects with care to avoid a mix that feels overly busy or washed-out.

    Pro Tip: Employ a pre-delay setting with your reverb to separate the original sound from the reverb tail, enhancing clarity and spatial definition.

    Enhancing Listener Experience with Stereo Imaging

    Stereo imaging manipulates the spatial perception of sound in your mix to provide a more immersive listening experience. Techniques like panning or stereo widening tools can strategically place elements within a three-dimensional sound field. It’s crucial to maintain balance to prevent phase issues and ensure the mix translates well on mono systems.

    Pro Tip: Regularly check your mix in mono to ensure every element is clear and impactful, even without stereo enhancements.

    Energizing Tracks with Automation

    Automation breathes life into a mix by dynamically altering volume, panning, effects, and other parameters over time. This tool is especially useful for transforming quieter verses into powerful choruses with smooth transitions, enriching the emotional journey of a track.

    Pro Tip: Use automation to subtly increase the reverb on a snare during breaks or bridges, creating a crescendo that engages listeners.

    Mastering these mixing techniques not only enhances the quality of your music but also helps your tracks stand out in the industry. With the continuous advancements in mixing technology and the abundance of available information, achieving professional-sounding tracks is more attainable than ever. Interested in diving deeper into audio production or seeking professional advice on your next project? Don’t hesitate to reach out for expert guidance.

  • Ultimate Guide to Home Studio Setup for Beginners

    Ultimate Guide to Home Studio Setup for Beginners

    Ultimate Guide to Home Studio Setup for Beginners

    Introduction: Starting Your Home Studio Journey

    Setting up a home recording studio is an exciting endeavor for any budding music producer or artist. In this guide, we’ll cover everything you need to set up a functional and professional-sounding studio at home, including selecting the right space, choosing essential equipment, setup tips, and soundproofing—all tailored for beginners on a budget.

    Selecting the Ideal Space for Your Studio

    The location of your studio greatly affects the sound quality and atmosphere of your recordings. Look for a moderately sized room that’s away from external noises like traffic or appliances, and avoid perfectly square spaces to minimize sound distortions. This setup helps in achieving better sound quality.

    Pro tip: Choose spaces with irregular shapes or rooms that can accommodate some furniture for natural sound diffusion.

    Essential Equipment for Beginners

    Investing in quality equipment is crucial for your studio. Start with the essentials: a sturdy microphone, reliable headphones, a solid audio interface, and precise monitors. Prioritize quality within your budget, looking to trusted brands such as Audio-Technica for microphones and Focusrite for audio interfaces.

    Pro tip: Read online reviews and, if possible, test the equipment in-store to make sure it fits your specific needs before purchasing.

    How to Set Up Your Studio Equipment

    Setting up your equipment correctly is essential for a smooth recording experience. Install your audio interface first, then connect your microphone and monitors. Organize cables neatly to avoid clutter and interference, and get familiar with the signal flow to handle basic troubleshooting effectively.

    Pro tip: Label your cables and connections to simplify troubleshooting and reconfiguration in the future.

    Basics of Acoustic Treatment

    Effective acoustic treatment is key to improving recording quality. You can start with simple DIY solutions: position bookshelves filled with books, hang heavy curtains, or make homemade panels from acoustic foam. These budget-friendly options help reduce unwanted echoes and reverberations, enhancing sound clarity.

    Pro tip: Before investing in expensive treatments, try various placements with affordable materials like rugs and fabric to gauge their impact.

    Recording and Monitoring Best Practices

    Adopt effective recording techniques to optimize your sessions and prevent common errors like clipping or distortion. Monitoring at a comfortable level is crucial for accurate sound assessment. Learn essential microphone positioning techniques based on the instrument or voice to ensure optimal sound capture.

    Pro tip: Utilize a pop filter when recording vocals to minimize disruptive “p” and “t” sounds, ensuring smoother audio quality.

    Smart Budgeting for Your Home Studio

    Creating a home studio on a budget doesn’t mean compromising on quality. Focus on investing in essential, high-quality equipment first and consider bundle deals or second-hand gear for cost savings. This approach allows you to maximize your resources without sacrificing performance.

    Pro tip: Sign up for newsletters from music equipment retailers to receive updates on sales and promotions.

    Conclusion: Embark on Your Recording Journey

    Starting your home recording studio is a fulfilling step towards musical creativity and independence. Remember, the journey doesn’t end here. As you expand your knowledge and experience, continue to upgrade your setup and refine your skills. Take every opportunity to enhance your expertise and consult professionals to further your learning.

    For a deeper exploration into advanced studio setups, keep an eye on our blog or reach out for personalized advice on advancing your home studio.

  • From Bedroom to Club: Transitioning Your Mixes to Professional Sound Systems

    You’ve meticulously crafted your track in the comfort of your home studio. The bass thumps just right, the highs sparkle, and the overall vibe is exactly what you envisioned.

    But then you hear it on a club’s sound system, and… something’s off. The bass is muddy, the clarity is lost, and the energy you painstakingly created seems to have evaporated.

    This frustrating scenario is common, but understanding the differences between your home setup and a professional club environment is the first step to creating mixes that truly command the dance floor.

    🏠 Why Your Bedroom Mix Falls Flat in Clubs

    The acoustic reality of a club is vastly different from your home studio, and this disparity often leads to translation issues.

    Acoustic issues and monitor bias

    • Bedroom studios are often untreated spaces, leading to inaccurate bass response due to room modes and reflections. Your monitors might also have a frequency response that flatters certain frequencies, leading to mixing decisions that don’t translate well to a more revealing club system.
    • Club sound systems are designed for high SPLs (sound pressure levels) in large, often acoustically challenging spaces. They are built to move air and deliver powerful bass.

    Mixing in an acoustically compromised environment on potentially biased monitors can lead to underestimation or overestimation of certain frequencies, particularly in the low end.

    Bass translation problems

    The powerful subwoofers in a club will reveal any inconsistencies or muddiness in your low-end that might have been masked by your home setup. What sounds like tight bass in your room can become a boomy mess in a club.

    The extended low-frequency response of club systems demands precise control and careful shaping of the bass frequencies in your mix.

    📈 Frequency Response for Club Play

    Understanding the typical frequency emphasis of club sound systems is crucial for making informed mixing decisions.

    Low-end design: subs vs kicks

    • Subwoofers in clubs are designed to reproduce the very low frequencies (typically below 60-80Hz), providing the deep rumble and physical impact. Your kick drum needs to have significant energy in this range to be felt.
    • The upper bass frequencies (around 80-150Hz) contribute to the “punch” and definition of the kick drum. Balancing the sub-bass and upper bass content is key for a powerful yet defined low end.

    Tailoring the frequency content of your kick drum to effectively utilize the club’s subwoofers while retaining its percussive impact is essential for a driving beat.

    Midrange clarity over loudspeakers

    In a loud club environment, clarity in the midrange frequencies (roughly 500Hz to 4kHz) is vital for vocals, melodic elements, and the overall definition of your track to cut through the mix.

    🎚️ Mix Adjustments for the Club

    Specific mixing techniques can significantly improve how your tracks translate to club sound systems.

    Mono compatibility: how and why

    Many club sound systems sum the low frequencies to mono to maximize power and prevent phase cancellation issues that can lead to loss of bass.

    Check your mix in mono frequently to ensure that your bass frequencies remain strong and that no crucial elements disappear or sound drastically different.

    Ensuring mono compatibility guarantees a solid and consistent low-end experience for everyone on the dancefloor, regardless of their position relative to the speakers.

    Panning width dos and don’ts

    While wide stereo imaging can sound great on headphones, excessive panning of low-frequency elements can lead to unpredictable results in a club. Keep your kick drum, bassline, and other foundational low-end elements centered in the stereo field.

    🔊 Testing and Prepping Your Tracks

    The final stages involve critical listening and preparation for the club environment.

    Using car speakers, headphones, PA tests

    • Car speakers can offer a different perspective on your mix, often revealing issues in the low and low-mid frequencies.
    • Multiple pairs of headphones with varying frequency responses can help you identify imbalances.

    If possible, testing your tracks on a small PA system that mimics some of the characteristics of a club system can provide invaluable feedback.

    Listening on different playback systems helps you identify potential translation issues that your studio monitors might be masking.

    Referencing known club tracks

    Compare your mixes to professionally produced tracks that sound great in clubs. Pay attention to the balance of frequencies, the tightness of the bass, and the overall energy. Use these reference tracks as a sonic benchmark.

    Referencing successful club tracks provides a tangible goal and helps you identify areas where your mix might be lacking or overemphasising certain frequencies.

    🧪 Mastering for Loudness & Energy

    Mastering is the final stage that prepares your track for playback on a professional sound system.

    Target LUFS and RMS

    • Aim for a mastering loudness that is competitive for club play, typically in the range of -9 to -6 LUFS (Integrated Loudness) with a corresponding RMS level. Avoid over-compressing to achieve excessive loudness, as this can reduce dynamic range and impact.

    Achieving an appropriate loudness level ensures your track has the necessary impact on a powerful sound system without sounding squashed or distorted.

    Saturation, glue compression, limiting

    • Saturation can add harmonic richness and perceived loudness without excessive compression.
    • Glue compression can subtly bind the elements of your mix together, creating a cohesive and powerful sound.
    • Limiting is used to prevent clipping and maximize the overall level, but should be applied judiciously to preserve dynamics.

    These mastering techniques, when applied correctly, can enhance the energy and impact of your track on a club sound system.

    Transitioning your mixes from the bedroom to the club requires a shift in perspective and a deeper understanding of how sound behaves in different environments.

    By addressing acoustic issues, carefully shaping your frequency response (especially the low end), considering mono compatibility, and mastering appropriately, you can ensure that your tracks will sound as powerful and impactful on a professional sound system as you intended in your studio. Now go forth and make the club shake!

  • AI Tools in Music Production: Enhancing Creativity Without Losing Authenticity

    Artificial Intelligence. The term itself can conjure images of futuristic robots composing symphonies or algorithms spitting out chart-topping hits. While the reality is perhaps less dramatic (for now!), AI is undeniably making waves in the realm of music production. But as we embrace these powerful new tools, a crucial question arises: can we leverage AI to enhance our creativity without sacrificing the very essence of our artistic voice? Let’s delve into the role of AI in modern music creation and explore how to navigate this exciting frontier.

    🤔 The Role of AI in Modern Music Creation

    AI in music isn’t about replacing human artists; it’s about augmenting their capabilities and opening up new avenues for exploration. Understanding its current strengths and limitations is key.

    Idea generation vs final production

    • Currently, AI excels at tasks like generating musical ideas, suggesting chord progressions, and creating rhythmic patterns. Think of it as a highly sophisticated brainstorming partner.
    • However, the nuanced artistic decisions, the emotional depth, and the unique human touch that define truly authentic music still largely reside with the creator. AI can provide building blocks, but it’s up to us to assemble and refine them.

    Recognizing AI’s strengths in ideation and its current limitations in fully capturing artistic intent helps set realistic expectations and encourages a collaborative approach.

    What AI does well (and what it doesn’t)

    • What it does well: Generating novel melodic and harmonic ideas, creating variations on existing themes, suggesting rhythmic patterns, basic mixing and mastering tasks, audio cleanup (noise reduction, stem separation).
    • What it doesn’t do well (yet): Emulating genuine human emotion and lived experience, making truly subjective artistic choices with intent, understanding complex musical context and subtext, replacing the collaborative dynamic of human musicians.

    Understanding these distinctions allows us to strategically employ AI for specific tasks while retaining human control over the core artistic vision.

    🧠 Using AI for Writing, Chords & Melodies

    For songwriters and producers facing creative blocks or seeking fresh inspiration, AI can be a powerful muse.

    Use cases for beginners with writer’s block

    • AI tools can generate chord progressions to spark new song ideas.
    • They can create melodic fragments that can be developed and personalised.
    • Experimenting with AI-generated rhythmic patterns can lead to unexpected and inspiring grooves.

    AI can lower the barrier to entry for beginners and provide a starting point when creative juices aren’t flowing.

    AI Tools like AIVA, Magenta, Amper & Orb Producer

    • AIVA: Specializes in generating emotional and cinematic music.
    • Magenta (Google): Focuses on open-source AI tools for creative expression, including music generation.
    • Amper Music: Offers AI-powered music creation for various applications.
    • Orb Producer: Provides AI-assisted tools for generating chords, melodies, basslines, and rhythms.

    Familiarising yourself with specific AI tools and their strengths allows you to choose the best option for your creative needs.

    🎛️ AI Mixing & Mastering: Shortcut or Danger?

    AI is also making inroads into the technical aspects of music production, but its role here warrants careful consideration.

    LANDR, iZotope Ozone (Assistive Features), Lalal.ai

    • LANDR: Offers automated online mastering services.
    • iZotope Ozone (Assistive Features): Includes AI-powered modules that suggest starting points for EQ, compression, and other mixing processes.
    • Lalal.ai: Primarily known for AI-powered stem separation, which can be useful for remixing and isolating vocal or instrumental parts.

    These tools offer convenience and can provide a good starting point, especially for those less experienced in mixing and mastering.

    Pros and cons of automated mastering

    • Pros: Speed, affordability, consistency, can provide a decent baseline polish.
    • Cons: Lacks the nuanced ear of an experienced human mastering engineer, may not cater to specific artistic intentions or genre conventions, can sometimes result in a generic or overly compressed sound.

    Understanding these trade-offs is crucial for deciding when and if automated mastering is the right choice for your music.

    Keeping consistency across tracksAI-powered analysis tools can help identify sonic inconsistencies between tracks in an album or EP, providing data to guide manual adjustments.

    While AI can’t make the artistic decisions, it can offer valuable data to help achieve a cohesive sonic identity across a project.

    ✍️ Keeping Your Artistic Voice

    In the age of AI, preserving your unique artistic fingerprint is more important than ever.

    Customizing AI output to sound like you

    Treat AI-generated content as raw material. Don’t just use it as is. Rearrange melodies, rewrite lyrics, tweak chord progressions, and apply your own sonic aesthetic through sound design and mixing.

    AI should be a starting point, not the final destination. Your creative input is essential to making the music truly yours.

    Ethics and originality in AI-created music

    • Be mindful of the AI tools you use and their terms of service regarding copyright and ownership.
    • Strive to use AI as a tool for inspiration and augmentation, rather than outright plagiarism. The goal should be to create something new and original, even if AI played a role in its inception.

    Ethical considerations and a focus on originality are paramount in navigating the use of AI in music.

    🧩 The Best AI Music Tools to Try in 2025

    Here’s a curated round-up of AI-powered music tools worth exploring in 2025:

    For Idea Generation:

    • AIVA (Paid): Powerful for generating diverse musical styles. [Link to demo]
    • Soundful (Subscription): Offers royalty-free AI music generation with customization options. [Link to tutorial]
    • Amper Music (Subscription): User-friendly for creating music for various media. [Link to walkthrough]
    • ** مفتوحة AI Jukebox (Free – Research Project):** Explore experimental AI music generation. [Link to demo]

    For Mixing & Mastering Assistance:

    • iZotope Ozone (Paid – Assistive Features): Industry-standard with AI-powered mixing and mastering suggestions. [Link to tutorial]
    • LANDR (Subscription/Per Track): Convenient automated online mastering. [Link to walkthrough]
    • Sonible smart:EQ 3 (Paid): AI-powered EQ for intelligent spectral balancing. [Link to demo]

    For Audio Manipulation:

    • Lalal.ai (Paid/Free Tier): Excellent for stem separation. [Link to tutorial]
    • Descript (Subscription – Overdub Feature): AI-powered audio editing and voice cloning (use with caution and ethical considerations). [Link to walkthrough]

    AI in music production presents both incredible opportunities and potential challenges. By understanding its capabilities, using it thoughtfully, and always prioritizing your artistic vision, you can harness the power of AI to enhance your creativity without ever losing your authentic voice.

    The future of music creation is a collaboration between human ingenuity and artificial intelligence – let’s make it a harmonious one!

  • Building Beats Around Vocals: Techniques for Singers and Producers

    Building Beats Around Vocals: Techniques for Singers and Producers

    Unlock the secrets of how to produce music for singers by understanding vocal-driven production.

    Whether you’re focused on beat making for vocals or the art of producing for vocalists, mastering beat structure for singers is key to creating resonant tracks.

    🎙️ Start With the Vocal – Not the Beat

    While traditional music production often starts with the beat, a vocal-driven production approach prioritises the singer’s performance, leading to more authentic and impactful songs. This is a core principle in understanding how to produce music for singers effectively.

    Let lyrics and melody guide tempo & groove

    When considering beat structure for singers, pay close attention to their natural rhythm and pacing. The urgency or reflectiveness of their lyrics and melody should dictate the ideal tempo and groove for your beat making for vocals.

    Aligning the tempo and groove with the vocal’s natural rhythm creates a sense of unity and makes the song feel more cohesive.

    Map emotional dynamics to arrangement

    In producing for vocalists, understanding the emotional dynamics of their performance is crucial for arrangement. These emotional cues should guide your beat’s intensity, ensuring the beat structure complements moments of power or vulnerability in the vocal.

    Mirroring the emotional journey of the vocal in the arrangement amplifies the impact and creates a more immersive listening experience.

    🎹 Chords & Progressions that Elevate the Voice

    A key aspect of how to produce music for singers is ensuring that your harmonic choices serve to elevate, rather than compete with, the vocal topline.

    Supporting vs dominating the topline

    When producing for vocalists, select chords and progressions that complement their melody and emotional tone. Overly complex harmonies can detract from the vocal’s impact, which is a crucial consideration in vocal-driven production. Think of the chords as a supportive bed for the vocal to lie on.

    The harmonic foundation should underscore the emotional content of the vocal without overshadowing its presence.

    Using harmony to enhance emotion

    Explore how different chord voicings and progressions can subtly shift the emotional weight of the vocal. A minor chord can add a touch of melancholy, while a major chord can bring a sense of uplift. Experiment with suspensions and passing chords to create nuanced emotional textures.

    Thoughtful harmonic choices can deepen the emotional resonance of the vocal and the overall song.

    🥁 Drum Programming That Fits the Vocal

    For effective beat making for vocals, remember that the drums should rhythmically complement the singer’s performance, creating a cohesive and supportive foundation.

    Leave space for phrasing

    A vital element of beat structure for singers is leaving sufficient sonic space for their phrasing. Avoid heavy drum hits that might clash with natural pauses and breaths in the vocal delivery. Allow the vocal to breathe rhythmically.

    Creating sonic space around vocal phrases enhances clarity and allows the listener to fully appreciate the nuances of the performance.

    Groove that moves with the voice

    The rhythmic feel of your drums should complement the character of the vocal. A soulful vocal might pair well with a laid-back, swinging groove, while an energetic vocal might call for a more driving and syncopated rhythm.

    A rhythmically sympathetic drum track enhances the overall feel and impact of the vocal.

    Subtle percussive textures under verses

    Consider using lighter percussive elements, like shakers, hi-hat variations, or subtle rim shots, during verses to provide rhythmic interest without overpowering the vocal. Save the heavier drum elements for choruses or more impactful sections.

    Building rhythmic intensity gradually can create dynamic contrast and keep the focus on the vocal during more intimate moments.

    🧱 Arranging for Impact

    In vocal-driven production, the entire song structure should be strategically designed to highlight the vocal performance and its narrative arc.

    Section-by-section dynamics

    Think about how the intensity of the music builds and recedes in relation to the vocal performance. A stripped-down verse can make a powerful chorus vocal hit even harder.

    Dynamic variation keeps the listener engaged and highlights the emotional peaks and valleys of the vocal.

    Bridges, breakdowns, and vocal hooks

    Use instrumental breaks or changes in the arrangement to emphasize key vocal phrases or hooks. A sudden silence before a powerful vocal entry can be incredibly effective.

    Strategic arrangement choices can amplify the impact of memorable vocal moments.

    Using silence and contrast intentionally

    Don’t be afraid of silence! A moment of quiet can draw the listener’s attention directly to the vocal. Similarly, contrasting a busy section with a sparse one can make the vocal stand out.

    Silence and contrast are powerful tools for creating dramatic effect and highlighting the vocal.

    🎛️ Mixing Around the Vocal

    A primary goal when learning how to produce music for singers is to achieve a mix where the vocal is clear, powerful, and not overshadowed by the instrumentation.

    Frequency carving

    Use EQ on the instrumental elements to create space in the frequency spectrum for the vocal. Identify frequencies in instruments that might be clashing with the vocal’s key ranges and make subtle cuts to create separation.

    Preventing frequency masking ensures the vocal remains clear and intelligible.

    Sidechaining instruments to vocals

    Consider using sidechain compression on certain instruments (like pads or basslines) so that they duck slightly in volume whenever the vocal comes in. This creates subtle breathing room for the vocal without drastically altering the overall mix.

    Sidechaining can create a dynamic interplay between the instruments and the vocal, giving the vocal more prominence.

    Reverb/Delay automation tricks

    Experiment with automating the amount or decay time of reverb and delay on the vocal to emphasise certain words or phrases. A longer reverb tail on the last word of a chorus can create a sense of dramatic release.

    Automating effects can add dynamic interest and highlight key moments in the vocal performance.

    Ultimately, producing for vocalists and mastering beat making for vocals through a vocal-driven production mindset requires a shift in perspective – allowing the singer’s voice to guide the creative process.

    By prioritising the vocal’s rhythm, emotion, and space within your beat structure for singers, you can create deeply resonant tracks that amplify the power of the human voice and elevate your artistry in how to produce music for singers.

    Are you a singer looking for original music or a unique remix to perfectly complement your vocals?

    Our music studio specialises in crafting bespoke and original instrumental tracks and innovative remixes of cover songs, designed to complement your voice.

    Let us take out the stress out of producing backing tracks for your vocals, and get a studio-quality sound that perfectly complements your vocals. Chat with us today to discuss your project and bring your vocal to life!